
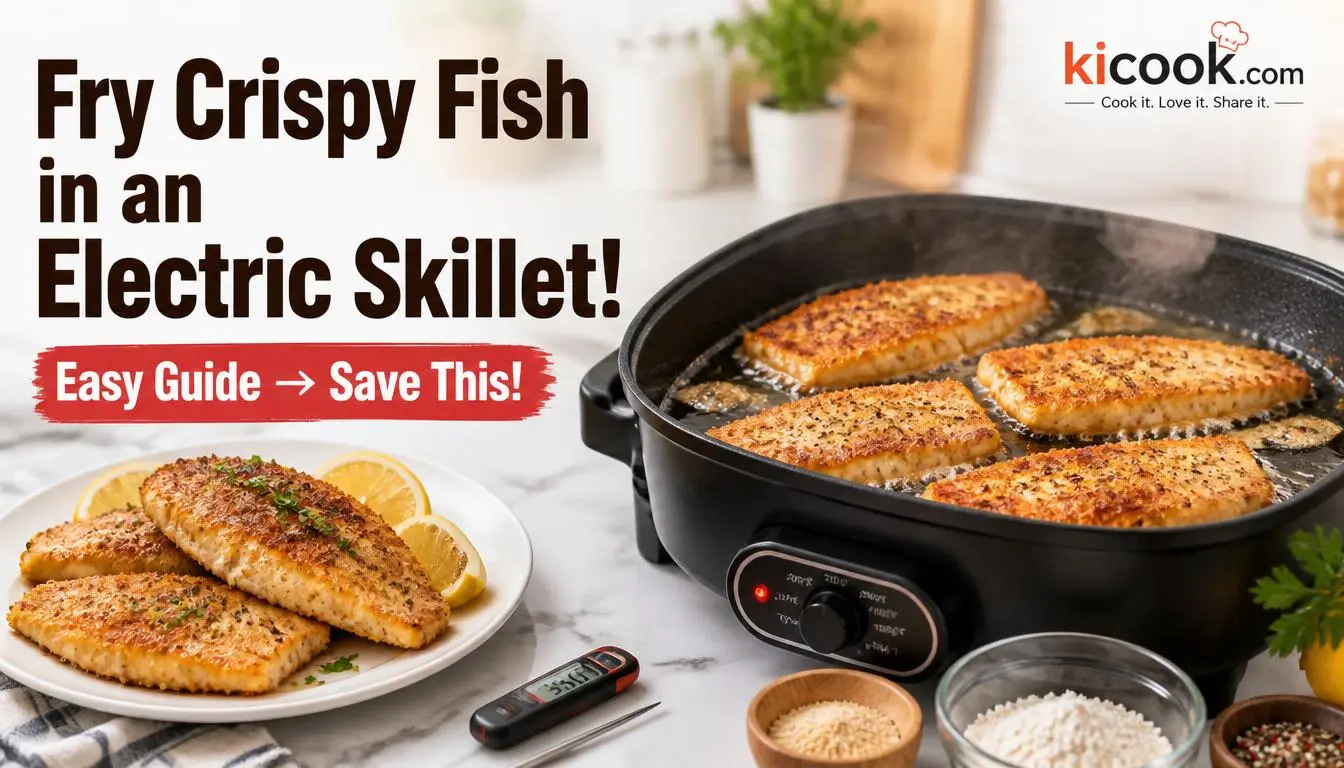
Yes, you can absolutely fry fish in an electric skillet. This kitchen appliance handles shallow and even pan-frying beautifully when you manage heat correctly. The real question is which method matches your fish type and desired texture.
We will walk through every branch so you pick the right path for your kitchen.
Electric skillet surfaces typically reach up to 400°F according to standard manufacturer testing. Fish reaches a safe internal temperature of 145°F per FDA guidelines. That wide margin means the electric skillet can bring oil to frying range quickly and hold it steady.
The following sections break down exactly how to do that without burning your crust or undercooking the flesh.
Quick Answer
Yes, you can fry fish in an electric skillet if you control the temperature carefully. The electric skillet keeps oil between 350 and 375°F steadily for best results. Use shallow frying for thin fillets and add enough oil for deeper crusted cuts.
A digital thermometer and a simple dredge routine deliver reliable crispness every time. Follow the safety steps inside, and indoor frying stays clean.
How an Electric Skillet Handles Frying Heat
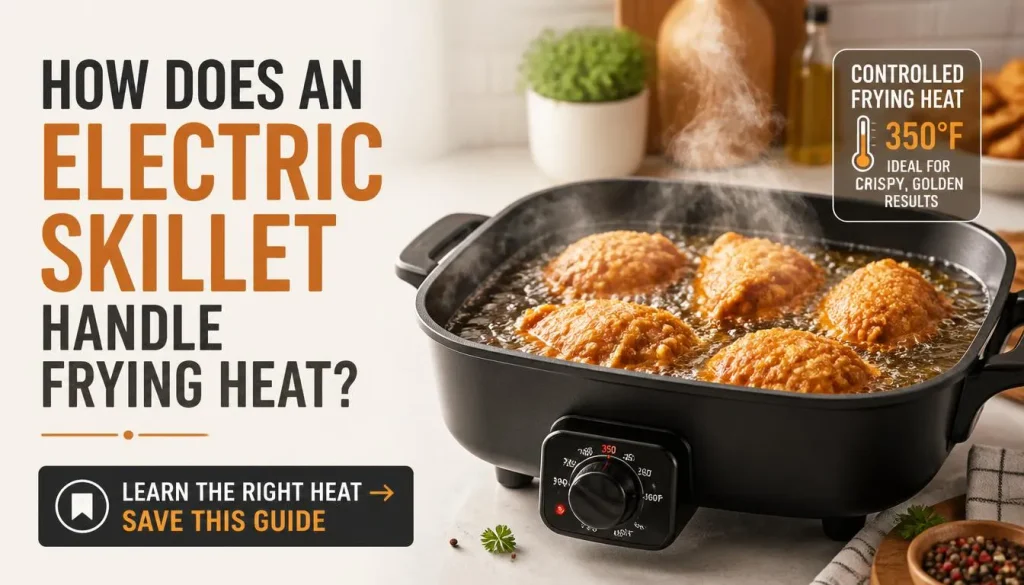
An electric skillet cooks differently than an open flame or gas coil because the heating element runs underneath the entire base. That layout creates consistent heat across the cooking surface rather than concentrated hot spots. Most units deliver somewhere between 1000W and 1500W of power.
That wattage matters when you need quick recovery after cold fish hits the pan.
Why Even Heat Changes Your Results
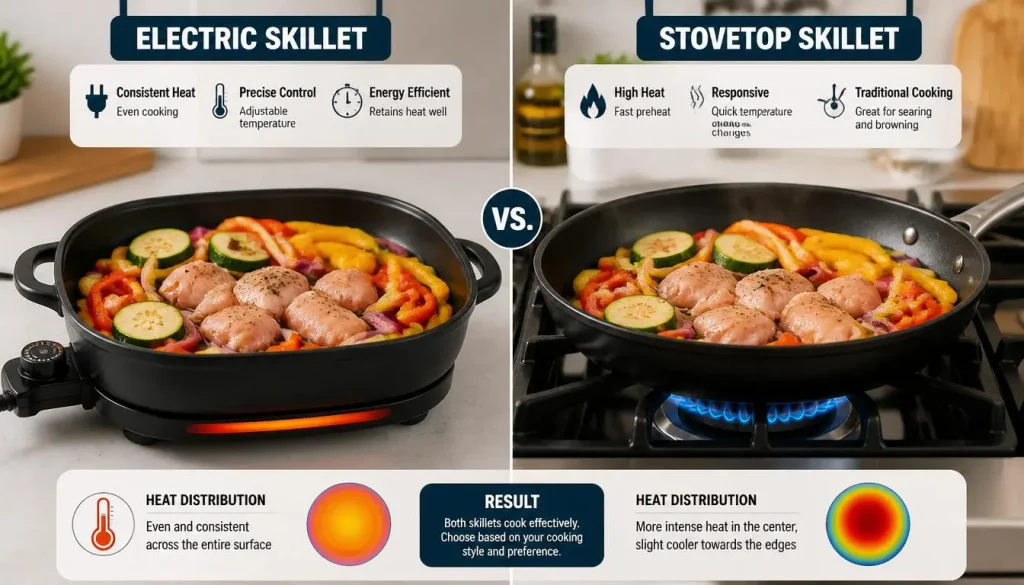
Stovetop skillets push heat outward from one burner zone. An electric skillet lifts heat uniformly upward through the base plate. That difference changes how the crust develops on fried fish.
Even heat means the outer breading sets before the interior dries out. You get color across the whole surface instead of dark patches near the edges and pale centers.
Temperature Recovery Matters More Than Peak Heat
Peak temperature alone does not guarantee good fried fish. What actually matters is how fast the skillet restores temperature after food drops it. Thin catfish fillets recover faster than breaded salmon portions.
A higher wattage unit usually bounces back quicker. If your skillet sits around 1000W, expect longer stabilization periods. Preheat fully before adding anything to the pan.
Electric vs. Stovetop Heat Control
| Factor | Electric Skillet | Stovetop Skillet |
|---|---|---|
| Heat source placement | Uniform base element | Burner directly below |
| Recovery speed | Moderate to quick depending on wattage | Depends on burner output |
| Hot spot risk | Low | Possible near center |
| Adjustable settings | Knob or digital dial | Hand position and knob |
| Induction compatibility | No | Only certain models |
Induction setups behave more like high-output burners than electric skillets. Air fryers use rapid convection instead of direct contact heat. The electric skillet keeps things simple with steady radiant warmth from below.
That simplicity makes it a solid choice for home fried fish [source: USDA food safety guidance on indoor cooking methods].
Which Fish Works Best in Your Skillet?
Not all fish fry the same way. Some fillets cook through in three minutes per side. Other cuts need patience because they are thick or fatty.
The best fish for an electric skillet share two traits. They hold together when flipped. They crisp nicely in medium-hot oil.
Thin Fillets That Cook Fast
Thin white fish fillets belong to the quick-cooking group. Bluegill, sunfish, and crappie lay flat and cook in about two minutes per side. Tilapia and cod slices fall into the same category.
Those pieces need care around flipping because thin flesh tears easily. Keep the oil near 350°F instead of pushing to 375°F. Higher heat blackens delicate coatings too soon.
Medium-Thick Cuts That Crisp Well
Catfish steaks and snapper fillets sit in the middle ground. They usually measure between three-quarters and one inch thick. Shallow frying works cleanly here with about one-half inch of oil.
Expect four to five minutes per side at 360°F. A light cornmeal crust turns golden without burning. The interior stays moist through the full cook window.
Thick Cuts That Need More Oil Depth
Breaded salmon portions and whole small trout require deeper oil levels. Those cuts often sit closer to one-and-a-half inches thick. You can still use an electric skillet with shallow frying.
But the technique shifts toward what cooks call half-frying. Fill the pan until the oil reaches just past halfway up the fish. That extra depth helps the crust set before the inner flesh needs extra time.
| Fish Type | Typical Thickness | Best Skillet Method | Approximate Time Per Side |
|---|---|---|---|
| Bluegill / Sunfish | Thin | Pan-fry shallow | 2 minutes |
| Catfish steak | 1 inch | Shallow fry | 4 minutes |
| Cod fillet | 3⁄4 inch | Pan-fry shallow | 3 minutes |
| Salmon portion | 11⁄2 inches | Half-fry deeper oil | 5 minutes |
Breading Choices Change How the Skillet Performs
A plain flour dust settles differently than a heavy batter pour. Light flour coats let you use less oil. Heavier cornmeal mixes benefit from a little extra depth.
If your breaded coating keeps sliding off, the oil was likely too cool when the fish entered the pan. Quick searing locks the crust in place before movement becomes possible.
Pan-Frying Thin Fillets: Your Fastest Path
Pan-frying thin fillets is the quickest route to crispy indoor fried fish. You need only enough oil to coat the bottom plus a bit more. The process moves fast once the skillet warms.
You can have dinner on the table in twelve minutes including prep time.
Prep Steps Before Heat Comes On
Start by patting the fillets dry with paper towels. Moisture on the surface turns to steam instantly in hot oil. That steam weakens the crust and causes splatter.
Season lightly with salt, pepper, and a pinch of paprika if you like color. Dust both sides in fine flour and shake off any excess. A thin flour layer gives you crunch without gummy patches.
Setting Up the Skillet Correctly
Pour vegetable or canola oil to a depth of about one-quarter inch. Turn the skillet dial to 375°F and wait until the indicator light cycles off. Use a cooking thermometer to confirm the reading.
Do not trust the built-in sensor alone. Built-in thermometers vary by model and some run hotter than labeled. Once you reach the target, lower the dial slightly to 360°F before adding fish.
Frying in Single Layers
Place fillets gently away from you so oil cannot splash backward. Do not stack pieces on top of each other. Overcrowding drops the temperature fast and steams the coating instead of crisping it.
Work in batches if your skillet holds fewer fillets than you need. Cook the first side until the edge turns opaque and golden. Flip once and finish on the second side.
Draining and Serving Right
Transfer cooked fillets onto a wire rack set over a sheet pan. Paper towels trap steam underneath and soften the crust within minutes. A wire rack lets air circulate around the entire piece.
Serve immediately if you want maximum crunch. Keep cooked batches warm in a 200°F oven while you finish remaining batches.
Shallow & “Deep” Frying Thicker Cuts
Thicker cuts need more oil depth and slightly lower temperatures to finish cooking without burning the outside. Shallow frying in an electric skillet works well here if you adjust the approach. Call it half-frying when the oil touches halfway up the food.
The skillet handles that balance cleanly because the walls contain splatter and the base heats evenly.
Oil Depth Guidelines by Cut
| Cut Type | Recommended Oil Depth | Temperature Target |
|---|---|---|
| Thin fillet | 1⁄4 inch | 360°F |
| Medium steak | 1⁄2 inch | 350–360°F |
| Thick breaded portion | 1 to 11⁄2 inches | 340–350°F |
| Whole small trout | 11⁄2 inches | 340°F |
Deeper oil does not mean deep frying in the traditional sense. True deep frying submerges food completely. Half-frying uses enough oil to crisp the bottom and sides while you occasionally spoon hot oil over the top.
That basting action replaces missing immersion. It keeps the upper surface cooking steadily.
Breading for Higher Oil Depth
Heavier coatings hold up better when more oil surrounds the fish. A standard dredge order works well here. Dredge in flour, dip in beaten egg washed with a little milk, then press into cornmeal mixed with seasonings.
Cornmeal adds texture and resists soggy collapse when oil depth increases. Shake off loose particles before lowering the fish in. Loose crumbs burn quickly and turn bitter.
Basting Technique Simplified
Spoon hot oil over the exposed top of thick fillets during the first few minutes. Keep the spoon moving to avoid pooling in one spot. This simple motion speeds cooking on the un-submerged side.
It also strengthens the crust without flipping prematurely. Flip once when the bottom releases cleanly from the skillet surface.
Managing Smoke Indoors
Higher oil volume creates more smoke potential. Use an exhaust fan aimed outward whenever possible. Choose oils with high smoke points such as peanut, avocado, or refined canola.
Peanut oil sits comfortably near 450°F. That gives you plenty of headroom above the frying range. Avoid extra virgin olive oil because its smoke point drops too low for sustained frying.
Electric Skillet vs. Stovetop Skillet: What Changes?
The electric skillet trades a few things for convenience. It gives you steadier heat and easier cleanup. It costs more upfront than a basic stovetop pan.
Understanding those trade-offs helps you decide whether switching appliances is worth it.
Control and Consistency
Electric skillets hold temperature with minimal drift. A cast iron pan on gas responds faster to quick adjustments. But that responsiveness also means more attention is required.
Electric models remove the guesswork. You set a number and the element maintains it. For beginners, that consistency translates into fewer failed batches.
Cleanup and Maintenance
Cast iron requires seasoning and careful drying. Electric skillets with non-stick coatings need gentle handling but far less upkeep. Wipe them down after each use.
Avoid metal utensils that scratch the surface. Non-stick inserts last longest when treated carefully. Cast iron lasts forever but demands ongoing maintenance.
Capacity and Portability
Electric skillets often feature wider cooking surfaces than standard 10-inch skillets. That extra room lets you fry multiple fillets at once. The units also double as serving dishes.
Some models include removable inserts for easy transfer. Stovetop pans stay lighter and simpler. They fit in any dishwasher if the handle allows.
| Factor | Electric Skillet | Cast Iron Stovetop Skillet |
|---|---|---|
| Temperature control | Dial or digital, set and forget | Manual, constant adjustment |
| Cleanup | Wipe non-stick surface | Season and hand wash |
| Cooking capacity | Wide surface area | Varies by size |
| Weight | Heavier overall unit | Lightweight pan body |
| Versatility | Keeps food warm too | Limited to stovetop use |
| Cost range | $30–$120 average | $15–$50 average |
When the Switch Makes Sense
Upgrading to an electric skillet pays off if you fry fish regularly. Apartment dwellers benefit from reduced splatter and indoor-friendly operation. Batch cooks appreciate the warming function alongside frying.
Casual cooks who want predictable results avoid stovetop temperature guessing. Casual weekend fryers may not justify the counter space or cost. A trusted cast iron pan handles the job just fine.
Essential Safety Rules for Hot Oil Indoors
Hot oil indoors requires respect. One mistake can cause serious burns or start a fire. Electric skillets reduce some risks compared to open flames.
They keep oil contained and eliminate stray sparks. But they introduce electrical considerations that deserve equal attention.
Fire Prevention Basics
Never leave hot oil unattended. Keep a lid or baking sheet nearby to smother a small flare-up. Do not use water on an oil fire under any circumstances.
Water explodes when it meets hot grease. Have a Class B or Class K fire extinguisher accessible in the kitchen. Place it within arm’s reach before you begin frying.
Electrical Safety Around Liquids
Keep the power cord away from the cooking area. Never plug or unplug the unit with wet hands. Electric skillets draw significant current.
Running one on an extension cord creates a fire hazard. Use a dedicated outlet whenever possible. Check that the outlet is grounded, especially on older homes.
Avoiding Splatter Burns
Pat fish completely dry before it touches hot oil. Water droplets cause violent popping. Add food gently along the far edge of the skillet to direct splatter away from your body.
Wear long sleeves and closed-toe shoes when frying in quantity. Keep children and pets out of the kitchen during active frying.
Oil Disposal Done Right
Never pour used oil down the drain. It solidifies and clogs pipes. Let the oil cool completely in the skillet.
Line a container with newspaper or foil, then strain the oil through a coffee filter into the lined container. Seal it and dispose of it in the trash. Many municipalities offer oil recycling drop-offs.
Call your local waste authority to find the nearest location.
Internal Temperature Verification
Fish must reach 145°F internally before consumption. The FDA recommends this standard across all seafood varieties. Use an instant-read thermometer inserted into the thickest part of the fillet.
Color alone does not indicate doneness. White opaque flesh with flaky texture confirms the fish is done. If a thick portion reads below 145°F, return it to the skillet for another minute or two.
Common Mistakes That Ruin Fried Fish
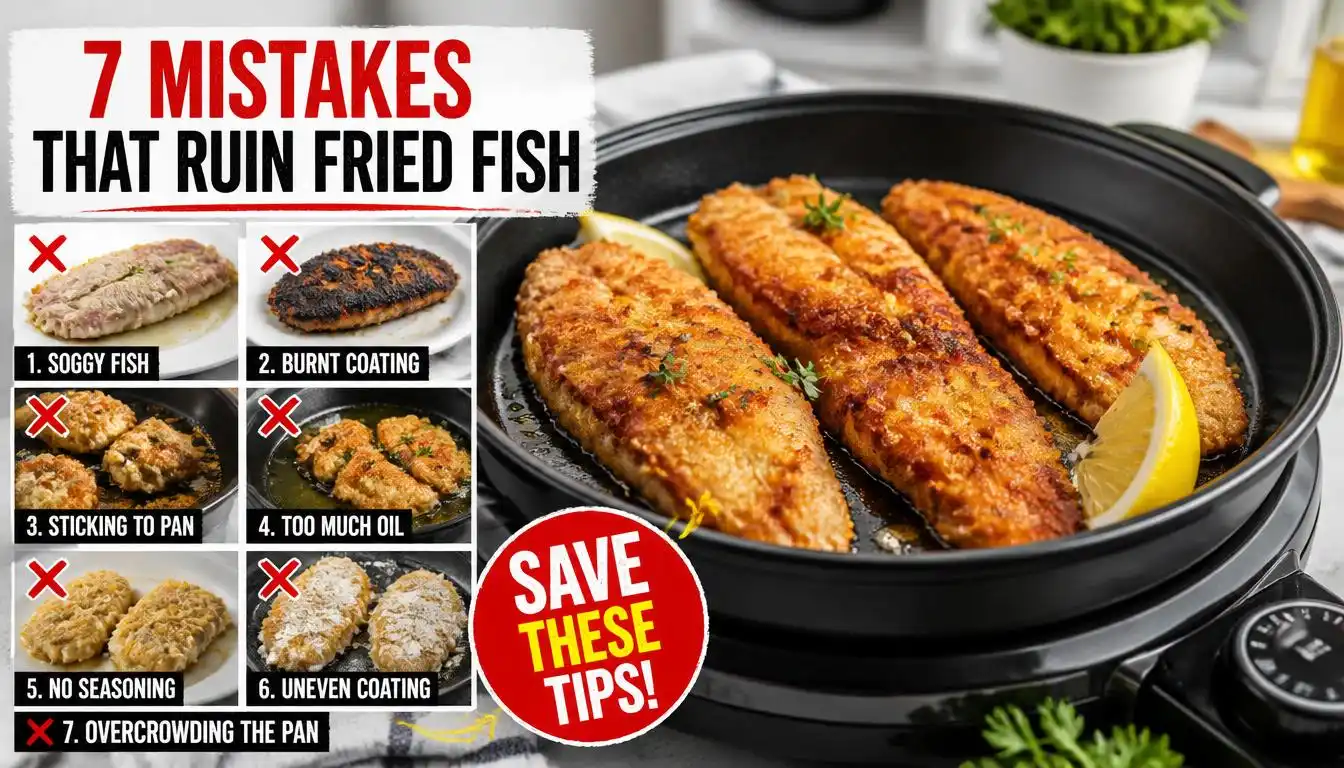
Mistakes in fried fish are usually predictable. Recognize them early and you can course-correct mid-cook. Most failures trace back to temperature, moisture, or crowding.
Fix those three variables and your results improve dramatically.
Wrong Oil Temperature
Oil that is too cool produces greasy, sodden fish. The coating absorbs oil instead of sealing quickly. Oil that is too hot burns the outside before the inside cooks.
Use a thermometer to verify temperature before every batch. Adjust the dial between batches if recovery lags.
Skipping the Dry Step
Wet fish creates steam. Steam prevents browning. Steam loosens breading.
Always pat fillets thoroughly dry before seasoning and dredging. Paper towels work best. Cloth towels leave lint behind.
Overcrowding the Pan
Adding too many fillets at once drops oil temperature drastically. The result is steamed fish with a pale, soft crust. Fry in single layers with space between pieces.
Allow the skillet to recover temperature between batches. This patience pays off in texture.
Flipping Too Early
Breading needs time to set before it releases from the surface. Force a flip too soon and the coating tears away. Wait until the edges look golden and crisp.
Gentle pressure with a spatula confirms readiness. If the fish resists, give it another minute.
Using the Wrong Oil
Olive oil, butter, and unrefined seed oils smoke well below frying temperatures. They turn bitter and acrid almost instantly. Stick to refined oils with smoke points above 400°F.
Canola, vegetable, peanut, and avocado all work reliably.
Skipping the Rest Period
Cut into fried fish straight from the pan and juices escape immediately. The flesh dries out and the crust collapses. Let rested fish sit for two minutes on a wire rack before cutting or plating.
Those two minutes preserve moisture and maintain crunch.
Keeping Your Skillet Ready for Next Time
Proper care extends the life of your electric skillet and protects future meals. Routine maintenance takes only a few minutes after each use. Skipping it leads to stuck residue, degraded non-stick surfaces, and eventual element failure.
Cleaning After Each Use
Allow the skillet to cool completely before cleaning. Never immerse the main heating unit in water. Remove the cooking insert if it is detachable.
Wash the insert with warm soapy water and a soft sponge. Non-stick surfaces scratch easily. Avoid abrasive pads and steel wool.
Dry thoroughly before reassembly.
Seasoning Cast Iron Inserts
Some electric skillets come with removable cast iron pans. Those require periodic seasoning to maintain their non-stick properties. Apply a thin layer of cooking oil after each wash.
Heat the pan gently for a few minutes to polymerize the oil. Repeat monthly or whenever food begins sticking.
Storage Tips
Wrap the power cord loosely around the unit handle. Store the skillet upright to prevent dust accumulation. Keep the glass lid in a separate cabinet if the model includes one.
Glass lids crack easily under pressure. Store them flat or leaning against a wall instead of stacking heavy items on top.
Detecting Element Failure
Signs your heating element is failing include uneven browning, prolonged preheat times, and temperature fluctuations that the dial cannot correct. If the skillet no longer holds the selected temperature, replacement is usually more practical than repair. Heating elements are sealed into the base and not user-serviceable.
When to Skip the Skillet Altogether
Sometimes another tool simply works better. Recognize those moments and move on without guilt. The electric skillet is versatile, not universal.
Deep Frying in Large Quantities
Frying whole chickens, large batches of dough, or deep dishes like tempura demands full immersion. An electric skillet cannot safely hold that volume of oil. A dedicated deep fryer or outdoor propane fryer handles the task.
Those units include thermostats designed for full submersion.
Quick Weeknight Meals with Zero Prep
When time is extremely limited, an air fryer delivers comparable crispness with less monitoring. Preheated air fryers reach frying temperature faster than electric skillets. They also require minimal oil.
Trade texture nuance for speed when your schedule is tight.
Outdoor Events or Gatherings
Frying outdoors eliminates smoke concerns entirely. Propane fryers handle large volumes efficiently. They cool quickly after use and pack away cleanly.
Indoor electric skillets struggle with volume when hosting twenty or more guests. Stick to the outdoors in those scenarios.
Quick Temperature & Timing Cheat Sheet
Bookmark this reference during your next fish fry. It covers the most common cuts and the settings that produce reliable results.
| Fish Cut | Oil Depth | Temperature | Time Per Side | Total Time |
|---|---|---|---|---|
| Thin tilapia fillet | 1⁄4 inch | 360°F | 2 minutes | 4 minutes |
| Catfish steak | 1⁄2 inch | 350°F | 4 minutes | 8 minutes |
| Cod fillet | 1⁄4 inch | 360°F | 3 minutes | 6 minutes |
| Breaded salmon portion | 1 inch | 340°F | 5 minutes | 10 minutes |
| Whole trout (1 lb) | 11⁄2 inches | 340°F | 6 minutes | 12 minutes |
Always verify doneness with a thermometer. Internal temperature must reach 145°F at the thickest point.
Frequently Asked Questions About Frying Fish in an Electric Skillet
Can you deep fry in an electric skillet?
You cannot fully submerge fish in a standard electric skillet safely. The walls are too low and the oil volume required would exceed the unit capacity. Half-frying with one inch of oil gets close to deep-frying results.
True deep frying demands a dedicated fryer.
What temperature should you fry fish in an electric skillet?
Maintain oil between 350°F and 375°F for best results. Thin fillets perform well at 360°F. Thicker breaded cuts benefit from 340°F to prevent burning.
Use a standalone thermometer to verify the reading rather than relying solely on the built-in dial.
Is an electric skillet better than a cast iron skillet for frying fish?
Electric skillets offer easier temperature control and require less active monitoring. Cast iron retains heat exceptionally well and produces superior crust texture when handled skillfully. Electric skillets win on convenience.
Cast iron wins on performance for experienced cooks.
How much oil do you need to fry fish in an electric skillet?
Use one-quarter inch of oil for thin fillets. Use one-half inch for medium cuts. Use one to one-and-a-half inches for thick breaded portions.
Always fill no higher than halfway up the skillet walls to prevent overflow and splatter.
Can you use butter in an electric skillet to fry fish?
Pure butter burns well below frying temperatures. Mix clarified butter or ghee with a neutral oil to gain flavor without sacrificing smoke point. Avoid regular butter for any frying method above 300°F.
The milk solids char and taste bitter.
Does the FDA recommend a specific internal temperature for fried fish?
Yes. The FDA recommends cooking all fish to an internal temperature of 145°F. Insert the thermometer into the thickest part of the fillet.
Hold it there for five seconds to ensure an accurate reading. White opaque flesh and flaky texture confirm proper doneness.
Final Decision Guide: Which Method Fits You?
Choose your frying path based on three factors: the cut of fish, your experience level, and your kitchen setup.
If you are frying thin fillets for a weeknight meal, use the pan-frying method with a quarter-inch oil depth at 360°F. It is fast, simple, and requires minimal equipment.
If you are working with thicker breaded cuts or whole fish, use the half-fry method with one to one-and-a-half inches of oil at 340°F. Baste the exposed top occasionally for even cooking.
If you fry fish weekly and want set-and-forget convenience, invest in a quality electric skillet with a non-stick insert. The consistent heat and easy cleanup justify the price over time.
If you mostly fry for large gatherings or need full submersion, skip the electric skillet entirely. Rent or buy a dedicated deep fryer or move the operation outdoors.
Your goal is crispy crust, tender flesh, and zero kitchen stress. Pick the branch that matches your situation and follow the steps closely. The electric skillet delivers reliably when treated with respect.

“I believe great cooking starts with the right tools, trusted advice, and a little confidence in the kitchen.”
Hi, I’m Emma Carter. My love for cooking began in my grandmother’s kitchen, where I learned that every great meal starts with simple ingredients and the right cookware. Over the years, I’ve spent countless hours researching, testing, and comparing kitchen appliances, cookware, coffee makers, air fryers, and other everyday kitchen essentials.
Here at KiCook, my goal is to make your buying decisions easier with honest product reviews, practical buying guides, and easy-to-follow cooking tips. Whether you’re upgrading your kitchen or searching for the best appliance for your home, I focus on providing clear, reliable, and research-backed information you can trust.
When I’m not testing new kitchen gadgets or writing in-depth guides, you’ll usually find me trying new recipes, visiting local farmers’ markets, or enjoying a quiet cup of coffee while planning my next kitchen project.