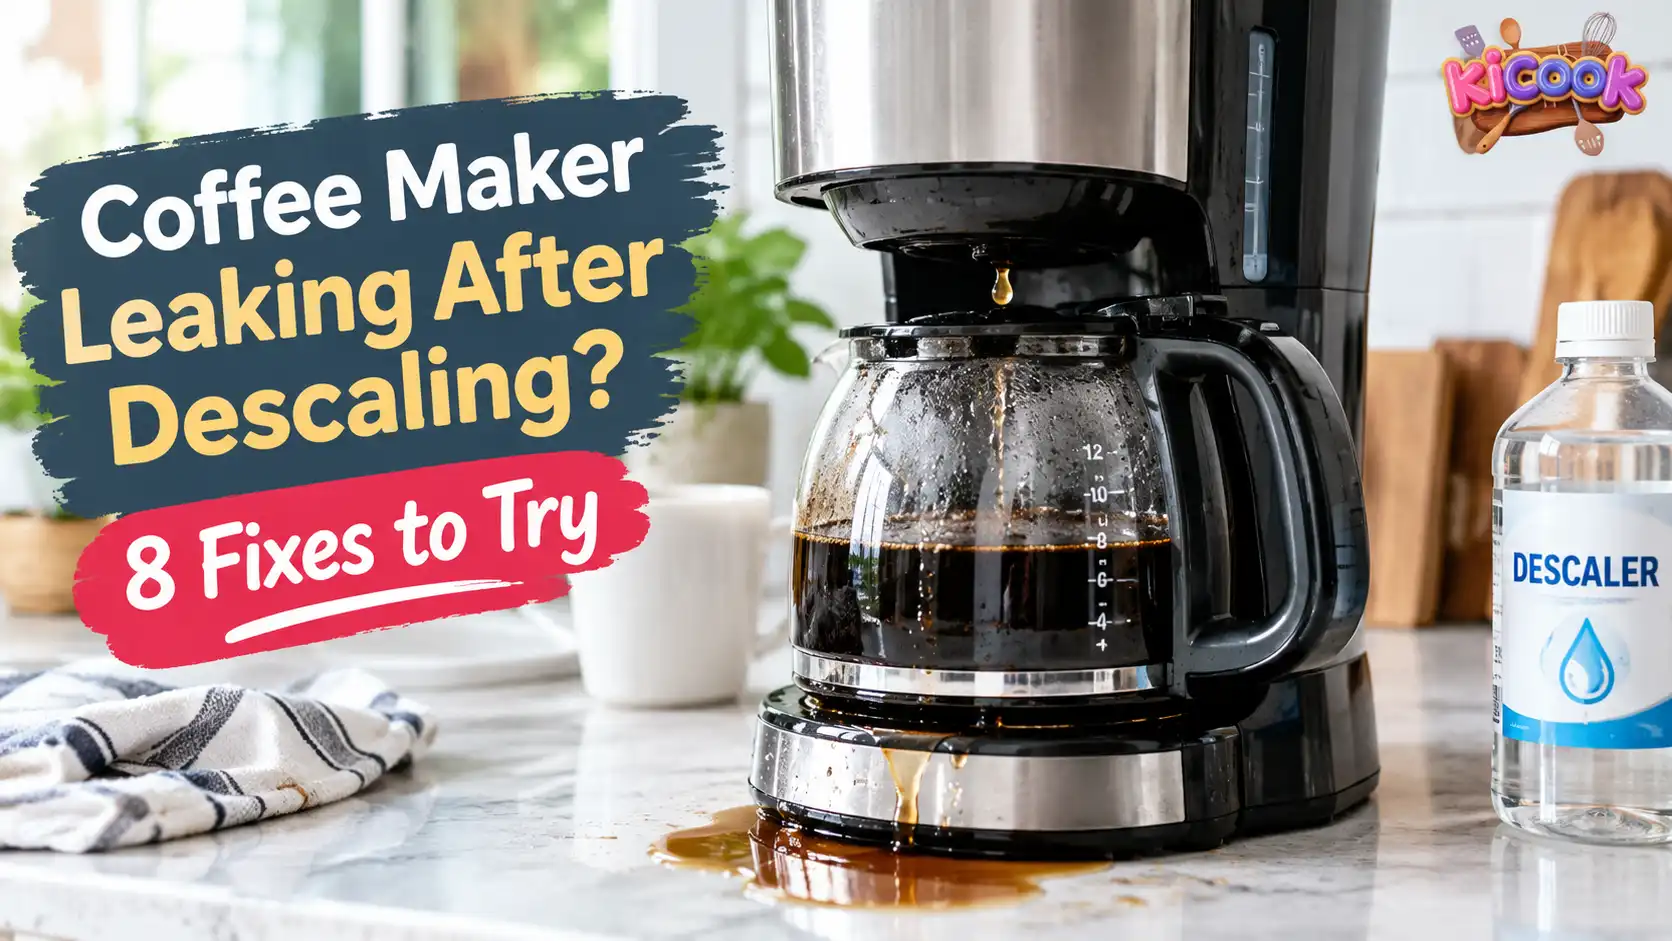
If your coffee maker is leaking after descaling, you may not need to replace it. The problem could be a poorly fitted water tank, an overflowing drip tray, a loose removable part, or a damaged seal. In some machines, water in the drip tray is also part of the normal rinsing process.
The best way to solve the problem is to find where the water appears first. Then check the parts you can safely access before deciding whether your coffee maker needs professional repair.
In this guide, I will explain eight common causes, show you how to troubleshoot them safely, and help you decide when to contact the manufacturer.
Quick Answer: Why Is My Coffee Maker Leaking After Descaling?
A coffee maker may leak after descaling because the water reservoir is not seated properly, the drip tray is full, a removable part was fitted incorrectly, or a seal or internal component is damaged. Some machines also release rinse water into the drip tray during normal operation.
First, switch off the machine and disconnect the power if you can do so safely. Check the water tank, drip tray, filter basket, and other removable parts. If water is coming from inside the machine or near electrical components, stop using it and contact the manufacturer.
What to Do First If Your Coffee Maker Starts Leaking
Before trying to fix the leak, take a few simple steps to protect yourself and prevent more water from reaching your countertop.
1. Turn Off the Coffee Maker
Stop the brewing or descaling cycle if it is safe to do so.
If the machine is wet around its electrical connection, do not touch the plug or outlet. Keep away from the wet area and disconnect power only from a safe, dry location. Get professional help if necessary.
2. Let the Machine Cool Down
Hot water and steam can cause burns. Allow the machine to cool before removing the water tank, filter basket, drip tray, or other removable parts.
Follow the manufacturer’s instructions for your specific model.
3. Clean Up the Water
Once it is safe to approach the machine, dry the surrounding countertop and check whether the drip tray is full.
Removing the existing water makes it easier to see where fresh water appears. Do not move or tilt a leaking machine while it is connected to power.
4. Find Where the Leak Starts
Look at the area around the water reservoir, filter basket, drip tray, and base of the machine.
Try to remember when you first noticed the problem. Did it begin during descaling, immediately after the rinse cycle, during brewing, or while the machine was switched off?
This information can help you narrow down the cause without repeatedly running a leaking coffee maker.
Where Is Your Coffee Maker Leaking From?
The location of the water can provide useful clues. The following table lists common possibilities, not guaranteed diagnoses.
| Where you notice water | Possible cause | First thing to check |
|---|---|---|
| Under the coffee maker | Overflow, spillage, or an internal fault | Drip tray and water reservoir |
| Around the water tank | Tank not seated correctly or tank damage | Tank position and visible cracks |
| Inside the drip tray | Normal rinsing or excess drainage | Tray level and machine instructions |
| Around the filter basket | Overflow or incorrect filter placement | Filter, coffee grounds, and carafe |
| Around the espresso brew head | Loose portafilter or dirty or damaged seal | Portafilter position and accessible parts |
| Behind the machine | Reservoir connection or internal fault | Water tank and visible connections |
| Under the machine while switched off | Tank valve, damaged seal, or another fault | Stop use and arrange an inspection |
Philips provides a useful official guide to diagnosing a leaking espresso machine, including the differences between normal drip-tray water and water leaking around the reservoir.
8 Causes of Coffee Maker Leaks After Descaling and How to Fix Them
1. The Water Reservoir Is Not Seated Properly
A poorly fitted water tank is one of the first things to check when clear water appears near the side or underneath a coffee maker.
During cleaning, you may remove the reservoir to empty it, rinse it, or refill it. If it does not return to its correct position, water may escape around the connection.
How to fix it:
- Switch off the machine and disconnect the power safely.
- Wait until the machine has cooled.
- Remove the water reservoir according to the manual.
- Check the tank and its seating area for visible dirt or residue.
- Make sure the tank is not cracked and that its accessible valve or seal looks undamaged.
- Refit the tank firmly according to the manufacturer’s instructions.
Do not force the reservoir into place. Some tanks must align with a specific connection before they sit correctly.
After refitting it, look for signs of leakage while the machine remains switched off. If water continues to escape, do not keep adding water to the tank. Contact the manufacturer for advice.
2. The Drip Tray Is Full or Incorrectly Fitted
A full drip tray can make it look as though your coffee maker is leaking from the bottom.
Some coffee machines release water into the tray during brewing, cleaning, or automatic rinsing. If the tray is already full, water may spill onto the countertop when the machine drains more water or when you remove the tray.
How to fix it:
- Turn off the machine and let it cool.
- Remove the drip tray as instructed in the manual.
- Empty and clean the tray.
- Check the surrounding area for spilled water or coffee residue.
- Refit the tray correctly.
If your machine has a tray-full indicator, check that it moves freely and is not blocked.
Philips explains that some espresso machines drain their internal rinsing water directly into the drip tray. A small amount of water there does not automatically mean the machine is faulty.
However, if the tray fills unusually quickly, fills overnight, or overflows even after cleaning, the machine may need further inspection.
3. The Filter Basket or Carafe Is Causing an Overflow
If you own a drip coffee maker, water on the countertop may come from the filter basket rather than the internal water system.
A paper filter that has collapsed, a filter basket that is not seated correctly, too many coffee grounds, or a poorly positioned carafe may interrupt normal brewing and cause an overflow.
You might notice brown water around the basket or coffee spilling down the front of the machine.
How to fix it:
- Stop using the machine and allow it to cool.
- Remove the filter basket and discard the used coffee grounds.
- Check that the basket is clean and correctly positioned.
- Use the filter size recommended for your coffee maker.
- Avoid adding more coffee grounds than the basket can hold.
- Refit the carafe and check that it sits in the correct position.
Look for damage to the filter basket or carafe that might prevent the parts from fitting properly.
De’Longhi offers additional advice in its official coffee maker overflow troubleshooting guide.
If water appears to come from underneath the machine rather than the basket, do not assume that overflowing coffee is the only possible cause.
4. A Removable Part Was Not Reinstalled Correctly
Descaling and cleaning often involve removing several parts. Depending on your machine, these may include a water filter, brew group, pod holder, capsule container, or grounds container.
If a part is fitted incorrectly after cleaning, water may flow into the wrong area or escape around the connection.
How to fix it:
- Consult your coffee maker’s manual.
- Identify the removable parts involved in the cleaning process.
- Check whether each part is clean and correctly seated.
- Look for visible damage or missing components.
- Reassemble the machine exactly as instructed.
Do not remove covers or dismantle internal parts to look for a leak.
For Keurig users, my guide on how to clean a Keurig coffee maker explains routine cleaning and maintenance. Follow the instructions for your own model, particularly when working around removable components.
5. Water Is Leaking Around the Portafilter or Brew Head
This cause mainly applies to espresso machines that use a portafilter.
If water escapes around the portafilter during brewing, the portafilter may not be locked into position correctly. Coffee grounds on the basket’s upper edge may also interfere with the seal.
A worn or damaged group-head gasket can cause a similar problem.
How to fix it:
- Switch off the machine and allow it to cool completely.
- Remove the portafilter when it is safe to do so.
- Empty the basket and clean its rim.
- Inspect the accessible basket and portafilter for visible damage.
- Refit the portafilter according to the manufacturer’s instructions.
Do not force the handle beyond its intended locking position.
If the machine continues leaking around the brew head, the gasket may need replacement or the machine may require servicing.
Frigidaire’s official espresso maker water-leak guide discusses leaks around the filter cup and recommends checking for coffee grounds on the filter edge.
6. The Water Tank, Seal, or Gasket Is Damaged
A cracked reservoir or damaged seal can allow water to escape even when every removable part is correctly fitted.
Descaling uses a solution to remove mineral deposits. Finding a leak after the process does not prove that the descaler damaged the machine. The problem may have already existed, or it may have another cause.
Look for visible cracks in the reservoir, damaged accessible seals, or water escaping from a connection that previously stayed dry.
How to fix it:
- Stop using a cracked or leaking water tank.
- Replace a damaged removable tank only with a compatible part.
- Check the manual before attempting to replace any user-serviceable seal.
- Contact the manufacturer if the leak comes from an internal connection.
Do not apply household glue or sealant to the water tank, valves, or parts that come into contact with drinking water.
If the machine is under warranty, ask the manufacturer about repair or replacement options before opening it.
7. The Water in the Drip Tray Is Normal Rinse Water
This is an important distinction because many people notice water in the drip tray immediately after descaling and assume that the machine is leaking.
Some automatic coffee machines send rinse water into the drip tray when they start, stop, or finish brewing. Depending on the model, this can happen during or around the descaling process.
How to check:
- Read the manufacturer’s instructions for the descaling cycle.
- Empty the drip tray after the machine has cooled.
- Clean and dry the area around the tray.
- Check whether the machine normally drains rinse water into that tray.
- Observe whether the tray fills at a normal rate once the machine is safe to use again.
Do not treat all water in the tray as a fault. However, water collecting unusually quickly, a tray filling while the machine is unused, or repeated overflow needs further investigation.
For example, Philips advises users to seek assistance if the drip tray becomes full after only a small number of drinks or fills with water overnight.
The key is to compare what you see with the normal operation described in your machine’s manual.
8. An Internal Hose or Component May Be Damaged
If you have checked the water tank, drip tray, filter basket, and other accessible parts but the coffee maker still leaks, the problem may be inside the machine.
Possible causes include a damaged internal hose, a failed connection, or another faulty component. The correct diagnosis depends on the design of the coffee maker.
Signs that need professional attention include:
- Water repeatedly appearing underneath the machine.
- Water leaking from the rear or an area you cannot access safely.
- A leak that continues after the reservoir and drip tray have been checked.
- Unusual noises combined with poor water flow.
- Water escaping near electrical parts.
What should you do?
Stop using the machine and contact the manufacturer or an authorized repair service. Do not open the casing, tighten internal connections, or attempt to repair electrical or pressurized components yourself.
If repair costs are high, compare the estimated repair price with the cost of a suitable replacement before making a decision.
Does It Matter When Your Coffee Maker Starts Leaking?
Yes. The timing can help you narrow down the problem.
Coffee Maker Leaking During Descaling
Some water may be released through the machine’s normal drainage path during a cleaning cycle.
If water escapes onto the countertop, stop the process safely. Check the visible reservoir and drip tray only after the machine has been switched off and cooled.
Do not assume every model follows the same descaling procedure.
Coffee Maker Leaking Immediately After Descaling
Check whether you reinstalled the tank, tray, filter basket, and other removable parts correctly.
If the leak began immediately after cleaning, pay particular attention to the parts you removed or moved. Still, the timing alone does not prove that the descaling solution caused the leak.
Coffee Maker Leaking After the Rinse Cycle
Some water may remain in the drip tray after rinsing. This can be normal, depending on the machine.
If the leak is outside the tray, however, check for a loose reservoir, overflow, or damaged accessible component. Follow the model’s instructions before performing any additional rinse cycle.
Coffee Maker Leaking When Turned Off
A leak that continues while the machine is off deserves attention.
Check the visible water tank for cracks and make sure the machine is not simply releasing water left on the countertop or around the tray. If fresh water continues to appear under the machine, stop using it and arrange professional support.
Do not leave a leaking machine connected to power while waiting to see whether the leak stops.
Troubleshooting Different Types of Coffee Makers
The right fix also depends on the type of coffee maker you own.
Drip Coffee Makers
Start with the filter basket, paper filter, carafe, and water reservoir. If the leak occurs during brewing, an overflowing basket or an incorrectly positioned carafe may be responsible.
If the water comes from underneath the machine even when the basket is empty, stop using it and seek further help.
Keurig and Other Pod Coffee Makers
Check the water reservoir, drip tray, pod holder, and removable components.
Water in a collection tray may be normal, but repeated leakage from the base or reservoir area should not be ignored.
If your Keurig also produces an unusual gurgling sound, see my guide to coffee maker gurgling or sputtering for help identifying possible water-flow problems.
For the descaling procedure, follow the instructions for your exact model. Keurig’s official descaling instructions explain the required cleaning and fresh-water rinse steps for the models covered by that document.
Nespresso and Other Capsule Machines
Inspect the water tank, capsule container, and drip tray according to your manual. Empty any collection tray and check whether the water appears during normal rinsing or while the machine is idle.
If water escapes from an internal area or the machine continues leaking after accessible parts are correctly fitted, contact the manufacturer.
Manual and Fully Automatic Espresso Machines
Manual espresso machines may leak around the portafilter or brew head. Fully automatic models may drain rinse water into the drip tray.
Check the accessible parts first. For model-specific examples, see Philips’ espresso leak troubleshooting guide or KitchenAid’s fully automatic espresso leak guide.
These guides apply to specific machine types, so use the instructions that match your own appliance.
What Not to Do When Your Coffee Maker Is Leaking
A few common mistakes can make the problem worse.
Do not keep running a leaking machine. Repeated cycles may allow more water to escape and could increase the risk of electrical damage.
Do not open the machine casing. Internal components may be hot, pressurized, or connected to electricity.
Do not use extra descaling solution. Running another descaling cycle will not fix a cracked tank, damaged seal, or failed hose.
Do not mix cleaning chemicals. Use only a descaling product and cleaning method approved for your machine.
Do not ignore a leak near an electrical connection. Stop using the machine and seek appropriate help.
Do not assume the drip tray is faulty just because it contains water. Check whether that water is part of the machine’s normal rinsing process.
How to Prevent Coffee Maker Leaks After Descaling
You cannot prevent every possible fault, but careful maintenance can help reduce avoidable problems.
Follow the Correct Descaling Instructions
Use the instructions supplied for your model. The amount of solution, rinse procedure, and cleaning mode can differ between coffee makers.
Use a Compatible Descaling Product
Choose the product recommended by the manufacturer. Avoid experimenting with stronger solutions or mixing products in an attempt to clean the machine faster.
Refit Removable Parts Carefully
Before using the machine again, check the reservoir, drip tray, filter basket, and other parts removed during cleaning.
Make sure every component is correctly positioned. Do not force parts that do not fit.
Empty and Clean the Drip Tray Regularly
Do not wait until the tray overflows. Empty it at the interval recommended in the manual, and check the surrounding area for residue that might stop removable parts from fitting correctly.
Inspect the Water Tank and Accessible Seals
Look for cracks, visible damage, or a loose connection whenever you remove the reservoir for cleaning.
Replace damaged parts with compatible replacements rather than trying to seal them with household adhesives.
Pay Attention to Changes in Performance
If your coffee maker begins brewing unusually slowly, producing little water, or making new noises, investigate the cause before the problem becomes worse.
If the coffee also becomes weak or watery after cleaning, my guide to fixing weak or watery coffee from a coffee maker explains other possible causes of poor brewing performance.
When Should You Repair or Replace Your Coffee Maker?
Not every leak means that the entire machine is damaged.
If the problem comes from a full drip tray or a poorly fitted reservoir, correcting the issue may be enough. A damaged removable tank may only require a suitable replacement part.
However, internal leakage, repeated water loss, or a fault near electrical components needs more careful attention.
Before replacing the machine, consider the following:
- Warranty: Check whether the repair may be covered before opening the machine or buying parts.
- Repair cost: Ask for an estimate if an internal component has failed.
- Replacement parts: Check whether a compatible reservoir, seal, or tray is available.
- Machine condition: Consider the age of the coffee maker and whether other problems are developing.
- Safety: Stop using the machine if there is an electrical risk or an unexplained internal leak.
If the repair is expensive compared with the cost of a suitable replacement, replacing the coffee maker may be the more practical choice.
Frequently Asked Questions
Why is my coffee maker leaking from the bottom after descaling?
Possible causes include an overflowing drip tray, water spilled during cleaning, a poorly seated reservoir, or an internal fault. Empty and refit the accessible parts after the machine has cooled. If fresh water continues to appear under the machine, stop using it and contact the manufacturer.
Can descaling cause a coffee maker to leak?
A leak that appears after descaling does not prove that the descaler caused the damage. The problem may relate to a removable part that was refitted incorrectly, an existing damaged seal, normal rinse drainage, or an internal fault. Follow the cleaning instructions for your model and investigate the leak’s location.
Why is water leaking from my coffee maker’s water tank?
The reservoir may not be seated correctly, or the tank, valve, or accessible seal may be damaged. Switch off the machine, let it cool, and check the tank for visible cracks and correct positioning. Replace damaged parts rather than attempting to seal them with glue.
Is water in the drip tray normal after descaling?
It can be normal. Some coffee makers send automatic rinse water into the drip tray during brewing or cleaning. If the tray fills unusually quickly, overflows repeatedly, or collects water while the machine is unused, check the manufacturer’s troubleshooting guide.
Why does my espresso machine leak around the portafilter?
A portafilter that is not locked correctly, coffee grounds on the basket rim, or a damaged group-head gasket may cause leakage. Allow the machine to cool, clean the accessible parts, and refit the portafilter as instructed. If the leak continues, arrange servicing.
Should I descale my coffee maker again if it starts leaking?
Not automatically. Another descaling cycle will not repair a cracked tank or damaged seal. First identify the leak, check the accessible parts, and consult the manual. Repeat descaling only if the manufacturer recommends it for your specific situation.
Can I use a coffee maker that is leaking water?
It depends on the source, but you should not continue using a machine with an unexplained leak. Water near electrical parts, a damaged casing, or an internal leak can present a safety risk. Stop using it until the cause has been identified and the machine is safe to operate.
What should I do if my coffee maker leaks when turned off?
Check whether water is simply draining from a normal collection path or whether fresh water is escaping from the reservoir or base. If the leak continues while the machine is unused, stop using it and contact the manufacturer or an authorized repair service.
Final Verdict
A coffee maker leaking after descaling does not always mean that the machine is broken. Start by checking the water reservoir, drip tray, filter basket, and removable parts. Also, remember that some machines release rinse water into the drip tray during normal operation.
The most important step is to identify where the water appears first. Correct simple positioning problems when it is safe to do so, and follow your manufacturer’s cleaning instructions. If water continues to leak from underneath the machine, appears near electrical components, or points to an internal fault, stop using the coffee maker and seek professional help.
Finding the real cause before buying parts or replacing the machine can save money and help you make a safer decision.

“I believe great cooking starts with the right tools, trusted advice, and a little confidence in the kitchen.”
Hi, I’m Emma Carter. My love for cooking began in my grandmother’s kitchen, where I learned that every great meal starts with simple ingredients and the right cookware. Over the years, I’ve spent countless hours researching, testing, and comparing kitchen appliances, cookware, coffee makers, air fryers, and other everyday kitchen essentials.
Here at KiCook, my goal is to make your buying decisions easier with honest product reviews, practical buying guides, and easy-to-follow cooking tips. Whether you’re upgrading your kitchen or searching for the best appliance for your home, I focus on providing clear, reliable, and research-backed information you can trust.
When I’m not testing new kitchen gadgets or writing in-depth guides, you’ll usually find me trying new recipes, visiting local farmers’ markets, or enjoying a quiet cup of coffee while planning my next kitchen project.