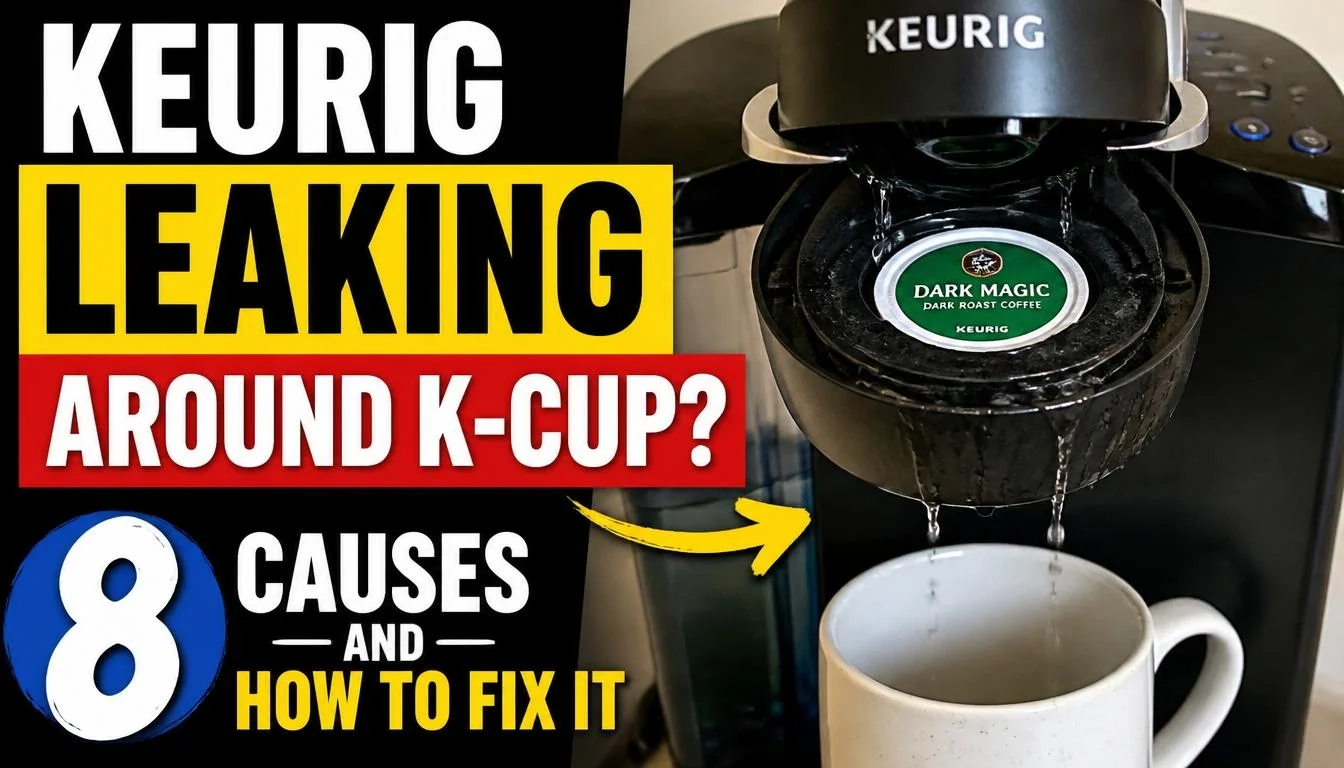
Is your Keurig leaking water or coffee around the K-Cup while brewing? You insert a pod, close the handle, and start making coffee. But instead of flowing neatly into your mug, water or coffee starts spilling around the pod holder. Sometimes, you may even find wet coffee grounds near the brewing chamber.
This problem can be frustrating, especially when your Keurig worked perfectly before. The good news is that you may not need a new coffee maker. A poorly positioned K-Cup, clogged needle, damaged pod, or dirty pod holder could be responsible.
In this guide, you will learn why your Keurig leaks around the K-Cup, how to identify the source, and what you can safely do to fix it.
Quick Answer: Why Is My Keurig Leaking Around the K-Cup?
A Keurig may leak around the K-Cup because the pod is not seated correctly, the entrance or exit needle is clogged, the pod seal is damaged, or the pod holder is dirty or broken. A reusable K-Cup that does not fit properly can also cause problems. Stop brewing, let the machine cool, inspect the pod holder, and clean the removable parts according to your model’s instructions.
How to Identify Where Your Keurig Is Leaking
Before trying to fix the problem, find out exactly where the water or coffee is coming from.
The location of the leak can give you useful clues about what is wrong. For example, clear water around the upper part of the brewing chamber may point to an entrance needle problem. Coffee grounds around the pod holder may suggest a damaged pod or blocked exit needle.
Use this table to narrow down the possible cause.
| What You Notice | Possible Cause | What to Check |
|---|---|---|
| Clear water around the top of the K-Cup | Clogged entrance needle or brewing chamber issue | Upper needle and pod area |
| Coffee leaking around the pod holder | Poor pod placement or damaged pod | K-Cup position and foil seal |
| Coffee grounds around the holder | Torn pod filter or clogged exit needle | Used pod and lower needle |
| Water overflowing from the pod holder | Blocked exit needle or incorrect pod placement | Needle and pod holder |
| Leakage only with reusable K-Cups | Poor fit or damaged reusable pod seal | Reusable pod and compatibility |
| Water underneath the machine | Possible internal leak or another fault | Reservoir and machine base |
These are possible causes, not guaranteed diagnoses. Different Keurig models have different brewing chamber designs.
If water is coming from underneath the machine rather than around the K-Cup, do not assume the pod holder is responsible.
8 Reasons Your Keurig Is Leaking Around the K-Cup
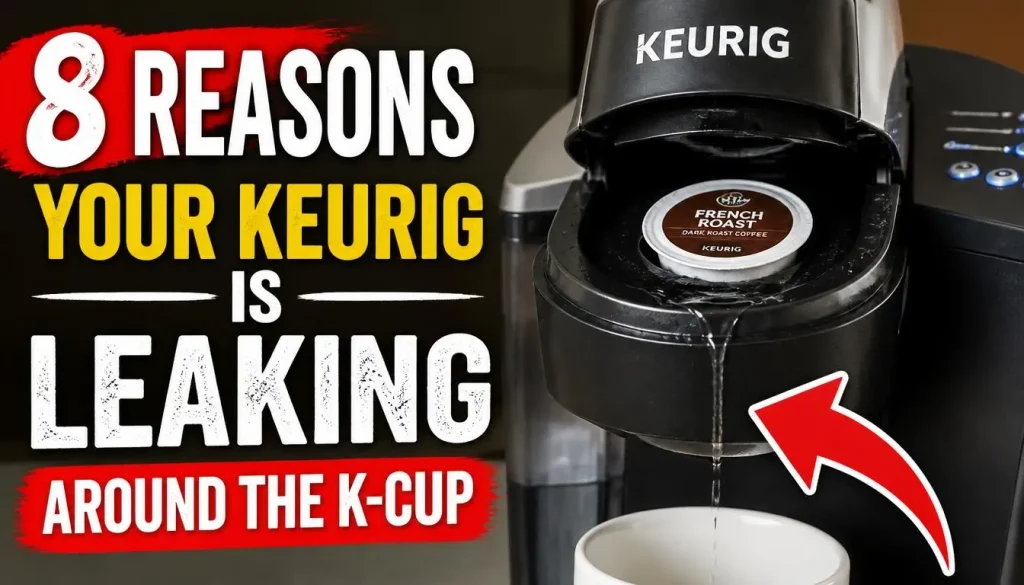
Let’s look at the most common areas to inspect and the steps that may help.
1. The K-Cup Pod Is Not Sitting Properly
A K-Cup must sit correctly inside the pod holder before brewing begins.
If the pod is tilted, sitting too high, or not positioned properly, the brewer may not pierce it as intended. The lid may also fail to close fully.
This can affect the normal water path and cause liquid to escape around the pod chamber.
How to fix it:
- Stop the brewing cycle.
- Turn off the brewer and unplug it when it is safe to do so.
- Allow the machine to cool before opening the brewing chamber.
- Remove the used K-Cup pod.
- Check whether the pod is damaged or misshapen.
- Place a new compatible K-Cup in the center of the holder.
- Close the handle completely without forcing it.
If the handle does not close normally, do not push it down with excessive force. Check for a misplaced pod, trapped debris, or a damaged part.
Try another compatible K-Cup to see whether the problem continues.
2. The Upper Piercing Needle Is Clogged
Your Keurig uses an entrance needle to pierce the top of the K-Cup pod.
When you start brewing, hot water passes through this needle and enters the coffee pod.
Over time, small coffee particles and other debris can collect around its openings. A blockage may interrupt normal water flow and cause unusual splashing or leakage around the brewing chamber.
You may notice:
- Water escaping around the upper part of the pod.
- Incomplete brewing.
- Coffee grounds near the needle.
- Unusual water flow during brewing.
How to fix it:
- Turn off and unplug your Keurig.
- Allow it to cool completely.
- Lift the handle according to your model’s instructions.
- Locate the entrance needle under the lid.
- Check for visible coffee grounds or debris.
- Use the manufacturer’s recommended cleaning tool and method.
- Complete any required water-only cleaning cycles before using a pod again.
Some Keurig user guides allow a straightened paperclip for gentle needle cleaning. Others may provide a special maintenance tool.
For detailed cleaning instructions, read the official Keurig K-Express Use & Care Guide.
Never push a tool forcefully into the needle or put your fingers inside the piercing area. The needles are sharp and can cause injuries.
3. The Lower Exit Needle Is Clogged
The lower piercing needle sits inside the bottom of the K-Cup pod holder.
Its job is to create an opening through which brewed coffee can flow into your cup.
When coffee grounds collect inside this small opening, the finished coffee may not drain properly. Instead, liquid can collect inside the pod holder and spill around the K-Cup.
You may notice:
- Coffee grounds around the pod holder.
- Coffee overflowing during brewing.
- A smaller amount of coffee in your mug.
- Uneven or interrupted coffee flow.
How to fix it:
- Turn off and unplug the brewer.
- Let it cool before removing any parts.
- Remove the pod holder if your model allows it.
- Separate the removable funnel if the manual permits.
- Inspect the exit needle for visible coffee grounds.
- Clean it gently using the method recommended by Keurig.
- Rinse the removable parts thoroughly.
- Reinstall everything correctly.
Do not use sharp objects to force a blockage through the needle.
Keurig provides specific instructions for cleaning the entrance and exit needles in its official cleaning support guide.
You can also read our complete Keurig coffee maker cleaning guide for more details about cleaning the pod holder, funnel, and other removable parts.
4. The K-Cup Foil Seal Is Damaged or the Pod Has Burst
Sometimes, the problem is not your coffee maker. It is the K-Cup itself.
Each K-Cup has a foil seal that keeps the coffee grounds inside the pod. If the seal is damaged, poorly attached, or already open, water may enter the pod incorrectly and cause coffee to escape around the holder.
A damaged pod may produce:
- Coffee grounds around the brewing chamber.
- Liquid spilling from the sides of the pod.
- A popping sound during brewing.
- Torn or separated foil.
An old or damaged K-Cup should not be used.
A blocked exit needle can also contribute to pressure buildup inside the pod. GE Appliances explains this relationship in its guidance for refrigerators with an integrated Keurig brewing system. The exact design may differ from a standalone Keurig brewer.
How to fix it:
- Stop the brewing cycle.
- Wait until the pod is cool enough to handle safely.
- Remove the used K-Cup.
- Check whether the foil seal has separated from the plastic cup.
- Look for torn internal filter material.
- Check the pod’s best-before or use-by information.
- Discard damaged or poorly sealed pods.
- Try a new, compatible K-Cup.
Do not reuse a pod that has already burst.
For additional information, see GE Appliances’ guide to separated or burst K-Cup foil seals.
If several different pods burst in the same brewer, inspect the lower needle and contact Keurig Support if the problem continues.
5. Your Reusable K-Cup Is Overfilled or Not Compatible
Do you notice leakage only when using a reusable K-Cup?
If disposable K-Cups work normally but your reusable coffee filter leaks, the reusable pod deserves a closer look.
Reusable K-Cups have different designs. Some have removable lids, built-in filters, or rubber seals. If a part is damaged or the pod does not fit your brewer correctly, it may interfere with normal brewing.
Overfilling the reusable filter can also cause problems.
Too many coffee grounds may restrict water flow. Very fine grounds can make the problem worse, especially if they escape into the lower needle area.
How to fix it:
- Remove the reusable K-Cup.
- Empty the remaining coffee grounds.
- Check the lid and any visible rubber seals.
- Look for cracks or damaged parts.
- Make sure the reusable pod is approved for your Keurig model.
- Refill it according to the manufacturer’s instructions.
- Do not pack the coffee grounds tightly.
- Test again if the reusable pod is in good condition.
If your brewer works correctly with a regular K-Cup but leaks with the reusable version, the reusable pod may be incompatible or damaged.
Do not assume every reusable coffee filter fits every Keurig model.
6. The K-Cup Pod Holder or Funnel Is Dirty or Damaged
The K-Cup pod holder supports the coffee pod during brewing. The funnel helps guide the brewed coffee toward the cup.
Coffee grounds, old residue, and small pieces of damaged pods can collect around these parts.
Over time, this debris may affect how the pod sits or how coffee flows through the holder.
A loose or cracked pod holder can also create problems.
How to fix it:
- Turn off and unplug your coffee maker.
- Allow it to cool.
- Remove the pod holder according to your model’s manual.
- Check the holder and funnel for coffee residue.
- Look for cracks or broken clips.
- Wash removable parts using the recommended cleaning method.
- Rinse thoroughly and allow them to dry.
- Reinstall the holder and make sure it sits correctly.
Do not force the holder into position. If it does not snap into place normally, check its alignment and inspect the clips.
A cracked holder should be replaced with a compatible part rather than repaired with household glue.
7. The Seal Around the Needle or Pod Holder Is Damaged
Some Keurig models use seals around parts of the brewing assembly to help manage water flow.
If an accessible seal becomes displaced, worn, or damaged, water may escape from an area that should remain sealed during brewing.
Possible signs include:
- Repeated leakage around the same area.
- Water escaping even when you use a new K-Cup.
- Leakage continuing after needle cleaning.
- A visibly damaged or displaced seal.
How to fix it:
First, inspect the accessible parts without removing the machine’s outer cover.
Check the pod holder, visible sealing surfaces, and removable components for damage.
If a seal looks damaged, consult the owner’s manual or contact Keurig Support to identify the correct replacement part.
Do not pull out a rubber seal, bend the needle assembly, or attempt to repair an internal seal with glue or household materials.
Not every Keurig model has a user-replaceable seal in the same location. The repair depends on the exact brewer design.
8. An Internal Hose or Brewer Component Is Damaged
If your Keurig continues leaking after you have checked the K-Cup, holder, and needles, an internal problem may be responsible.
Coffee makers contain water pathways, connections, seals, and heating components. A damaged internal connection can allow water to escape during brewing.
This type of problem is more serious than a dirty pod holder.
Possible warning signs include:
- Water collecting underneath the machine.
- Leakage that continues with different K-Cups.
- Water coming from inside the outer housing.
- Unusual pump sounds.
- Repeated brewing interruptions.
- Leakage that remains after cleaning accessible parts.
What should you do?
Stop using the brewer.
Do not remove the outer cover or try to repair electrical or internal water components yourself.
Contact Keurig Support or a qualified appliance repair professional. If the machine is still under warranty, check the warranty terms before attempting any repair.
You should never continue brewing with a machine that leaks near electrical parts.
How to Fix a Keurig That Leaks Around the K-Cup: Step-by-Step
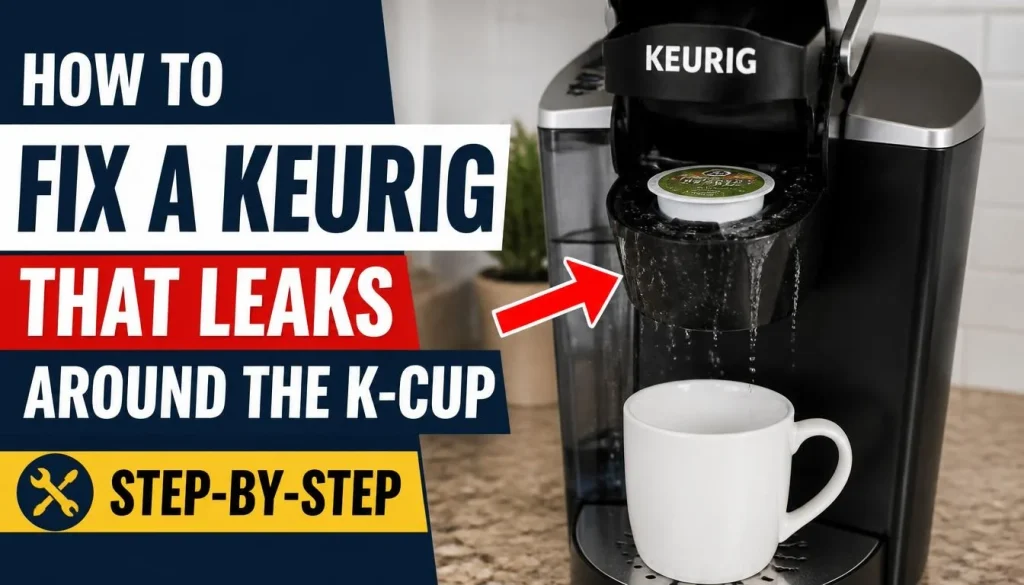
If you are unsure which problem is causing the leak, follow this troubleshooting order.
It starts with simple checks before moving to more difficult repairs.
Step 1: Stop the Brewing Cycle
Stop the machine as soon as you notice water or coffee escaping around the K-Cup.
Turn off the brewer and disconnect it from power only when the plug, socket, and surrounding area are dry and safe to touch.
If water has reached the electrical connection, do not touch the wet plug or outlet. Keep away and get appropriate help.
Step 2: Let the Machine Cool Down
Hot water and steam can cause burns.
Wait until the brewer has cooled before opening the brewing chamber or removing any parts.
Keep your hands away from the sharp piercing needles.
Step 3: Remove and Inspect the Used K-Cup
Remove the used pod carefully.
Look for:
- A torn foil seal.
- A cracked plastic cup.
- A damaged internal filter.
- Unusual amounts of wet coffee grounds.
- A pod that was not pierced correctly.
If the K-Cup is damaged, discard it.
Step 4: Inspect and Clean the Needles
Check both the upper entrance needle and lower exit needle for visible debris.
Follow your specific Keurig model’s cleaning instructions.
Some models allow a straightened paperclip or special cleaning accessory. Do not assume the same procedure applies to every brewer.
Step 5: Clean the Pod Holder and Funnel
Remove the pod holder and funnel if your model allows it.
Wash the removable parts as directed in the manual. Remove coffee residue and rinse away any soap.
Check for cracks or broken clips before putting the parts back.
Step 6: Reinstall the Removable Parts
Make sure the pod holder and funnel are correctly aligned.
The holder should sit securely in its designated position.
Never force a part that does not fit.
Step 7: Run a Water-Only Test Brew
Once everything is reinstalled correctly, follow your model’s instructions for a water-only cleansing cycle.
Do not insert a coffee pod during this test.
Watch the brewing chamber and cup area for unexpected water.
If the machine completes the test normally, try a new compatible K-Cup and check whether the leak has stopped.
If water continues escaping, stop using the brewer and contact Keurig Support.
Why Does My Keurig Leak Only With Certain K-Cup Pods?
This is an important question because the brewer may not be the problem.
If one K-Cup works normally but another leaks, compare the two pods.
Check these points:
Different pod designs: Some third-party pods may not fit your brewer as well as others. Check compatibility with your exact Keurig model.
Damaged foil seals: A poorly sealed or damaged pod may allow coffee grounds and liquid to escape.
Old coffee pods: Check the package date and the condition of the foil. Avoid using pods that are damaged or past their recommended date.
Reusable K-Cups: A reusable filter may have a loose lid, damaged seal, or incorrect fit.
Different fill levels: Some pod designs have different internal filter arrangements. If a pod repeatedly causes problems, stop using that type until you identify the cause.
Try a new, compatible K-Cup from a different package. If the machine works correctly, the original pod may have been the problem.
When Should You Replace the K-Cup Holder or Contact Keurig Support?
Not every leak can be fixed through cleaning.
Knowing when to stop troubleshooting can save time and prevent further damage.
Signs You Need a Replacement K-Cup Holder
Consider replacing the pod holder if:
- You can see a crack in the plastic.
- A clip is broken.
- The holder no longer stays in position.
- The funnel does not attach correctly.
- Leakage continues after cleaning and correct installation.
Always choose a replacement part that matches your brewer’s model.
Signs of an Internal Brewer Problem
Contact Keurig Support when:
- Water leaks from inside the outer housing.
- The machine leaks underneath during brewing.
- Multiple new K-Cups cause the same problem.
- Leakage continues after cleaning both needles.
- The pump makes unusual sounds.
- The brewer repeatedly interrupts its cycle.
If the machine is under warranty, ask about repair or replacement options before paying for a repair.
Is It Safe to Use a Keurig That Leaks?
It depends on where the leak is coming from, but you should not continue brewing while the cause is unknown.
A small amount of coffee around the pod holder may come from a damaged pod. However, water escaping from inside the machine can indicate a more serious fault.
Turn off the brewer and disconnect it safely.
Never use a coffee maker with water near its electrical connections, a damaged power cord, or signs of electrical failure.
How to Prevent Your Keurig From Leaking Around K-Cups Again
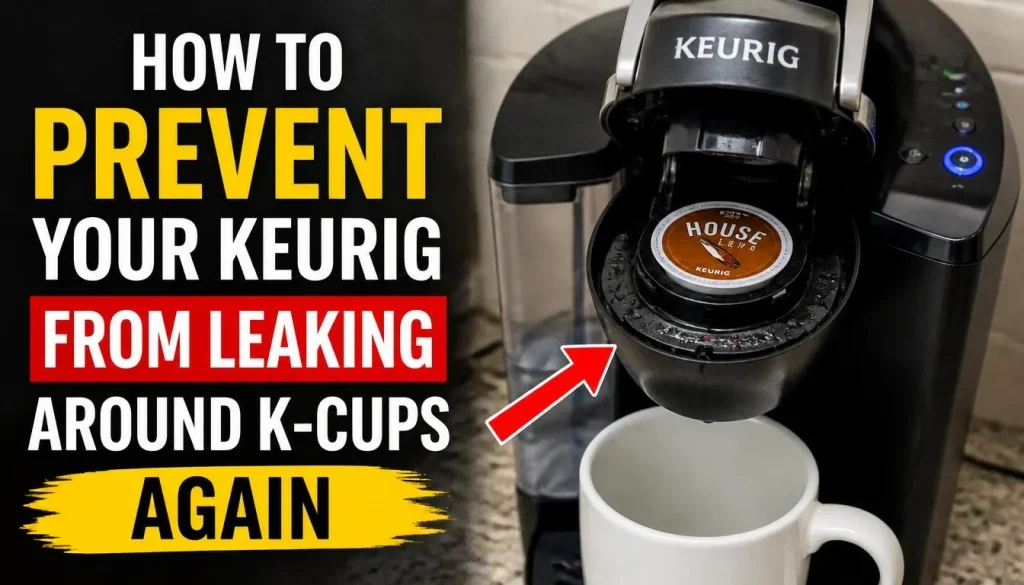
Once the problem is fixed, a few simple habits can help prevent it from returning.
Inspect each K-Cup before brewing. Check the foil seal and plastic cup for visible damage.
Use compatible coffee pods. Make sure your K-Cups or reusable filters are designed for your brewer.
Remove used pods after brewing. Do not leave old pods sitting inside the brewing chamber.
Clean the pod holder regularly. Coffee grounds can collect around the holder and funnel.
Keep both needles clear. Follow the cleaning schedule and instructions in your model’s manual.
Avoid overfilling reusable K-Cups. Follow the manufacturer’s recommended filling level.
Check removable parts after cleaning. A poorly fitted pod holder can create problems during the next brew.
Pay attention to unusual brewing behavior. Repeated overflow, unusual sounds, or incomplete brewing deserve attention.
Regular maintenance does not prevent every mechanical failure, but it can help you catch small problems before they become bigger ones.
Frequently Asked Questions About Keurig Leaking Around K-Cup
Why Is My Keurig Leaking Water Around the K-Cup Holder?
A Keurig can leak water around the K-Cup holder because of a clogged entrance needle, incorrect pod placement, or a problem with the brewing chamber. Start by inspecting the pod and removable holder. If the upper needle is blocked, clean it using the instructions for your specific model.
Why Does My Keurig Leak Coffee Grounds Around the K-Cup?
Coffee grounds around the K-Cup holder may indicate a damaged pod, a torn internal pod filter, or a clogged exit needle. Remove the used pod after the machine cools and inspect the holder. Clean the exit needle according to the manufacturer’s instructions.
Can a Clogged Needle Cause a K-Cup to Burst?
Yes, a clogged exit needle can contribute to pressure buildup inside a K-Cup. This may cause the foil seal to separate and release coffee grounds and liquid. However, a damaged or poorly sealed pod can also burst without a needle problem.
Why Is My Keurig Leaking From the Top of the K-Cup?
Water leaking from the top may be related to a clogged entrance needle, incorrect pod placement, or a problem with the upper brewing assembly. Check the pod and inspect the visible needle area. If cleaning does not help, contact Keurig Support.
Why Does My Keurig Leak Only With Reusable K-Cups?
The reusable K-Cup may be incompatible with your brewer, overfilled, or damaged. Check its lid, filter, and rubber seals. Try a compatible disposable K-Cup to see whether the machine works normally.
How Do I Clean a Keurig K-Cup Holder?
Turn off and unplug the brewer, allow it to cool, and remove the pod holder according to your model’s instructions. Remove the funnel if permitted, wash the removable parts, and rinse them thoroughly. Clean the exit needle using the recommended method before reinstalling everything.
Should I Descale My Keurig If It Leaks Around the K-Cup?
Not automatically. Descaling removes mineral buildup inside the brewer, but it may not fix a torn K-Cup, damaged holder, or blocked pod needle.
If the descale light is on or water flow has slowed, follow the correct descaling procedure. For leakage that started after descaling, read our guide to coffee maker leaking after descaling.
Is It Safe to Use a Keurig That Leaks During Brewing?
You should stop using it until you identify the cause. A damaged K-Cup may create a simple mess, but water leaking from inside the brewer or near electrical components can be dangerous.
Turn off the machine, disconnect power only if it is safe, and contact Keurig Support if the source of the leak is unclear.
How Do I Know If My Keurig K-Cup Holder Needs Replacing?
Look for visible cracks, broken clips, damaged plastic, or a holder that no longer stays securely in place. If the holder is damaged and continues leaking after cleaning, it may need a compatible replacement.
Final Thoughts
A Keurig leaking around the K-Cup does not always mean the coffee maker is broken. In many cases, the cause may be a poorly positioned pod, clogged entrance or exit needle, damaged foil seal, or dirty pod holder.
Start with the simplest checks. Inspect the K-Cup, clean the removable holder, and check the needles using your model’s recommended procedure.
If you use a reusable K-Cup, make sure it fits your brewer and is not overfilled.
Most importantly, do not ignore repeated leakage. If water continues escaping after basic cleaning or appears underneath the machine, stop using the brewer and ask Keurig Support for help.
Finding the actual source of the leak is the best way to avoid unnecessary repairs and keep your coffee maker working safely.

“I believe great cooking starts with the right tools, trusted advice, and a little confidence in the kitchen.”
Hi, I’m Emma Carter. My love for cooking began in my grandmother’s kitchen, where I learned that every great meal starts with simple ingredients and the right cookware. Over the years, I’ve spent countless hours researching, testing, and comparing kitchen appliances, cookware, coffee makers, air fryers, and other everyday kitchen essentials.
Here at KiCook, my goal is to make your buying decisions easier with honest product reviews, practical buying guides, and easy-to-follow cooking tips. Whether you’re upgrading your kitchen or searching for the best appliance for your home, I focus on providing clear, reliable, and research-backed information you can trust.
When I’m not testing new kitchen gadgets or writing in-depth guides, you’ll usually find me trying new recipes, visiting local farmers’ markets, or enjoying a quiet cup of coffee while planning my next kitchen project.