

You fill your Keurig water reservoir, put it back in place, and get ready to make coffee. But the Add Water light stays on. The machine refuses to brew, even though there is plenty of water in the tank.
This problem can be frustrating, especially when your coffee maker was working fine before. The good news is that you may not need a new machine. A poorly seated reservoir, distilled water, a dirty filter screen, or a model-specific water detection issue could be responsible.
In this guide, I will explain why your Keurig Add Water light stays on and show you eight practical ways to troubleshoot the problem. You will also learn what to check on different Keurig models and when to contact customer support.
Quick Answer: How Do You Fix a Keurig Add Water Light That Stays On?
If your Keurig Add Water light stays on even when the reservoir is full, first check the type of water you are using. Distilled water can prevent some Keurig models from detecting the water level. Next, remove and correctly reseat the reservoir, check the water level, and clean the tank and its accessible filter screen. If the warning remains, follow the troubleshooting instructions for your exact model.
Why Does My Keurig Add Water Light Stay On?
Your Keurig uses a water detection system to determine whether there is enough water available for brewing. When the brewer does not recognize the water in the reservoir, it may keep the Add Water light illuminated.
Here are some common reasons this happens:
| Possible Cause | What You May Notice |
|---|---|
| Distilled water | The tank is full, but the light stays on |
| Incorrect reservoir position | The machine does not recognize the water tank |
| Low water level | The brewer refuses to start |
| Dirty reservoir or filter screen | Water may not flow as expected |
| Incorrectly installed water filter | The reservoir or filter may not fit as intended |
| Water reservoir damage | Water may leak or the tank may not sit correctly |
| Internal brewer fault | The warning remains after basic troubleshooting |
The exact cause depends on your Keurig model. Start with the simple checks before assuming that an internal sensor has failed.
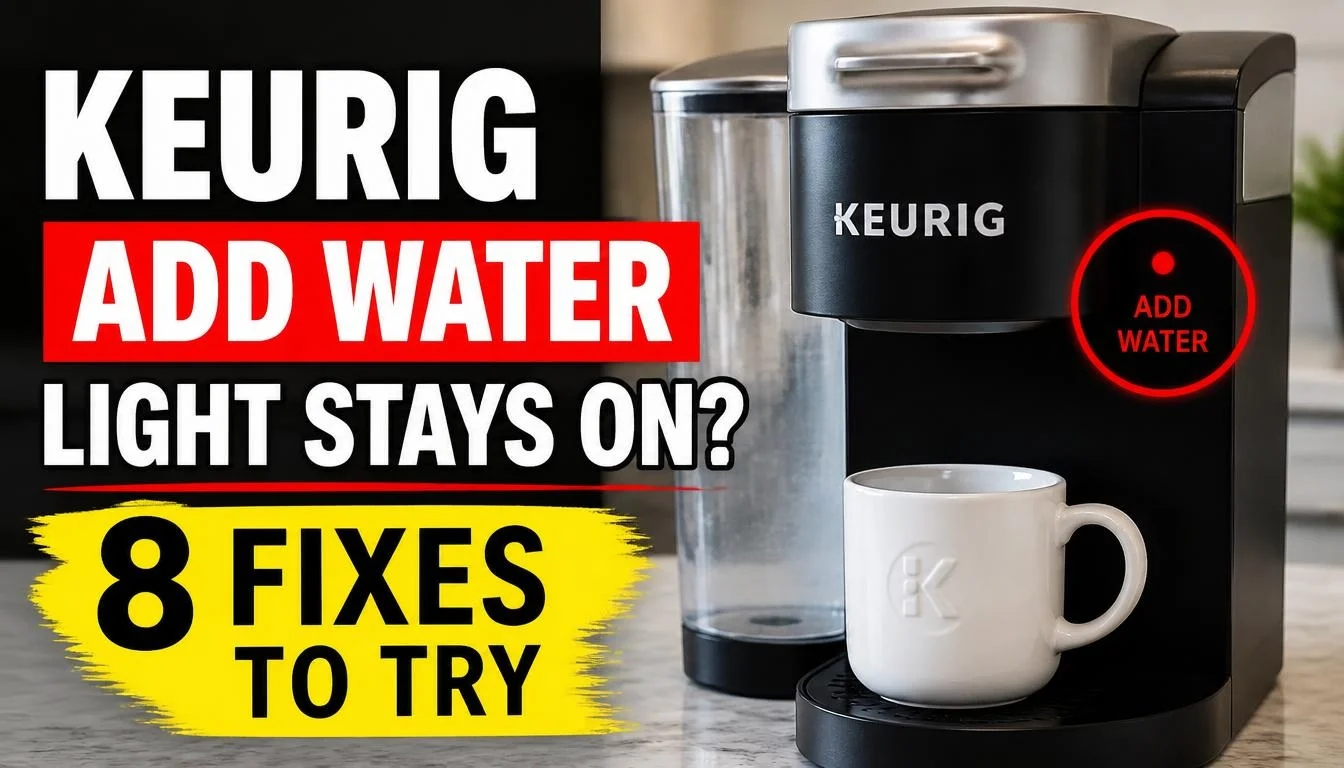
Keurig Add Water Light Stays On? 8 Fixes to Try
Try these solutions in order. Before removing the reservoir or cleaning any parts, turn off the brewer and unplug it when appropriate. Allow hot parts to cool before handling them.
Fix 1: Check Whether You Are Using Distilled Water
One possible reason your Keurig Add Water light stays on is the type of water inside the reservoir.
Distilled water contains very few dissolved minerals. According to Keurig Canada, some brewers may not detect distilled water correctly because it lacks minerals. As a result, the Add Water light may remain on even when the reservoir is full.
Here is what you can try:
- Turn off your Keurig coffee maker.
- Remove the water reservoir if your model allows it.
- Empty the distilled water.
- Rinse the reservoir with fresh water.
- Refill it with the type of water recommended in your brewer’s manual.
- Reinstall the reservoir and check the indicator.
Filtered or bottled water may be suitable for many Keurig models, but always follow your model’s water recommendations.
If you want to understand how distilled water affects coffee makers, read our guide on whether distilled water can damage a coffee maker.
Important: Do not assume that distilled water is the only possible cause. If the light remains on, continue with the next fix.
Fix 2: Check the Water Level in the Reservoir
Sometimes, the reservoir simply does not contain enough water for the selected brewing process.
Even if you can see some water inside, it may be below the required minimum level.
Try these steps:
- Check the water level through the reservoir.
- Remove the tank if necessary.
- Add fresh water to the recommended level.
- Make sure you do not fill beyond the MAX line.
- Reinstall the reservoir and check the Add Water light.
The required amount depends on your Keurig model.
For example, the Keurig K-Mini manual specifies a minimum of 6 ounces of water for brewing. Other Keurig models have different reservoir designs and requirements.
Do not guess the minimum amount. Check your owner’s manual before brewing.
Fix 3: Remove and Reattach the Water Reservoir
A water reservoir that is slightly out of position may prevent your Keurig from recognizing the available water.
This can happen after refilling, cleaning, or moving the coffee maker.
Follow these steps:
- Turn off and unplug the brewer.
- Remove the water reservoir according to the manufacturer’s instructions.
- Check the bottom of the reservoir for visible dirt or damage.
- Inspect the area where the reservoir connects to the brewer.
- Place the tank back in its correct position.
- Make sure it sits firmly and evenly.
- Reconnect the brewer and check the indicator.
Some Keurig models have locking tabs that must engage properly.
For example, the K40/K45 owner’s manual explains that the reservoir must sit correctly in its base. Its lock tabs must also engage with the brewer.
Do not push or force the tank into place. If it does not fit correctly, check your model’s manual.
Fix 4: Clean the Water Reservoir and Filter Screen
A dirty water reservoir can cause several maintenance problems. Mineral deposits and other residue may collect around the tank and its accessible filter screen.
Cleaning these areas is a useful step when the Add Water light refuses to turn off.
Here is how to clean the reservoir:
- Turn off and unplug the coffee maker.
- Remove the reservoir according to the manual.
- Empty the remaining water.
- Clean the reservoir using a soft, non-abrasive cloth and the cleaning method recommended by Keurig.
- Inspect the accessible filter screen at the reservoir base, if your model has one.
- Rinse the screen according to the manufacturer’s instructions.
- Rinse the reservoir thoroughly with fresh water.
- Reinstall all removable parts correctly.
Avoid using sharp objects or metal tools to clean the screen. Do not put the reservoir in a dishwasher unless your model’s manual specifically allows it.
The K40/K45 owner’s manual recommends cleaning the reservoir with a damp, soapy, non-abrasive cloth. It also explains how to rinse the filter screen.
You can also follow our detailed guide on how to clean a Keurig coffee maker for additional maintenance advice.
Fix 5: Check the Keurig Water Filter Cartridge
If your Keurig uses an optional charcoal water filter, check whether it is installed correctly.
A water filter that is fitted incorrectly may affect the way the reservoir components sit together. An old or poorly maintained filter can also affect water quality and flow.
Try the following:
- Remove the reservoir if your model allows it.
- Locate the removable water filter holder.
- Check whether the cartridge is installed in the correct direction.
- Inspect the holder for visible damage or residue.
- Follow the filter kit instructions to reinstall or replace the cartridge.
If the manufacturer’s cleaning instructions require removing the filter before cleaning, do so.
Do not assume that every Keurig has a removable water filter. Some models do not include one, and filter replacement schedules vary.
Also, replacing the filter will not necessarily solve a water detection problem. If the indicator remains on, check the other possible causes.
Fix 6: Inspect the Reservoir Base and Accessible Water Connection
The bottom of the water reservoir is another area worth checking.
Depending on your Keurig model, the reservoir may have an outlet valve, seal, or other accessible connection parts.
If these areas contain visible dirt or the tank is damaged, the reservoir may not function correctly.
Check the following:
- Look for visible dirt around the reservoir outlet.
- Inspect accessible seals for damage.
- Check whether the tank has cracks.
- Look for signs of water leaking from the bottom.
- Check for a visibly stuck or damaged float only if your reservoir design has one.
Do not force a valve, remove an internal component, or poke the connection with a sharp object.
If the reservoir is damaged, check whether a compatible replacement is available for your exact brewer model.
Fix 7: Follow the Correct Troubleshooting Steps for Your Keurig Model
Not every Keurig coffee maker uses the same water reservoir or indicator system.
A troubleshooting step that works on one model may not apply to another. Here are some model-specific points to consider.
Keurig K-Mini and K-Mini Plus
The K-Mini and K-Mini Plus use a different water reservoir design from many larger Keurig brewers.
First, make sure you add at least 6 ounces of water before attempting to brew.
If the Add Water indicator does not flash blue, Keurig recommends checking that the brewer has power. Its support instructions also explain that water may remain in the cold water reservoir or inside the brewer.
For the K-Mini series covered by those instructions:
- Make sure the brewer is powered on.
- Raise the handle to allow water to drain from the cold water reservoir into the brewer.
- If the indicator still does not flash, follow Keurig’s specific draining procedure.
- Power off the brewer, place a mug on the drip tray, and hold the BREW button until the remaining water is dispensed.
Follow the instructions for your exact model rather than trying this procedure on another Keurig.
You can find the manufacturer’s instructions in the official Keurig K-Mini troubleshooting guide.
Keurig K-Supreme and K-Supreme SMART
If you own a K-Supreme or K-Supreme SMART, start by checking the water reservoir position.
Remove and reinstall the reservoir according to the manual. Make sure the lock tabs engage properly where applicable, and fill the tank to the MAX FILL line.
The K-Supreme SMART Use & Care Guide also specifically says not to use distilled water.
Read the official K-Supreme SMART Use & Care Guide before trying model-specific maintenance steps.
Keurig K40 and K45 Elite
The K40 and K45 owner’s manual provides specific instructions for different indicator combinations.
If the blue Add Water light remains illuminated after refilling, the manual advises contacting Keurig customer service.
There is also a separate procedure if the blue Add Water light, red Heating light, and Small Mug button flash together:
- Remove the water reservoir completely.
- Clean it thoroughly according to the manual.
- Fill it to, but not above, the MAX FILL line.
- Reinstall the tank and make sure it is seated correctly.
- Press the flashing Small Mug button.
The manual advises repeating this procedure no more than twice. If the problem continues, contact customer service.
You can check the official Keurig K40/K45 owner’s manual for the complete instructions.
Fix 8: Contact Keurig Support if the Light Still Stays On
If you have checked the water type, reservoir position, water level, and accessible filter screen but the Add Water light remains on, there may be an internal brewer problem.
Possible causes include a faulty water detection component, a damaged connection, or another internal malfunction.
At this point, further DIY repairs may create additional problems.
Before contacting customer support, prepare the following information:
- Your Keurig model number.
- The approximate purchase date.
- A description of the indicator lights.
- The troubleshooting steps you have already tried.
- Any visible signs of leakage or damage.
Check your warranty before paying for a repair or buying a replacement brewer.
You can visit Keurig’s official support website to find assistance for your model.
Do not open the machine’s internal housing or attempt to repair electrical components yourself.
Keurig Says Add Water When the Reservoir Is Full: What Should You Do?
This is one of the most frustrating versions of the problem.
You can clearly see enough water in the tank, but your Keurig continues to display the Add Water warning.
Start with these three checks:
Check the water type: If you recently switched to distilled water, try the water type recommended by your brewer’s manual.
Check the reservoir position: Remove and reinstall the tank. Make sure it sits correctly in its base.
Check for visible dirt or damage: Inspect the reservoir, accessible filter screen, and connection area.
If none of these steps helps, follow the troubleshooting instructions for your exact model.
Do not assume that adding more water will solve the problem. A full reservoir does not guarantee that the brewer is detecting it correctly.
What Does It Mean When the Keurig Add Water Light Is Blinking?
The meaning of a blinking Add Water light depends on your Keurig model.
Some brewers use a steady light to indicate low water, while others use flashing lights as part of a different operating or troubleshooting pattern.
Pay attention to the other indicators as well.
For example, the K40/K45 has a specific troubleshooting procedure when its blue Add Water light, red Heating light, and Small Mug button flash together.
Check your owner’s manual before deciding what the flashing pattern means.
If several lights flash together or the brewer stops responding, avoid repeatedly pressing buttons without knowing what the indicator pattern represents.
Keurig Add Water and Descale Lights Are On Together
The Add Water and Descale lights indicate different things.
The Add Water light is associated with water availability or detection. The Descale light indicates that the brewer needs descaling according to its maintenance system.
If both indicators are on, check the water reservoir first. Make sure it contains the correct amount of recommended water and is properly installed.
Next, check your manual to see whether your brewer requires descaling.
Do not assume that descaling will automatically fix an Add Water warning. If the brewer cannot detect the water reservoir, repeating a descaling process may not address the actual problem.
If your machine is also having trouble after a descaling cycle, our guide on coffee maker not working after descaling may help you investigate that separate issue.
Should You Descale Your Keurig When the Add Water Light Stays On?
Not necessarily.
Descaling removes mineral deposits that build up inside the coffee maker. It helps maintain normal water flow and brewing performance.
However, an Add Water warning does not automatically mean mineral buildup is responsible.
You should consider descaling when:
- The Descale indicator is illuminated.
- Your manual recommends scheduled descaling.
- Water flow has become slow.
- Your brewer shows signs of mineral buildup.
Always use the descaling method recommended for your model.
If a cleaning or descaling cycle appears stuck, check that you have followed the correct rinse steps. You can also read our guide on coffee maker cleaning cycles that get stuck.
How to Prevent Keurig Water Reservoir Problems
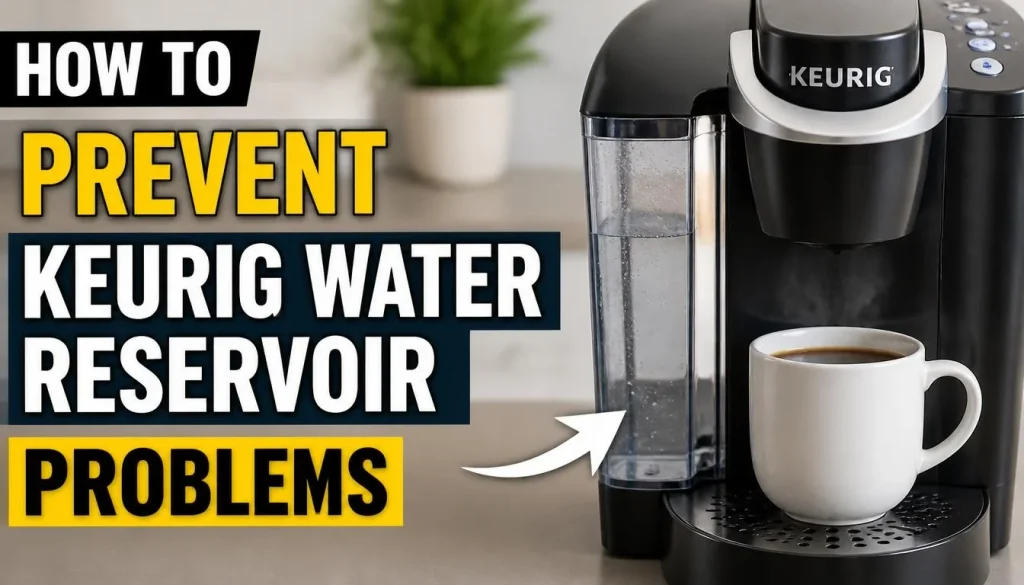
A few simple habits can help reduce future water reservoir problems.
Use the recommended water: Check your manual before choosing tap, filtered, bottled, or distilled water.
Clean the reservoir regularly: Remove visible residue and follow the cleaning instructions for your brewer.
Check the water filter: Replace optional filter cartridges according to the manufacturer’s recommended schedule.
Avoid overfilling: Keep the water level at or below the MAX FILL line.
Reinstall the reservoir correctly: Make sure the tank sits securely in its proper position after cleaning or refilling.
Follow the maintenance schedule: Regular cleaning and descaling help keep your machine working as intended.
A little routine maintenance can prevent many avoidable coffee maker problems.
Frequently Asked Questions
1. Why Does My Keurig Say Add Water When the Reservoir Is Full?
Your Keurig may not be detecting the water correctly. Common reasons include distilled water, an incorrectly seated reservoir, or a problem with an accessible tank connection. Start by checking the water type and reinstalling the reservoir.
2. How Do I Reset the Keurig Add Water Light?
There is no single reset procedure that applies to every Keurig model. First, correct the water level and reservoir position. If your manual provides a power-cycle or restart procedure, follow those instructions. Avoid trying random button combinations.
3. Can Distilled Water Cause the Keurig Add Water Light to Stay On?
Yes, it can on some models. Keurig Canada explains that distilled water contains very few minerals, which may prevent certain brewers from detecting the water in the reservoir. Check your model’s water recommendations before using it.
4. Why Won’t My Keurig Brew Even When It Has Water?
The brewer may not recognize the water reservoir, or another indicator condition may be preventing brewing. Check that the tank is properly installed, contains enough water, and uses the recommended water type.
5. Can a Dirty Water Reservoir Cause the Add Water Warning?
A dirty reservoir or filter screen may contribute to water-related problems. Remove and clean accessible parts according to your owner’s manual. If the warning remains, investigate the other possible causes.
6. Does Descaling Fix the Keurig Add Water Light?
Not usually. Descaling targets mineral buildup inside the water system. It does not necessarily fix a reservoir detection problem. Check the water tank, water type, and indicator pattern first.
7. Why Does My Keurig Add Water Light Keep Blinking?
The meaning depends on your Keurig model. Some models use different flashing patterns to indicate specific conditions. Check the owner’s manual and observe whether other lights are flashing at the same time.
8. When Should I Replace My Keurig Water Reservoir?
Consider replacing it if the tank is cracked, leaking, or physically damaged. Make sure the replacement is compatible with your exact Keurig model. If the tank looks fine but the warning remains, the brewer itself may need service.
Final Thoughts
A Keurig Add Water light that stays on does not always mean your coffee maker is broken. In many cases, the problem may be related to the water type, reservoir position, or a maintenance issue.
Start with the simplest checks. Make sure you use the recommended water, fill the reservoir correctly, and reinstall it properly. Then clean the accessible parts and follow the troubleshooting instructions for your specific Keurig model.
If the light still stays on after these steps, contact Keurig support instead of opening the brewer.
With the right troubleshooting approach, you can often identify the cause without replacing your entire coffee maker.

“I believe great cooking starts with the right tools, trusted advice, and a little confidence in the kitchen.”
Hi, I’m Emma Carter. My love for cooking began in my grandmother’s kitchen, where I learned that every great meal starts with simple ingredients and the right cookware. Over the years, I’ve spent countless hours researching, testing, and comparing kitchen appliances, cookware, coffee makers, air fryers, and other everyday kitchen essentials.
Here at KiCook, my goal is to make your buying decisions easier with honest product reviews, practical buying guides, and easy-to-follow cooking tips. Whether you’re upgrading your kitchen or searching for the best appliance for your home, I focus on providing clear, reliable, and research-backed information you can trust.
When I’m not testing new kitchen gadgets or writing in-depth guides, you’ll usually find me trying new recipes, visiting local farmers’ markets, or enjoying a quiet cup of coffee while planning my next kitchen project.