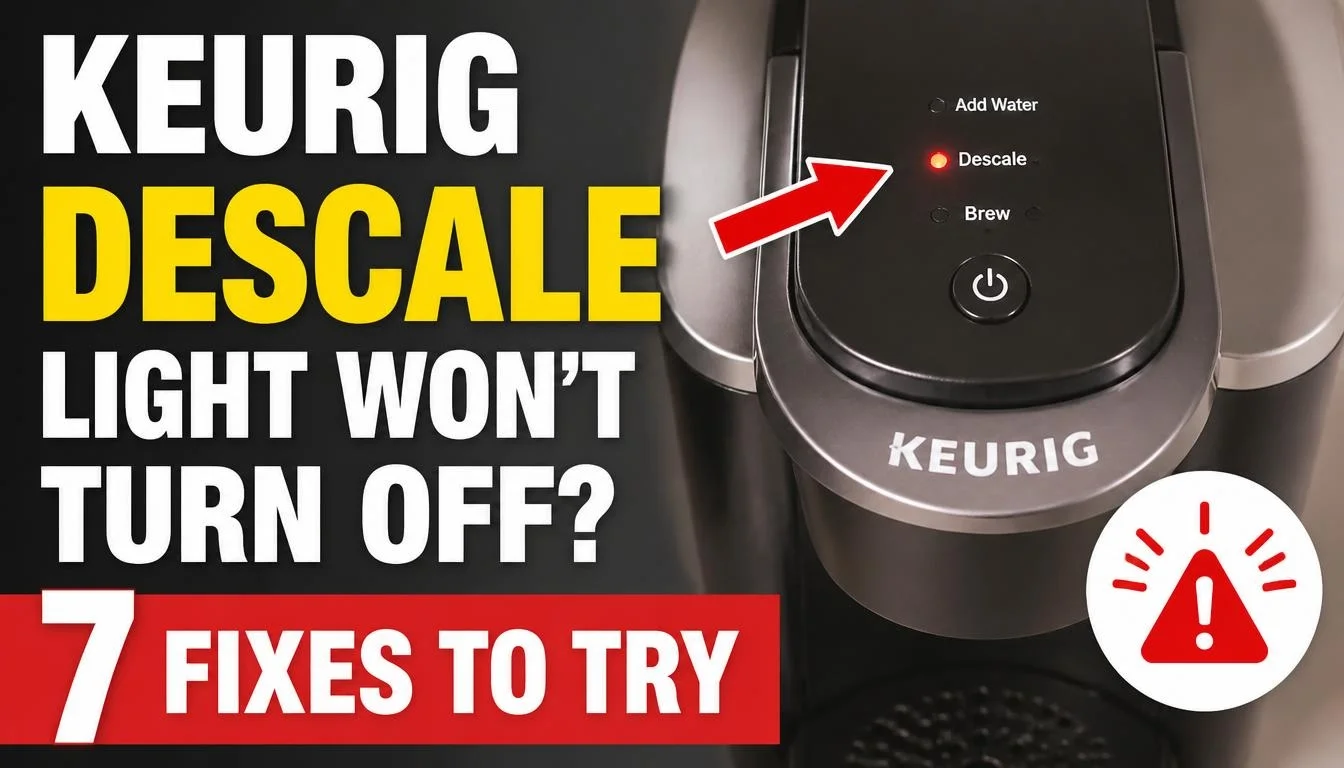
You finished descaling your Keurig, rinsed the water reservoir, and expected the warning light to disappear. But the Descale Light is still on. It may also keep flashing, even though you have already run several cups of fresh water through the machine.
This can be frustrating, especially when you need your coffee maker to work normally again.
The good news is that a Keurig Descale Light that stays on does not always mean the machine is broken. In many cases, the brewer has not completed its full descaling procedure, the final rinse cycle was interrupted, or the wrong button sequence was used.
The exact solution depends on your Keurig model. A K-Express, K-Iced Essentials, and older Classic Series brewer do not all use the same descaling controls.
In this guide, I will explain why your Keurig Descale Light won’t turn off, how to fix the problem, and which model-specific instructions you should follow. You will also learn what to do if the machine stops dispensing water during descaling.
Quick Answer: Why Won’t My Keurig Descale Light Turn Off?
Your Keurig Descale Light may stay on because the complete descaling and fresh-water rinse procedure has not been finished.
On many newer Keurig models, you must enter Descale Mode and complete every guided step before the warning disappears. Simply running descaling solution through the machine may not be enough.
Try these checks first:
- Confirm that you used the correct descaling procedure for your Keurig model.
- Make sure you completed the descaling solution stage.
- Empty and rinse the water reservoir when instructed.
- Fill the reservoir with fresh water and complete the required rinse cycles.
- Follow your model’s instructions until the Descale notification turns off.
Do not try random button combinations. A reset method that works on one Keurig model may not work on another.
First, Identify Your Keurig Model and Descale Light Status
Before trying any fix, check which Keurig brewer you own. This is important because different models use different buttons and descaling procedures.
Look for the model name or number on the brewer, its product label, or the original owner’s manual. Do not rely only on the machine’s appearance.
What Does a Solid Descale Light Mean?
A solid Descale Light can be a maintenance reminder on some Keurig brewers. It tells you that the machine needs descaling.
For example, the older Keurig Hot Classic Series has a red Descale Light that comes on when descaling is needed.
However, do not assume that every Keurig uses the same indicator system. Some newer brewers use a guided Descale Mode with different light patterns.
What Does a Flashing Descale Light Mean?
A flashing light does not always mean something is wrong.
On some models, the lights flash when the machine is ready for you to press a button and start the next part of the descaling or rinsing process.
For example, the K-Express uses flashing brew-size buttons during its guided procedure. You must press the correct button to continue.
If the light keeps flashing, check whether the machine is waiting for your next action. Follow the owner’s manual instead of treating every flashing light as an error.
Does Your Keurig Have a Dedicated Descale Mode?
Some newer Keurig brewers have a dedicated Descale Mode. Others use a manual descaling process.
This difference matters.
If your machine requires you to activate Descale Mode first, running water or descaling solution through a normal brew cycle may not clear the reminder.
Check the manual for your exact model before starting again.
Why Is Your Keurig Descale Light Still On After Descaling?
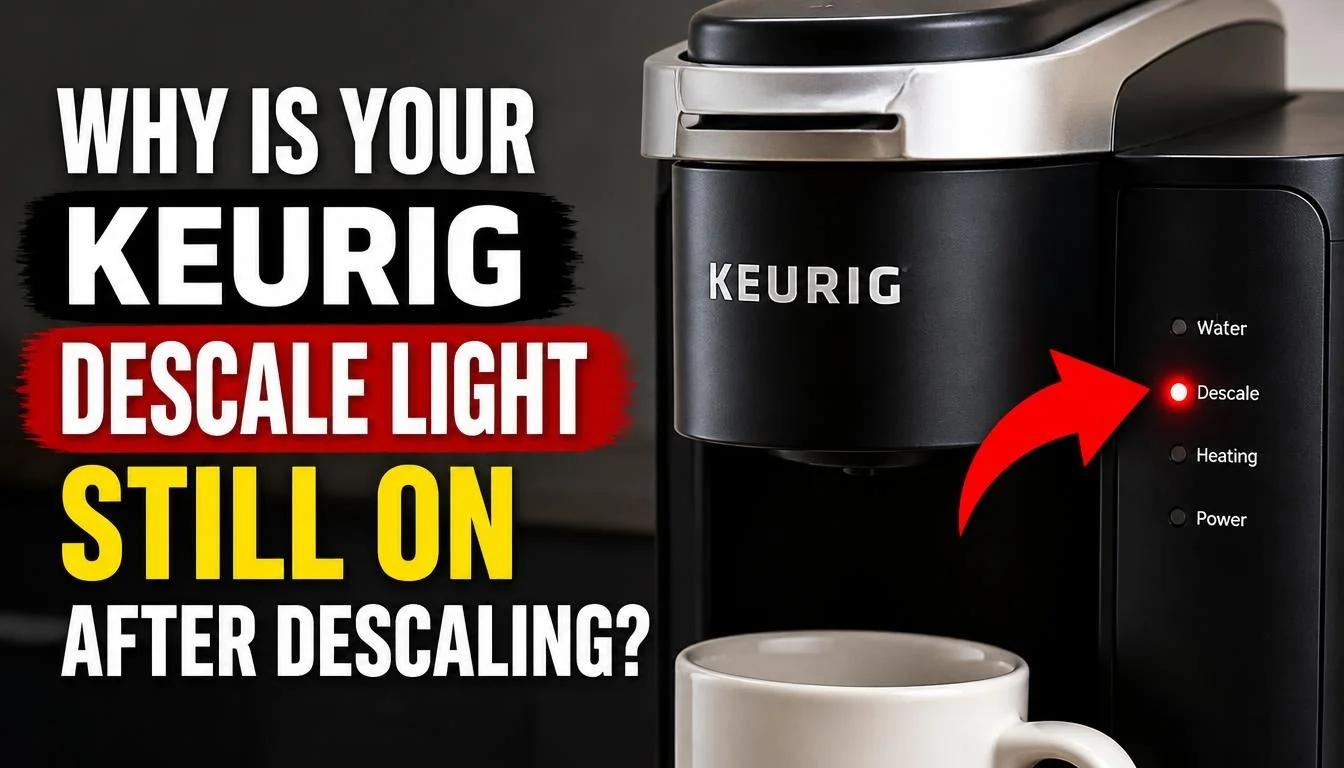
There are several possible reasons. Understanding the cause can help you avoid repeating the entire process unnecessarily.
1. The Descaling Cycle Was Not Completed
Many Keurig brewers require more than one descaling step.
The machine may need to run the solution through its internal water system until it displays an instruction such as ADD WATER.
If you stop before reaching that stage, the brewer may not register the process as complete.
2. You Skipped the Fresh Water Rinse
Descaling solution removes mineral deposits, but the machine must also go through the required fresh-water rinse.
If you skip this stage or stop too early, the Descale Light may remain on.
Always check whether your model requires a separate rinse mode.
3. You Used the Wrong Button Combination
Different Keurig models use different button combinations to enter Descale Mode.
For example, the K-Express and K-Iced Essentials use different brew-size buttons to start their procedures.
Using the wrong combination may prevent the brewer from entering the correct mode.
4. The Water Reservoir Is Not Seated Properly
The brewer needs a steady water supply to complete the descaling and rinsing stages.
If the reservoir is not positioned correctly, the machine may fail to draw water.
It may also display an Add Water warning even when there is water in the tank.
5. Mineral Buildup Is Restricting Water Flow
Heavy limescale can restrict the internal water pathways.
During descaling, you might notice that the machine makes a pumping sound but releases very little water.
Keurig’s own user guides explain that a heavily scaled brewer may produce little or no water during the descaling process.
This can affect the machine’s ability to complete the rinse stage.
6. You Followed Instructions for Another Keurig Model
This is an easy mistake to make.
Two Keurig brewers may look similar but use different button sequences, rinse instructions, and completion steps.
Always match the instructions to the model printed on your machine.
7. The Brewer Has a Technical Problem
If you have completed the correct procedure and checked the water supply, a technical fault may be responsible.
A damaged component or persistent water-flow problem may prevent the machine from completing its descaling cycle.
If basic troubleshooting does not help, contact Keurig Customer Support.
How to Fix a Keurig Descale Light That Won’t Turn Off
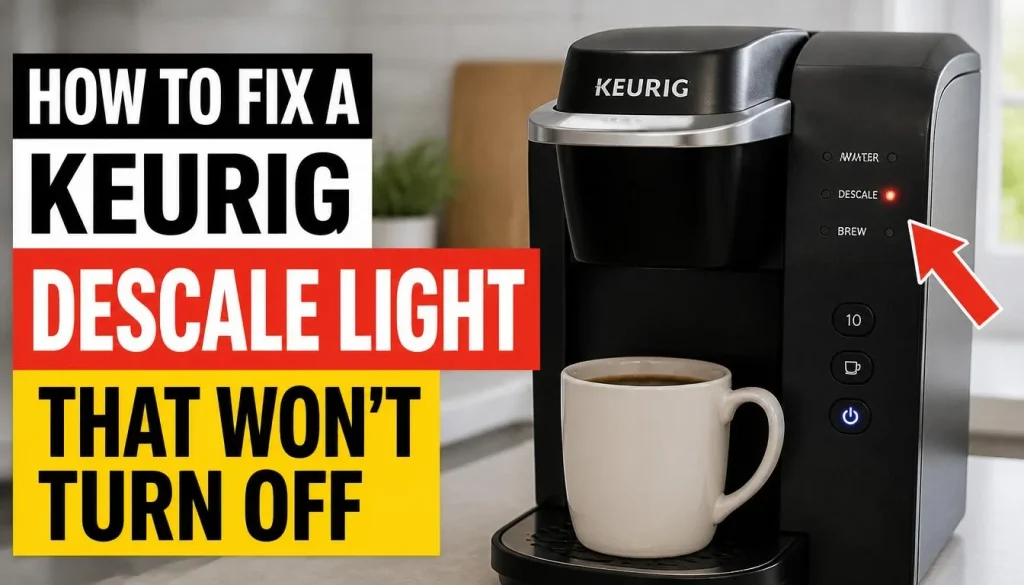
Try these seven fixes in order. Start with the basic checks before attempting more involved troubleshooting.
1. Make Sure You Entered Descale Mode Correctly
First, check whether your Keurig requires a dedicated Descale Mode.
If it does, make sure you activated it using the correct button combination.
For example, the K-Express requires you to:
- Plug in the brewer and make sure it is powered off.
- Press and hold the 8 oz and 12 oz buttons together for 3 seconds.
- Wait for the brew-size buttons to flash.
- Press the 12 oz button to begin the descaling process.
This sequence applies to the K-Express guide referenced below. It is not a universal reset method for every Keurig.
You can check the official Keurig K-Express Use & Care Guide for the complete procedure.
If you own a different model, use its own instructions.
2. Complete the Entire Descaling Cycle
Do not stop after running the first batch of descaling solution.
The machine may need several cleansing brews before it reaches the ADD WATER stage.
For a K-Express, the official procedure says to continue brewing until the ADD WATER light comes on.
Here is what to check:
- Make sure there is no K-Cup pod in the pod holder.
- Use the descaling solution recommended for your model.
- Place a large, suitable mug under the dispenser.
- Empty each hot cleansing brew into the sink.
- Continue until the machine requests water.
Some Keurig procedures take around 20 minutes, but the actual process depends on the model and its instructions.
Do not interrupt the brewer while a cycle is running.
3. Finish the Complete Fresh Water Rinse Cycle
This is one of the most important steps when the Keurig Descale Light stays on.
Once the descaling solution stage is complete, the machine needs fresh water to flush the system.
Follow these steps:
- Empty the remaining descaling solution from the reservoir.
- Rinse the reservoir as instructed.
- Fill it with fresh water up to the MAX FILL line.
- Place a suitable mug under the dispenser.
- Start the rinse cycle using the correct button.
- Continue until the Descale notification turns off, as directed by your model’s manual.
For example, the K-Express uses the 12 oz button to start and continue its fresh-water rinse cycle.
Do not assume that one or two water-only brews will clear the warning. Some models require several cycles.
Also, do not use a single rinse-count rule for every Keurig. The correct number depends on the brewer.
4. Check the Water Reservoir and Fill Level
If your Keurig says ADD WATER even though the tank looks full, check the reservoir.
A poorly seated tank can interrupt water flow and prevent the machine from completing its cycle.
Try these steps:
- Turn off the brewer.
- Allow it to cool before handling removable parts.
- Remove the water reservoir if your model allows it.
- Check the water level and look for visible dirt or damage.
- Refill with fresh water when required.
- Reinstall the reservoir firmly.
- Make sure it sits correctly on the base.
Do not fill above the MAX FILL line.
Some models also have a minimum water level required to start brewing. Follow the fill-level instructions in your manual.
5. Check the Water Filter and Restricted Water Flow
A water filter that was not handled correctly during maintenance may interfere with the normal setup.
Check your owner’s manual to see whether the filter should be removed before descaling and when it should be reinstalled.
If the water is not flowing normally, inspect only the accessible parts of the brewer.
You can also check the K-Cup pod holder and needles for coffee grounds if the machine has a separate brewing-flow problem.
Before cleaning any needle:
- Turn off and unplug the brewer as instructed.
- Allow hot parts to cool.
- Follow the cleaning instructions for your specific model.
- Keep your fingers away from the sharp needles.
Do not push tools into internal water lines or dismantle the machine.
If you want a complete cleaning routine, read our guide on how to clean a Keurig coffee maker.
6. Follow the Correct Reset Procedure for Your Keurig Model
If the full descaling and rinse process is complete but the light remains on, check the model-specific completion instructions.
A common mistake is trying a reset sequence found in a guide for another machine.
Here is why you should avoid that:
- Button layouts are different.
- Descale Mode activation is different.
- Some brewers use a guided process.
- Older models may use a manual descaling procedure.
Do not press random buttons, hold several controls, or perform a factory reset just to clear the light.
First, confirm that the machine has completed the procedure required by its own manual.
7. Restart the Brewer or Contact Keurig Support
A restart is not a replacement for an incomplete descaling cycle.
However, some Keurig troubleshooting instructions recommend switching off and unplugging the brewer when heavy mineral buildup prevents normal water flow.
For example, the K-Express guide gives a specific recovery procedure when the brewer releases very little or no water during descaling:
- Turn off and unplug the brewer.
- If descaling solution remains in the reservoir, discard it.
- Rinse the reservoir thoroughly.
- Refill it with fresh water.
- Plug the brewer back in and switch it on.
- Repeat the fresh-water rinse procedure.
If the problem continues, the guide recommends allowing the brewer to remain unplugged for at least 30 minutes before continuing with the rinse.
This instruction is for the situation described in the K-Express manual. Do not treat it as a universal reset for every Keurig.
If the machine still cannot complete the process, stop and contact Keurig Customer Support.
Keurig Descale Light Reset Instructions by Model
The correct reset or descaling procedure depends on your brewer.
Here are three examples from official Keurig user guides. Use the instructions for your exact model rather than copying a button sequence from another machine.
Keurig K-Express
The K-Express uses a dedicated Descale Mode.
To start Descale Mode:
- Keep the brewer plugged in but powered off.
- Press and hold the 8 oz and 12 oz buttons together for 3 seconds.
- When the buttons flash, press 12 oz to begin.
To complete the process:
- Continue descaling until ADD WATER appears.
- Empty and rinse the water reservoir.
- Refill it with fresh water.
- When the buttons flash, press 12 oz to start the rinse.
- Continue the 12 oz rinse cycles until the Descale notification turns off.
The official guide states that the machine is ready for normal brewing once the notification disappears.
Read the K-Express official Use & Care Guide before following these steps.
Keurig K-Iced Essentials
The K-Iced Essentials uses a different button combination.
To start Descale Mode:
- Plug in the brewer and make sure it is powered off.
- Press and hold the 6 oz and 10 oz buttons together for 3 seconds.
- When the buttons flash, press the 8 oz button.
To complete the process:
- Continue brewing until ADD WATER illuminates.
- Empty and refill the water reservoir with fresh water to the MAX FILL line.
- When the buttons flash, press 8 oz to start the rinse.
- Continue the 8 oz rinse cycles until the Descale notification turns off.
The K-Iced Essentials guide says the complete descaling procedure must be finished to turn off the Descale Light.
You can read the official K-Iced Essentials Use & Care Guide for the full instructions.
Older Keurig Hot Classic Series
Some older Keurig Classic brewers use a manual descaling process rather than the same guided button sequence used by newer models.
According to the Classic Series Use & Care Guide, the procedure includes:
- Empty the water reservoir and remove the water filter if the manual instructs you to do so.
- Add the recommended descaling solution and water.
- Run cleansing brews without a K-Cup pod until ADD WATER appears.
- Leave the brewer on for at least 30 minutes during the specified waiting stage.
- Empty and thoroughly rinse the reservoir.
- Fill it with fresh water.
- Complete at least 12 large-size fresh-water cleansing brews.
If the red Descale Light remains on after completing the procedure, the manual says to repeat the full descaling procedure.
Important: The 12-brew rinse instruction applies to the Classic Series guide referenced here. Do not automatically apply it to newer Keurig models.
Read the official Keurig Hot Classic Series User & Care Guide for the complete instructions.
What If Your Keurig Descale Light Is Still On After 12 Rinses?
If you have already completed 12 fresh-water rinses and the Descale Light is still on, do not keep repeating random cycles.
First, confirm that your machine is covered by the Classic Series procedure that requires at least 12 brews.
If it is, check these points:
Check the complete descaling process
The older Classic Series guide says to repeat the full descaling procedure if the red light remains illuminated after the required steps.
Check water flow
If water comes out slowly or the machine makes an unusual pumping sound, heavy scale buildup may still be restricting the system.
Check the reservoir
Make sure the tank is clean, filled correctly, and seated properly.
Check the exact model instructions
If your Keurig belongs to a newer model family, its rinse procedure may be different. Use its own guide instead of repeating the Classic Series steps.
If the light still does not clear after the correct procedure, contact Keurig Support.
Common Mistakes That Can Keep the Descale Light On
A few simple mistakes can interrupt the process or make troubleshooting more difficult.
Using the Wrong Button Combination
Do not assume all Keurig models use the same buttons to start Descale Mode.
Stopping Before ADD WATER Appears
Some guided procedures require you to keep running cleansing brews until the machine requests fresh water.
Skipping the Fresh Water Rinse
The descaling stage and the rinse stage are separate parts of the process.
Removing the Reservoir During a Brew
Some manuals warn against removing the water tank or lifting the handle while a brew is in progress. Wait until the cycle finishes.
Using an Unapproved Cleaning Product
Use a descaling product recommended for your brewer. Do not assume that vinegar or another household cleaner is suitable for every Keurig.
Repeatedly Unplugging the Machine
Unplugging may be part of a specific recovery procedure, but it is not a universal way to reset the Descale Light.
How to Prevent the Keurig Descale Light From Coming Back Too Soon
Once your Keurig returns to normal operation, follow a regular maintenance routine.
Follow the Recommended Descaling Schedule
Descaling frequency depends on your model, water quality, and usage.
For example, the K-Express guide recommends descaling every three months or when its Descale notification turns on.
Older Keurig Classic Series guidance recommends descaling every three to six months, depending on mineral buildup.
For a broader maintenance guide, read how often you should descale your coffee maker.
Pay Attention to Hard Water
Hard water contains minerals that can collect inside a coffee maker.
If your tap water has a high mineral content, scale may build up faster.
Follow Keurig’s recommendations for water quality and use a suitable water filter if your model supports one.
Replace the Water Filter as Recommended
A Keurig water filter needs regular replacement according to the instructions for your model.
A worn filter should not be treated as a replacement for descaling. These two maintenance tasks serve different purposes.
Keep the Removable Parts Clean
Clean the water reservoir, drip tray, pod holder, and other removable parts as directed in your owner’s manual.
Regular cleaning helps prevent coffee residue and other debris from affecting normal brewing.
Frequently Asked Questions
Why Is My Keurig Descale Light Still On After Descaling?
Your Keurig may not have registered the complete descaling procedure. A missed rinse stage, incorrect button sequence, or interrupted cycle can leave the warning on. Check your model’s instructions and complete every required step.
How Do I Reset My Keurig Descale Light?
There is no single reset method for every Keurig. Some models require a dedicated Descale Mode, while older brewers use a manual descaling and rinsing process. Follow the instructions for your exact model.
Why Is My Keurig Descale Light Flashing?
On some Keurig models, flashing lights indicate that the brewer is waiting for you to press a button to continue descaling or rinsing. Check the machine’s display and owner’s manual before treating the flashing light as a fault.
How Many Rinse Cycles Does a Keurig Need After Descaling?
The number depends on the model. The older Hot Classic Series guide requires at least 12 large-size fresh-water cleansing brews. Newer models such as the K-Express and K-Iced Essentials use their own guided rinse procedures. Continue until the Descale notification turns off as instructed.
Can I Use My Keurig While the Descale Light Is On?
It is best to complete the required descaling procedure rather than ignore the reminder. The machine may still operate, depending on the model, but mineral buildup can affect water flow and performance. Follow the manufacturer’s maintenance instructions.
Will Unplugging My Keurig Turn Off the Descale Light?
Not necessarily. Unplugging may help during a specific troubleshooting procedure, but it does not automatically complete an unfinished descaling cycle. Use the model-specific recovery instructions.
Can Vinegar Turn Off the Keurig Descale Light?
Do not assume vinegar will clear the warning. Some Keurig guides specify Keurig Descaling Solution and a particular procedure. Check your exact model’s manual before using vinegar or another descaling product.
Why Does My Keurig Descale Light Keep Coming Back?
The reminder may return because the brewer has reached its maintenance interval again. It can also happen if a previous descaling cycle was not completed properly. Follow the recommended maintenance schedule and check the instructions if the light returns soon after a full descaling.
What Should I Do If My Keurig Says ADD WATER When the Tank Is Full?
Check whether the reservoir is seated correctly and whether the water level meets the minimum fill requirement. Remove and reinstall the tank if your manual allows it. If the message remains, follow the troubleshooting section of your model’s guide.
Final Thoughts
A Keurig Descale Light that won’t turn off can be annoying, but it does not always mean you need a new coffee maker.
In many cases, the solution is to complete the correct descaling procedure, run the required fresh-water rinse, or check the water reservoir.
The most important thing is to use instructions for your exact Keurig model. A K-Express, K-Iced Essentials, and older Classic Series brewer do not all use the same buttons or rinse steps.
If you have completed the correct procedure and the light still stays on, check for restricted water flow and contact Keurig Support if necessary.
Take your time, follow the instructions in order, and avoid random reset methods. This gives you the best chance of clearing the warning and getting your Keurig ready for your next cup of coffee.

“I believe great cooking starts with the right tools, trusted advice, and a little confidence in the kitchen.”
Hi, I’m Emma Carter. My love for cooking began in my grandmother’s kitchen, where I learned that every great meal starts with simple ingredients and the right cookware. Over the years, I’ve spent countless hours researching, testing, and comparing kitchen appliances, cookware, coffee makers, air fryers, and other everyday kitchen essentials.
Here at KiCook, my goal is to make your buying decisions easier with honest product reviews, practical buying guides, and easy-to-follow cooking tips. Whether you’re upgrading your kitchen or searching for the best appliance for your home, I focus on providing clear, reliable, and research-backed information you can trust.
When I’m not testing new kitchen gadgets or writing in-depth guides, you’ll usually find me trying new recipes, visiting local farmers’ markets, or enjoying a quiet cup of coffee while planning my next kitchen project.