
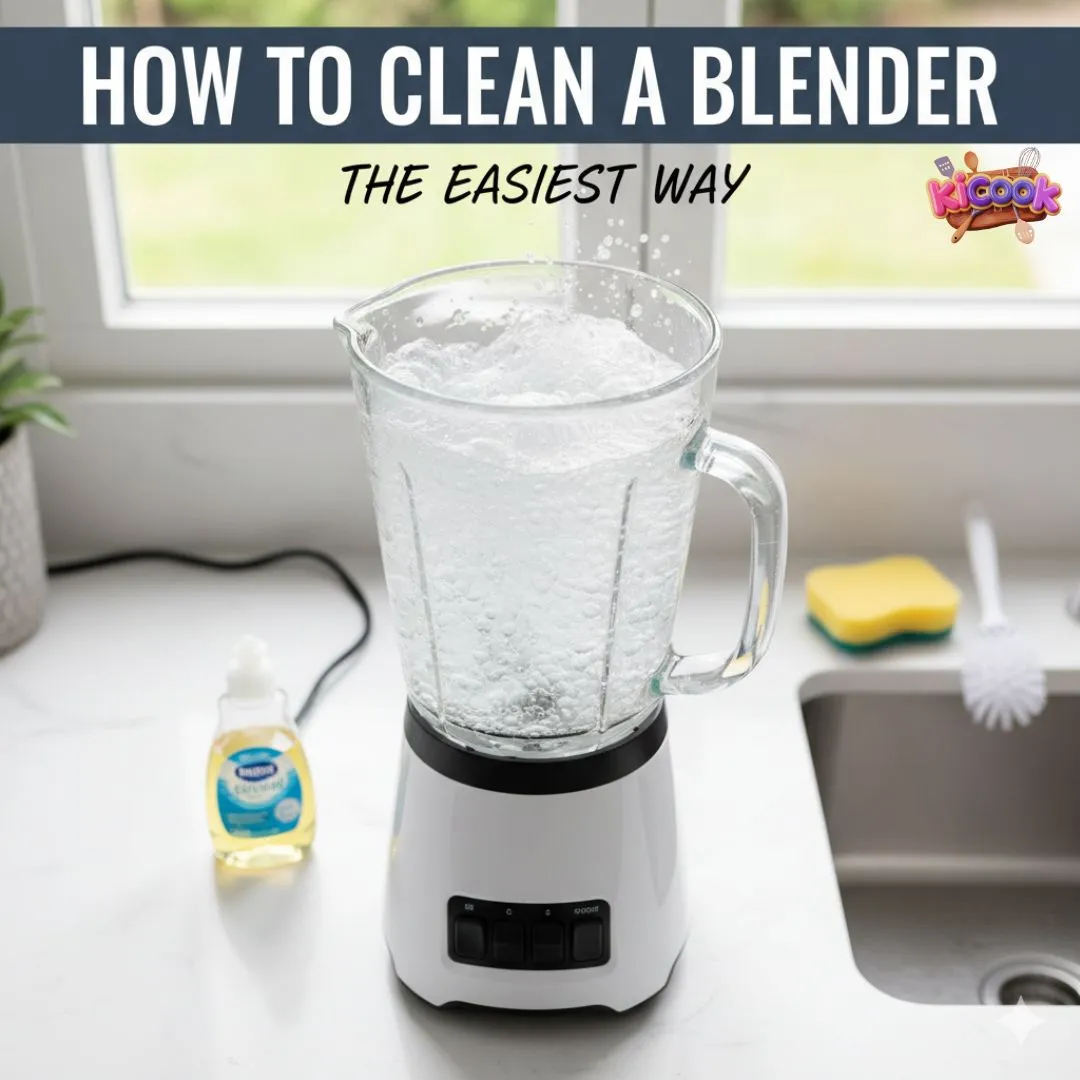
The easiest and most effective way is to use a self-cleaning cycle with warm water and a drop of dish soap. Simply blend for 30-60 seconds, then rinse thoroughly for a spotless clean.
I get it. You’ve just made a delicious, healthy smoothie, and you’re feeling great. Then you look at the blender. That vibrant green kale and those sweet strawberries have now become a sticky, stubborn film clinging to the glass jar and the sharp blades below. The thought of scrubbing around those dangerous blades is enough to make you want to just leave it in the sink for “later.” I’ve been there more times than I’d like to admit.
But a dirty blender isn’t just an eyesore; it’s a haven for bacteria and old food odors that can taint your next meal. Over time, that gunk can even affect your blender’s performance and longevity. As someone who uses their blender almost daily, I’ve tested every method imaginable. I’m here to tell you that keeping your blender clean doesn’t have to be a chore. With a few simple habits and my go-to tricks, you can have a sparkling clean blender in minutes, making your entire kitchen routine smoother and more sanitary.
Why a Clean Blender Matters (Beyond Just Looks)
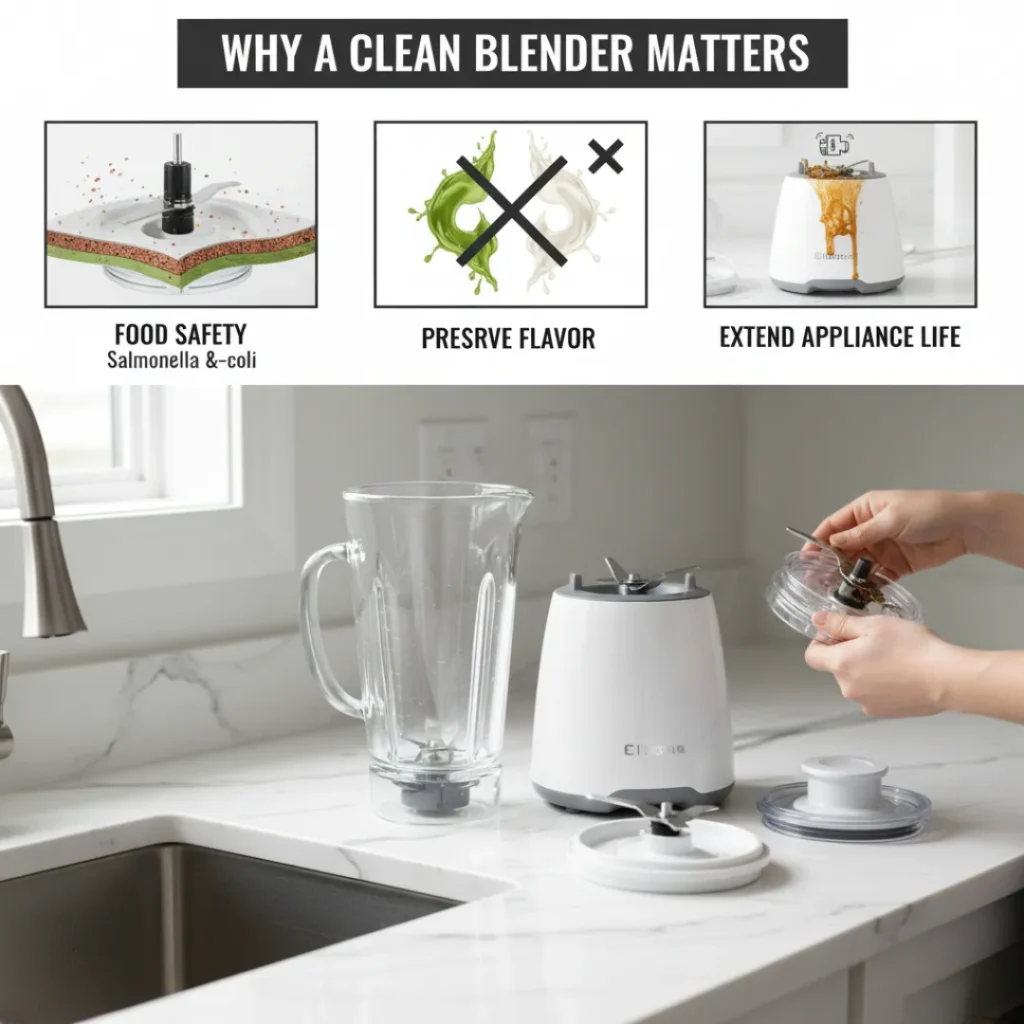
Before we get into the “how,” let’s talk about the “why.” Giving your blender a proper clean after every use is a non-negotiable part of kitchen hygiene.
- Food Safety: Tiny food particles get trapped under the blade assembly and in the crevices of the lid. These particles can spoil, harboring harmful bacteria like Salmonella and E. coli. The next time you blend, those bacteria can be mixed right into your food. The USDA Food Safety and Inspection Service emphasizes that proper cleaning of kitchen tools is essential for preventing foodborne illness.
- Preserve Flavor: Have you ever made a vanilla protein shake only to have it taste faintly of garlic from last night’s pesto? Lingering odors and flavors from previous blends will cross-contaminate your drinks and sauces. A truly clean blender ensures your strawberry smoothie tastes purely of strawberries.
- Extend Appliance Life: Residue buildup, especially from sticky ingredients like nut butter or honey, can strain your blender’s motor and dull the sharpness of the blades over time. Regular cleaning keeps everything running smoothly for years.
Your Go-To Method: The 60-Second Self-Clean
This is my absolute favorite method for everyday cleaning. It’s fast, easy, and requires minimal hands-on effort. I use this after making smoothies, protein shakes, or salad dressings.
What You’ll Need:
- Warm water (not boiling)
- A drop of liquid dish soap
- Your dirty blender
The Simple Process:
- Fill It Up: After emptying the contents of your blend, pour about two cups of warm water into the blender jar. You want the water to cover the blades by an inch or two.
- Add Soap: Add just one small drop of dish soap. Using too much will create a mountain of suds and make rinsing a longer process.
- Blend It Clean: Securely fasten the lid onto the blender jar. Now, turn it on and let it run for 30 to 60 seconds. The combination of the soap, water, and vortex created by the spinning blades will act like a whirlpool, scrubbing the interior walls, lid, and base of the blades clean.
- Rinse and Dry: Carefully pour out the soapy water. Give the blender jar a quick rinse under the tap to remove any last traces of soap. I then place it upside down on a clean dish towel to air dry completely before putting the lid back on for storage. This prevents any musty smells from developing.
This method is a true game-saver and works on most standard blender models, from a classic Oster to a high-end Vitamix.
Tackling Tough Stains and Stuck-On Gunk
Sometimes, the self-clean cycle needs a little help. If you’ve made something particularly sticky, oily, or fibrous (like nut butter, hummus, or a ginger-turmeric shot), you might notice some residue left behind. Don’t reach for the abrasive scrubber just yet! Here are my proven solutions.
The Baking Soda and Vinegar Power Clean
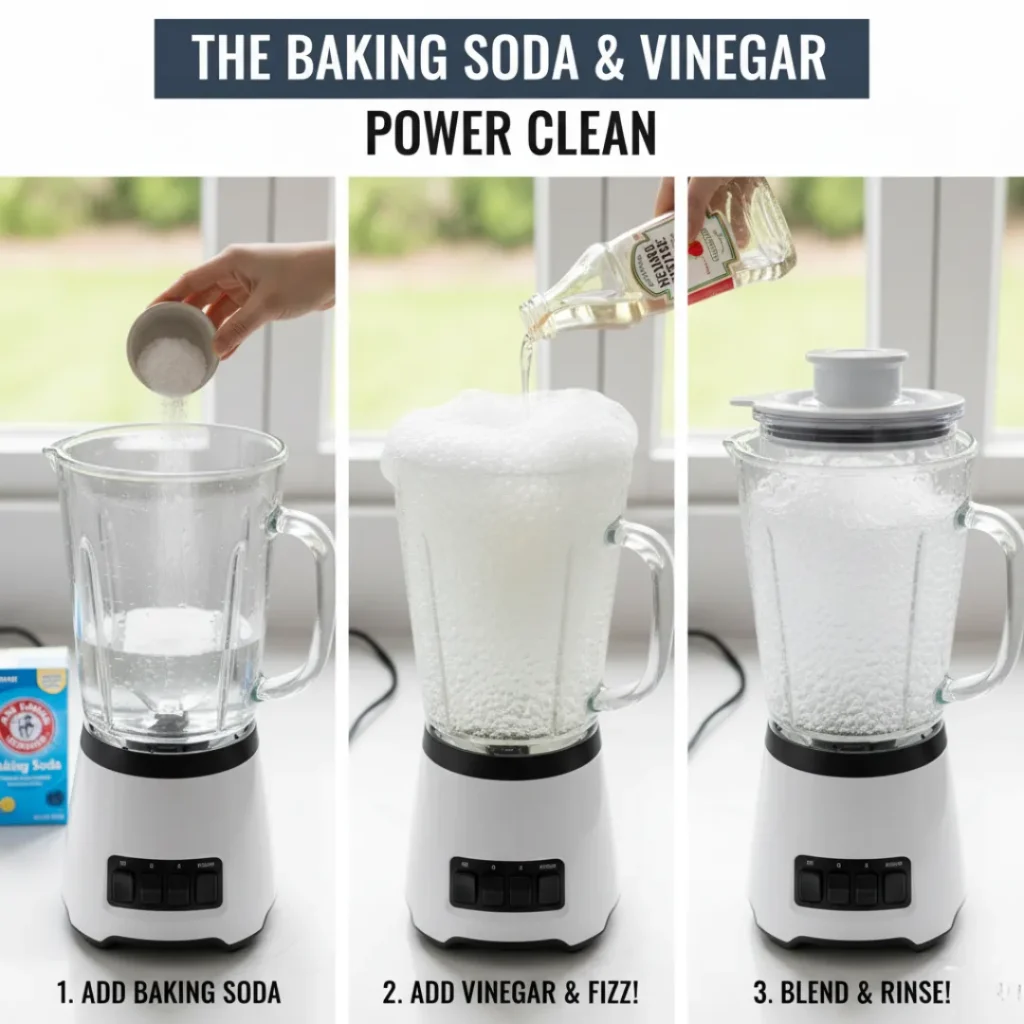
This natural dynamic duo is fantastic for cutting through grease and lifting stubborn stains. It’s my preferred deep-cleaning method.
- Start by pouring about a cup of warm water into the blender jar.
- Add one tablespoon of baking soda. Baking soda is a mild abrasive that helps scrub away grime and is great for neutralizing odors.
- Add two tablespoons of white vinegar. You’ll get a fun fizzing reaction, which helps to break down the stuck-on food.
- Let the mixture sit for 5-10 minutes to allow it to work on the tough spots.
- After it has sat, put the lid on and run the blender for 30 seconds.
- Dump out the solution, then follow up with a quick self-clean cycle using just soap and water to rinse everything away. You’ll be amazed at the shine.
The Lemon and Ice Cube Refresh
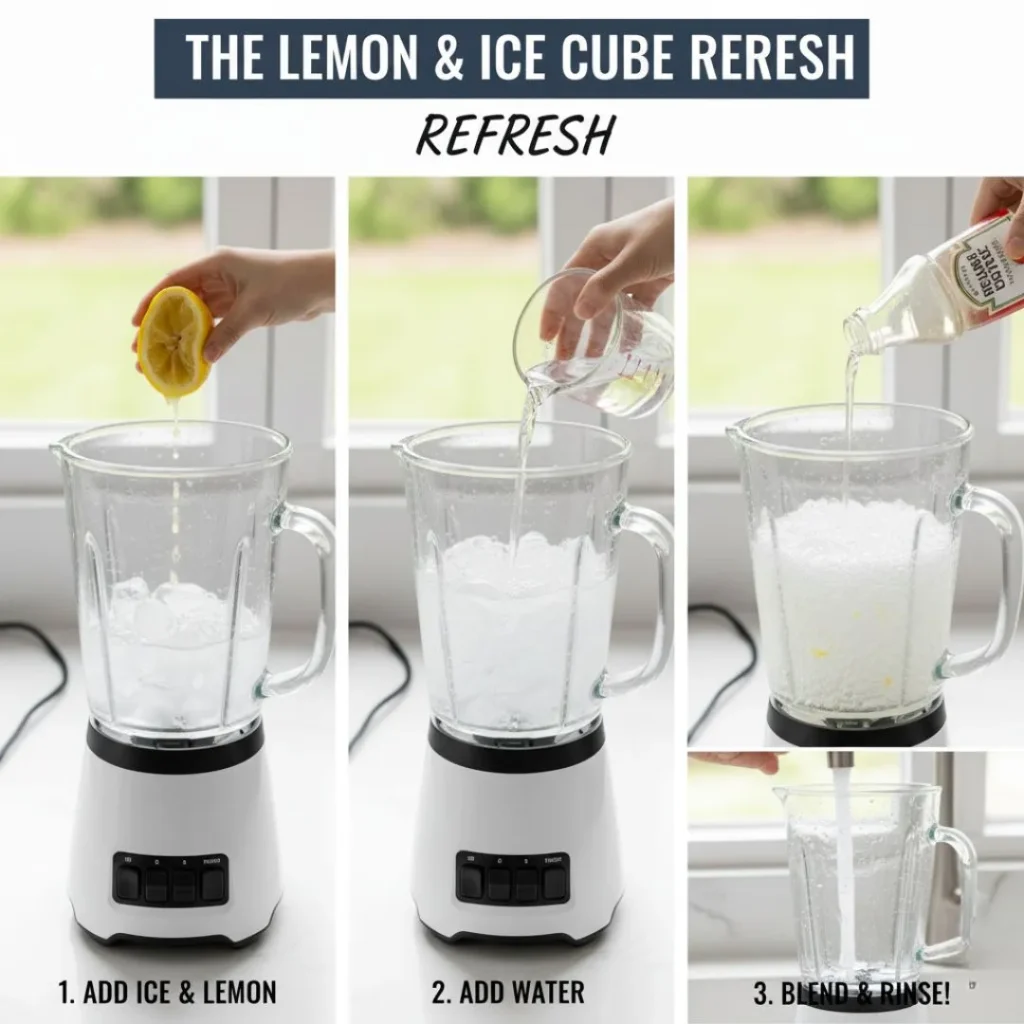
This is a brilliant trick for removing minor stains and freshening up a blender that’s picked up some lingering odors.
- Fill your blender jar about a quarter of the way with ice cubes.
- Add the juice of half a lemon, or simply toss in the spent lemon half itself.
- Add about a half cup of cold water.
- Secure the lid and blend on high until the ice is completely crushed. The ice acts as a gentle scouring agent, while the lemon cuts through grease and leaves a fresh, clean scent.
- Rinse thoroughly, and you’re done!
As the famous chef Julia Child once said, “The only real stumbling block is fear of failure. In cooking, you’ve got to have a what-the-hell attitude.” I feel the same way about cleaning. Don’t be afraid to try these methods; they are simple and effective.
A Step-by-Step Guide to a Complete Blender Takedown
For a truly sanitary clean, or if you’ve noticed a funky smell, a full disassembly is necessary about once a week. This is also the best practice if you’ve blended raw meat or fish. Always consult your user manual first, but here’s a general guide.
- Unplug the Appliance: Safety first! Always make sure your blender base is unplugged from the wall outlet before you start taking it apart.
- Disassemble the Jar: Carefully unscrew the blade assembly from the bottom of the blender jar. Most models have a simple threaded base. You’ll now have three main parts: the jar, the lid, and the blade assembly (which often includes a rubber gasket or seal).
- Wash the Jar and Lid: The glass or plastic jar and the lid can almost always be washed with warm, soapy water. I use a soft-bristled brush or a sponge to get into any corners. For plastic jars that have absorbed colors or odors, a soak in a baking soda and water solution can be very helpful.
- Clean the Blade Assembly Carefully: This is the most important part. The blades are extremely sharp, so handle them with care. I fill the sink with warm, soapy water and use a small brush, like a toothbrush or a bottle brush, to gently scrub around the base of the blades and dislodge any trapped food particles. Pay close attention to the rubber gasket, as food and mold love to hide there.
- Dry Completely: After rinsing all the parts, dry them thoroughly with a dish towel or let them air dry completely before reassembling. Moisture trapped in the blade assembly can lead to rust and mildew.
Frequently Asked Questions (FAQ) for How to Clean a Blender
Can I put my blender jar in the dishwasher?
It depends. Always check your specific model’s manual. Many blender jars, especially glass ones, are dishwasher-safe on the top rack. However, the blade assembly is often recommended for hand washing only, as the harsh dishwasher detergent can dull the blades over time and damage the rubber gasket.
How do I get rid of a persistent smell in my blender?
Odors are a common pain point. My top solution is the baking soda method. Make a thick paste with baking soda and water, smear it all over the inside of the jar and the blade assembly, and let it sit for an hour or overnight. Rinse, then run the lemon and ice cycle for a final freshening up.
What’s the best way to clean the blender’s base/motor unit?
Never submerge the base in water! To clean it, simply unplug the unit and wipe it down with a damp cloth. If there are sticky spills, you can use a cloth with a small amount of mild soapy water, followed by a damp cloth to rinse. Dry it immediately.
I see a black residue around the blade base. What is it?
This is often a worn-out rubber gasket or seal. Over time, this seal can degrade, and small particles can get trapped, looking like black gunk. It’s a sign that the gasket needs to be replaced. You can usually find replacement parts from the manufacturer.
How often should I deep clean my blender?
I recommend a quick self-clean after every use. A full disassembly and deep clean should be done once a week with regular use, or immediately after blending strong-smelling or oily ingredients.
Annabelle Sterling, a certified kitchen technician, reminds us, “A well-maintained appliance isn’t just about longevity; it’s about respecting the tool that helps you create nourishing food for yourself and your family.” Taking those few extra minutes to clean your blender properly is an act of care for your health and your investment.
Addressing Common Pain Points and Solutions
- Pain Point: “The bottom of the jar, around the blades, is impossible to clean.”
- Solution: The small brush method is your best friend here. A dedicated bottle brush designed for blenders can reach all those tricky spots without risking your fingers.
- Pain Point: “My blender always smells like old onions.”
- Solution: This is a classic! The baking soda and vinegar clean is made for this. The baking soda neutralizes odors at a chemical level, while the vinegar cuts through the oily onion residue.
- Pain Point: “There’s a cloudy film on my plastic blender jar.”
- Solution: Hard water minerals can cause this. Soak the jar in a solution of one part white vinegar to one part water for 30 minutes, then scrub with a soft sponge. Rinse well.
Making Blender Cleaning a Habit
The secret to an always-clean blender is to not let the mess set in. Get into the habit of rinsing your blender immediately after use. Even if you don’t do a full soap clean right away, a quick rinse prevents food from drying and sticking, making the final clean-up much easier later.
As home organization expert Marie Kondo famously said, “The objective of cleaning is not just to clean, but to feel happiness living within that environment.” A clean, ready-to-use blender on your counter is an invitation to make healthy choices and feels genuinely satisfying.
Conclusion
Cleaning your blender doesn’t need to be a dreaded task. With the simple self-cleaning method for daily use and the baking soda or lemon tricks for deeper cleans, you can maintain a sparkling, odor-free appliance with very little effort. Remember, a clean blender is a safe, efficient, and pleasant-to-use tool that will serve you well for countless smoothies, sauces, and soups to come.
So, the next time you finish your blend, give that jar a quick 60-second clean. Your future self—and your taste buds—will thank you for it.