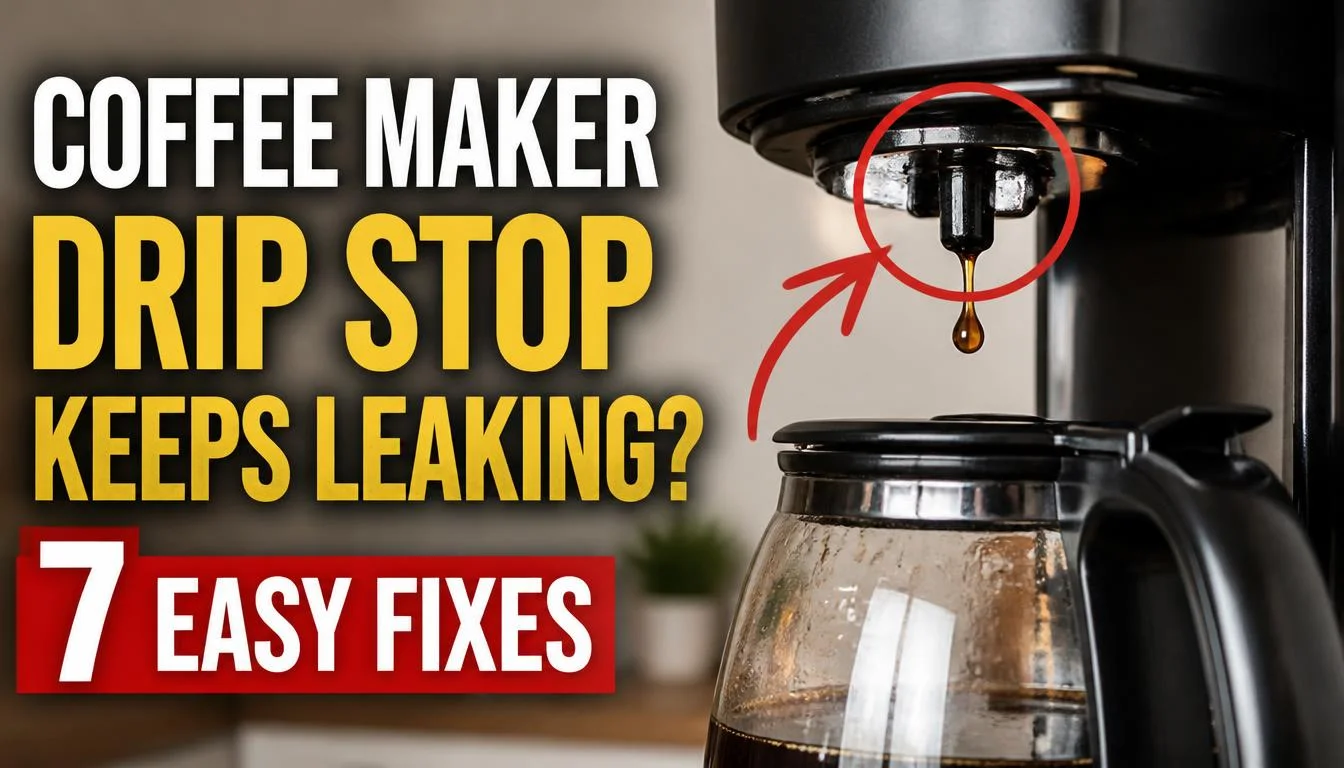
If your coffee maker drip stop keeps leaking, coffee grounds stuck around the valve, a dirty sealing surface, or a poorly positioned carafe may be the cause. In many cases, you can fix the problem by cleaning the drip stop and checking the removable parts. However, a damaged valve may need professional repair or replacement.
Before buying a new coffee maker, find out where the coffee is leaking. A few drops after brewing may be normal, but continuous dripping or coffee spilling onto the warming plate needs attention.
In this guide, I will explain the common causes, show you how to clean and check the drip stop, and help you decide when to replace a damaged part.
Quick Answer: Why Does My Coffee Maker Drip Stop Keep Leaking?
A coffee maker drip stop usually keeps leaking because coffee grounds or sticky residue prevent the valve from sealing properly. The problem may also come from an incorrectly fitted brew basket, a poorly positioned carafe, or a damaged valve.
Turn off the coffee maker and let it cool. Then remove and clean the removable brew basket, check the drip stop’s sealing surface, and reinstall all parts according to the manufacturer’s instructions. If the leak continues after cleaning, inspect the accessible parts for damage and contact the manufacturer if necessary.
What Is a Coffee Maker Drip Stop?
A drip stop is a feature found on many drip coffee makers. It helps prevent coffee from flowing out of the filter basket when you remove the carafe during brewing.
You may also see it described as a pause-and-pour or anti-drip feature.
On many models, a valve beneath the brew basket opens when the carafe is correctly positioned. When you remove the carafe, the valve closes to limit dripping.
However, the exact design depends on the coffee maker.
Some machines may release a few drops after you remove the carafe. Others may use a different mechanism to control the flow of coffee.
The important point is that the drip stop should work as described in your machine’s manual. Continuous leaking is a reason to investigate.
First, Find Out Where Your Coffee Maker Is Leaking
Before cleaning anything, identify where the coffee is coming from. This helps you avoid fixing the wrong problem.
| What you notice | Possible cause | What to check first |
|---|---|---|
| Coffee drips from the valve beneath the brew basket | Dirty seal or valve problem | Clean the drip stop and inspect the sealing surface |
| Coffee spills when the carafe is removed | Drip stop not sealing or normal residual dripping | Check the valve and your model’s instructions |
| Coffee spills over the side of the brew basket | Filter blockage or overflowing basket | Check the filter, grounds and basket position |
| Coffee collects on the warming plate | Valve leak or missing or poorly fitted brew basket | Check the removable basket and drip stop |
| Water appears under the machine | Spill, damaged component or another leak | Stop using the machine until the source is clear |
If the problem is coming from the bottom of the machine rather than the drip stop, the cause may be unrelated to the valve. Our guide to coffee maker leaks after descaling explains how to investigate leaks that start after a cleaning cycle.
7 Reasons Your Coffee Maker Drip Stop Keeps Leaking
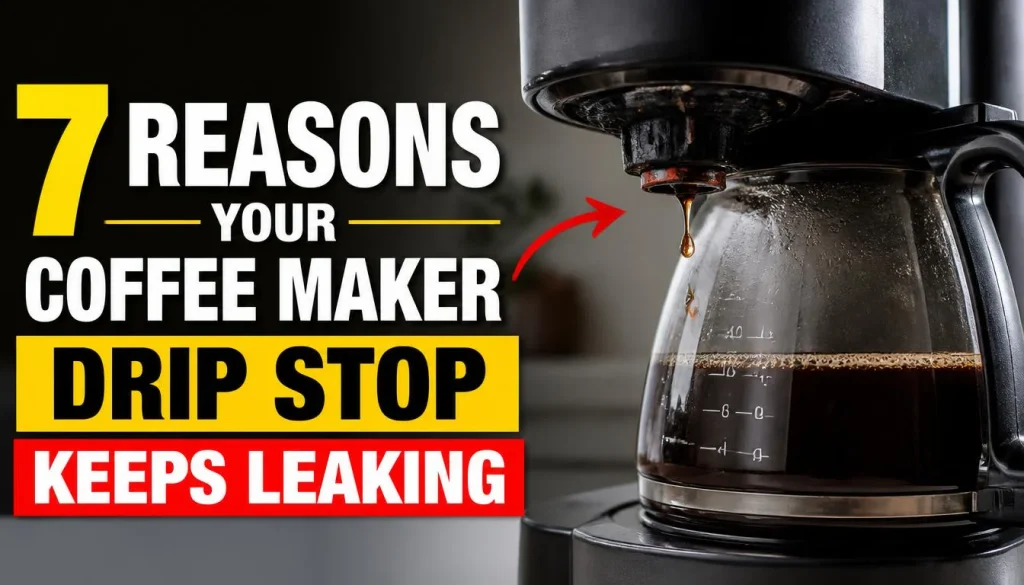
1. Coffee Grounds Are Stuck Around the Drip Stop
This is one of the first things to check.
Small coffee grounds can get trapped around the valve or its sealing surface. When this happens, the valve may not close completely, allowing coffee to drip through.
You may notice that the leak becomes worse when you remove the carafe or that the warming plate gets wet even after you have positioned the carafe correctly.
How to fix it:
Remove the brew basket after the machine has cooled. Wash it with warm water and mild dish soap if the manufacturer permits it.
Check the underside of the basket for the drip stop and any visible coffee residue. Clean the accessible sealing surface according to the manual, then rinse away the remaining grounds.
Do not use a sharp tool to scrape the valve. You could damage the seal or other small parts.
2. The Drip Stop Seal Is Dirty
Even if the valve looks clean from the outside, sticky coffee residue may remain around the area where it closes.
Coffee oils and fine particles can build up over time. This residue may stop the valve from making a proper seal.
The official KitchenAid coffee maker leak troubleshooting guide recommends washing the brew basket and cleaning the drip stop’s sealing surface to remove trapped grit and coffee grounds.
How to fix it:
- Turn off the coffee maker and allow it to cool completely.
- Remove the brew basket according to the instructions.
- Clean the accessible valve and sealing surface.
- Rinse the removable parts thoroughly.
- Reinstall them correctly before testing the machine.
Some drip stops can be opened or moved for cleaning, while others require a different procedure. Follow the instructions for your specific model instead of forcing the valve open.
3. The Carafe Is Not Positioned Correctly
Many drip coffee makers depend on the carafe being fully seated in the correct position.
If the carafe sits at an angle or is not pushed fully into place, it may fail to activate the drip stop as intended.
A poorly positioned carafe can also cause coffee to spill onto the warming plate.
How to fix it:
Remove the carafe and check the warming plate for anything that might prevent it from sitting flat.
Look for coffee residue, an uneven position, or a carafe that does not fit the machine correctly. Then place the carafe back into position according to the manual.
Do not assume that every glass carafe is interchangeable. The shape and height of the carafe may affect how the mechanism works.
4. The Carafe Lid Is Missing or Incorrectly Positioned
Some coffee makers use the shape or position of the carafe lid as part of the pause-and-pour mechanism.
If the lid is missing, loose, or incorrectly fitted, the valve may not work as intended.
This depends on the model, so check your manufacturer’s instructions before assuming the lid is responsible.
How to fix it:
Remove the carafe and inspect the lid. Make sure it is the correct lid for your machine and is fitted securely.
Check for visible damage, broken clips, or parts that prevent the lid from sitting properly.
Reinstall the lid and carafe before running a test brew. If the carafe or lid is damaged, use a compatible replacement.
5. The Brew Basket Is Missing or Not Fitted Properly
The drip stop is often part of the brew basket assembly. If the basket is not fully installed, the valve may not function as intended.
This can cause coffee to drip onto the warming plate or spill around the filter holder.
A basket that looks almost correct may still be sitting at the wrong angle.
How to fix it:
Switch off the machine and let it cool. Remove the brew basket and check that it is the correct part for your model.
Look for visible damage or residue around the points where the basket fits into the machine.
Reinstall the basket firmly, following the manual. Never run a brewing cycle without the required brew basket in place.
If the basket is cracked or its valve assembly is damaged, check whether the manufacturer offers a compatible replacement.
6. The Filter Basket Is Overflowing
Sometimes, a drip stop leak is actually a filter basket overflow problem.
The basket may overflow if the filter is blocked, there is too much coffee in it, the grind is too fine, or the carafe is left out for too long during brewing.
For some pause-and-pour models, brewing continues even while the carafe is removed. If you leave it out beyond the permitted time, the basket can overflow.
For example, KitchenAid specifies a 25-second limit for certain automatic coffee makers, while some Philips models specify 20 seconds. These are model-specific limits, not universal rules.
How to fix it:
- Use the correct filter for your coffee maker.
- Never stack multiple filters unless your manufacturer specifically instructs you to do so.
- Avoid adding more grounds than the basket can handle.
- Use a suitable grind size for your machine.
- Return the carafe promptly when using the pause-and-pour feature.
- Make sure the basket is clean and correctly installed.
If your cup contains coffee grit, sediment, or larger grounds, read our guide to sediment in a coffee cup from a coffee maker.
7. The Drip Stop Valve or Seal Is Damaged
If cleaning and correct positioning do not stop the leak, the valve or its seal may be damaged.
Look for visible cracks, a broken spring, a loose component, or a seal that appears deformed. Do not pull apart the assembly just to look for damage unless the manufacturer identifies it as user-serviceable.
How to fix it:
Check the warranty and the manufacturer’s repair instructions.
Some coffee makers allow you to replace the brew basket or drip stop assembly. Others require service because the valve is not designed to be removed separately.
Before ordering a replacement, confirm your coffee maker’s model number and the part’s compatibility.
If the leak continues or appears to come from inside the machine, stop using it and contact the manufacturer or an authorized repair service.
How to Fix a Leaking Coffee Maker Drip Stop Step by Step
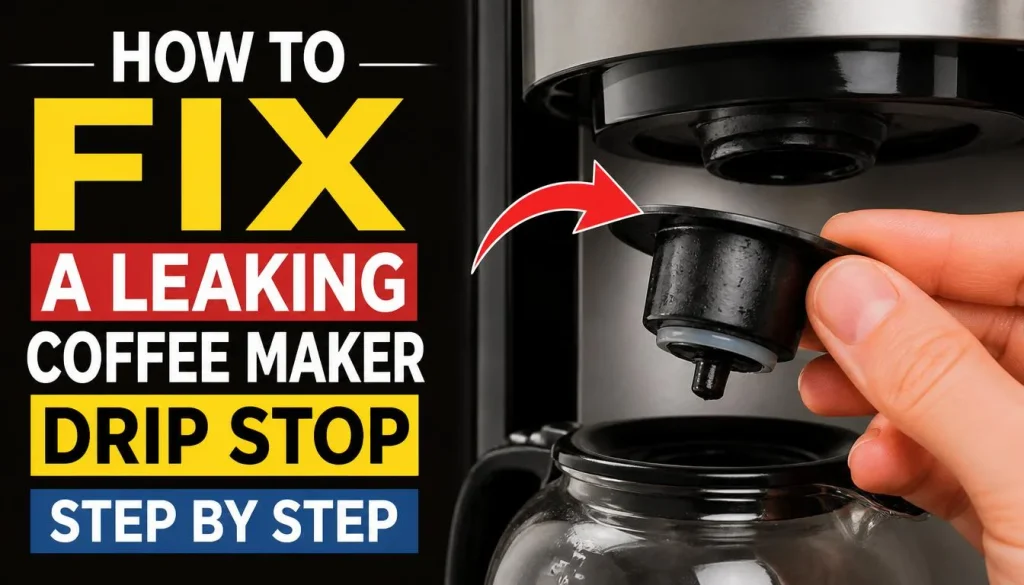
If you are unsure which cause applies to your machine, follow this process in order.
Step 1: Turn Off the Coffee Maker
Switch off the machine and allow it to cool completely.
If water has reached the electrical base, power cord, or outlet, do not touch wet electrical parts. Keep away from the wet area and seek help from a safe, dry location.
Step 2: Remove the Carafe and Brew Basket
Once the machine is cool, remove the carafe and any removable brew basket or filter holder.
Check your manual to confirm which parts are designed to be removed.
Do not open the coffee maker’s casing or attempt to access internal electrical components.
Step 3: Clean the Drip Stop
Wash the removable brew basket with warm water and mild dish soap if permitted by the manufacturer.
Pay close attention to the underside of the basket, where the valve and sealing surface may be located.
Remove visible coffee grounds and residue. Use only the cleaning method recommended for your model.
Step 4: Rinse and Inspect the Valve
Rinse away any remaining soap and grounds.
Check the accessible valve for visible damage or residue. If your manual explains how to move the valve for cleaning, follow those instructions gently.
Do not force a stuck valve or use sharp metal objects.
Step 5: Check the Filter and Brew Basket
Make sure the filter is the correct size and type.
Remove excess coffee grounds and inspect the basket for damage. If the basket is cracked or the valve is loose, cleaning may not be enough.
Step 6: Reinstall the Carafe and Lid
Put the brew basket back into place, then position the carafe and lid correctly.
Ensure that the carafe sits flat and that nothing prevents it from reaching its intended position.
Step 7: Test the Coffee Maker Safely
If there is no sign of electrical damage or an internal leak, and the manual permits it, run a small water-only test cycle.
Watch for dripping from the valve, overflow around the basket, or liquid reaching the base.
If the machine still leaks, stop the test. Do not repeatedly run a leaking coffee maker in the hope that the problem will disappear.
Why Does My Coffee Maker Drip Stop Keep Leaking After Cleaning?
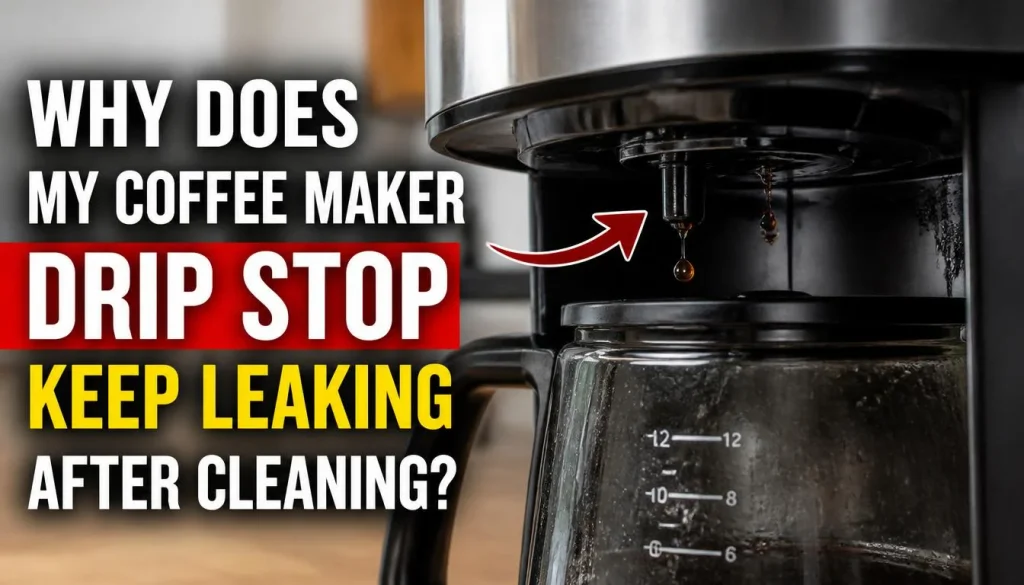
If the problem continues after cleaning, there may be another cause.
The Valve May Still Have Residue
A small amount of coffee residue can remain around the sealing surface. Check the manual to see whether the valve can be cleaned more thoroughly.
Do not disassemble it beyond the steps allowed for your model.
The Carafe or Basket Is Still Misaligned
A removable part that is slightly out of position can prevent the drip stop from working correctly.
Recheck the basket, carafe and lid. Make sure every part is compatible with the machine.
The Seal May Need Replacement
Cleaning removes residue, but it cannot repair a cracked valve or worn seal.
Look for visible damage and check the manufacturer’s replacement options.
The Leak May Come From Somewhere Else
If liquid appears under the machine or around the electrical base, the drip stop may not be responsible.
Switch off the machine and seek professional help if the leak cannot be traced to a safely accessible part.
Is It Normal for a Coffee Maker to Drip a Few Drops?
Yes, a few drops may be normal on some models, particularly when you remove the carafe or immediately after brewing.
Steam condensation and leftover coffee in the basket may cause brief dripping. Some coffee makers also have different pause-and-pour mechanisms, so their normal behavior can vary.
However, continuous dripping, a growing puddle, or coffee spilling from the brew basket should not be ignored.
Check your owner’s manual to learn what is normal for your specific coffee maker. Do not rely on a fixed number of drops as a rule for every model.
How to Prevent Your Coffee Maker Drip Stop From Leaking Again
A simple cleaning routine can help prevent coffee residue from interfering with the valve.
Clean the brew basket regularly. Remove used grounds and wash the removable parts as directed after brewing.
Check the sealing surface. Look for trapped grounds or sticky residue around the valve whenever you clean the basket.
Use the correct filter. Make sure it fits the basket properly and does not collapse or block the flow of coffee.
Avoid overfilling the basket. Use a suitable amount of ground coffee to reduce the risk of overflow.
Position the carafe correctly. Make sure the lid and carafe are fitted as instructed.
Do not leave the carafe out for too long. If your machine has a pause-and-pour feature, follow its time limit.
Follow the manufacturer’s cleaning schedule. Our guide on how often to clean your coffee maker explains how to keep removable parts clean and maintain the machine properly.
Can You Replace a Coffee Maker Drip Stop Valve?
Yes, some coffee makers have replaceable drip stop valves or brew basket assemblies. However, other models do not allow the valve to be replaced separately.
Before buying a part, check the following:
- The exact model number of your coffee maker.
- Whether the manufacturer sells a compatible valve or basket assembly.
- Whether replacing the part affects your warranty.
- Whether the repair requires professional service.
Do not buy a replacement based only on appearance. A valve that looks similar may not fit or work correctly.
If the machine is under warranty, contact the manufacturer before attempting a repair.
When Should You Stop Using Your Coffee Maker?
Stop using the machine if water or coffee reaches the electrical base, the housing is cracked, or the leak appears to come from an internal component.
You should also stop if the machine continues to leak heavily after cleaning or if the valve assembly is visibly damaged.
Do not open the casing or attempt to repair internal wiring, heating components, or electrical parts yourself.
If a repair is needed, contact the manufacturer or a qualified repair service. If the repair cost is high, compare it with the cost of a suitable replacement before making a decision.
Frequently Asked Questions
Why Does My Coffee Maker Drip Stop Keep Leaking?
The most common possibilities include coffee grounds around the sealing surface, a dirty valve, an incorrectly installed brew basket, or a carafe that is not positioned correctly. A damaged valve may also be responsible. Start by cleaning the accessible parts and checking the manufacturer’s instructions.
How Do I Clean a Coffee Maker Drip Stop Valve?
Turn off the coffee maker and let it cool. Remove the brew basket if the manual permits it, then wash the removable parts and clean the accessible valve area. Rinse thoroughly and reinstall everything correctly. Do not force the valve or use sharp tools.
Why Does My Coffee Maker Leak When I Remove the Carafe?
The drip stop may not be sealing properly, or a small amount of residual coffee may be escaping. If the dripping continues, clean and inspect the valve. Also check whether the basket or carafe is correctly positioned.
Why Is My Coffee Maker Drip Stop Not Closing?
Coffee residue may be preventing the valve from closing. Incorrectly fitted parts or a damaged valve can also cause the problem. Clean the accessible mechanism according to the manual. If the valve still does not work, contact the manufacturer.
Can Coffee Grounds Cause a Drip Stop Leak?
Yes. Grounds can become trapped around the valve’s sealing surface and prevent it from closing properly. Clean the brew basket and valve area regularly to reduce this risk.
Why Does My Coffee Maker Still Leak After Cleaning?
The problem may be a worn seal, a damaged valve, an incorrectly fitted basket, or a different leak elsewhere in the machine. Check the accessible parts first. If the leak continues, stop using the machine and seek manufacturer support.
Can I Replace a Drip Stop Valve Myself?
That depends on the model. Some machines have a replaceable basket or valve assembly, while others require professional service. Check your manual and warranty before buying parts or attempting a repair.
Is It Normal for the Drip Stop to Leak a Few Drops After Brewing?
A few drops may be normal for some coffee makers because of residual coffee or condensation. However, continuous dripping or coffee spilling onto the warming plate should be investigated. Follow your model’s instructions.
Final Verdict
If your coffee maker drip stop keeps leaking, start by checking the simplest causes: coffee residue, a dirty sealing surface, and an incorrectly positioned carafe or brew basket.
Clean the removable parts according to the manufacturer’s instructions, use the correct filter, and avoid leaving the carafe out longer than your model permits. These steps may solve the problem without replacing anything.
If the valve or seal is damaged, cleaning will not repair it. Check whether a compatible replacement is available or contact the manufacturer for service.
The most important thing is to identify where the leak starts. A dirty drip stop, an overflowing filter basket, and an internal water leak need different solutions. Finding the real cause can save you time, reduce unnecessary spending, and help keep your coffee maker safe to use.

“I believe great cooking starts with the right tools, trusted advice, and a little confidence in the kitchen.”
Hi, I’m Emma Carter. My love for cooking began in my grandmother’s kitchen, where I learned that every great meal starts with simple ingredients and the right cookware. Over the years, I’ve spent countless hours researching, testing, and comparing kitchen appliances, cookware, coffee makers, air fryers, and other everyday kitchen essentials.
Here at KiCook, my goal is to make your buying decisions easier with honest product reviews, practical buying guides, and easy-to-follow cooking tips. Whether you’re upgrading your kitchen or searching for the best appliance for your home, I focus on providing clear, reliable, and research-backed information you can trust.
When I’m not testing new kitchen gadgets or writing in-depth guides, you’ll usually find me trying new recipes, visiting local farmers’ markets, or enjoying a quiet cup of coffee while planning my next kitchen project.