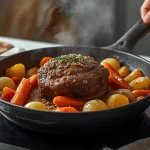
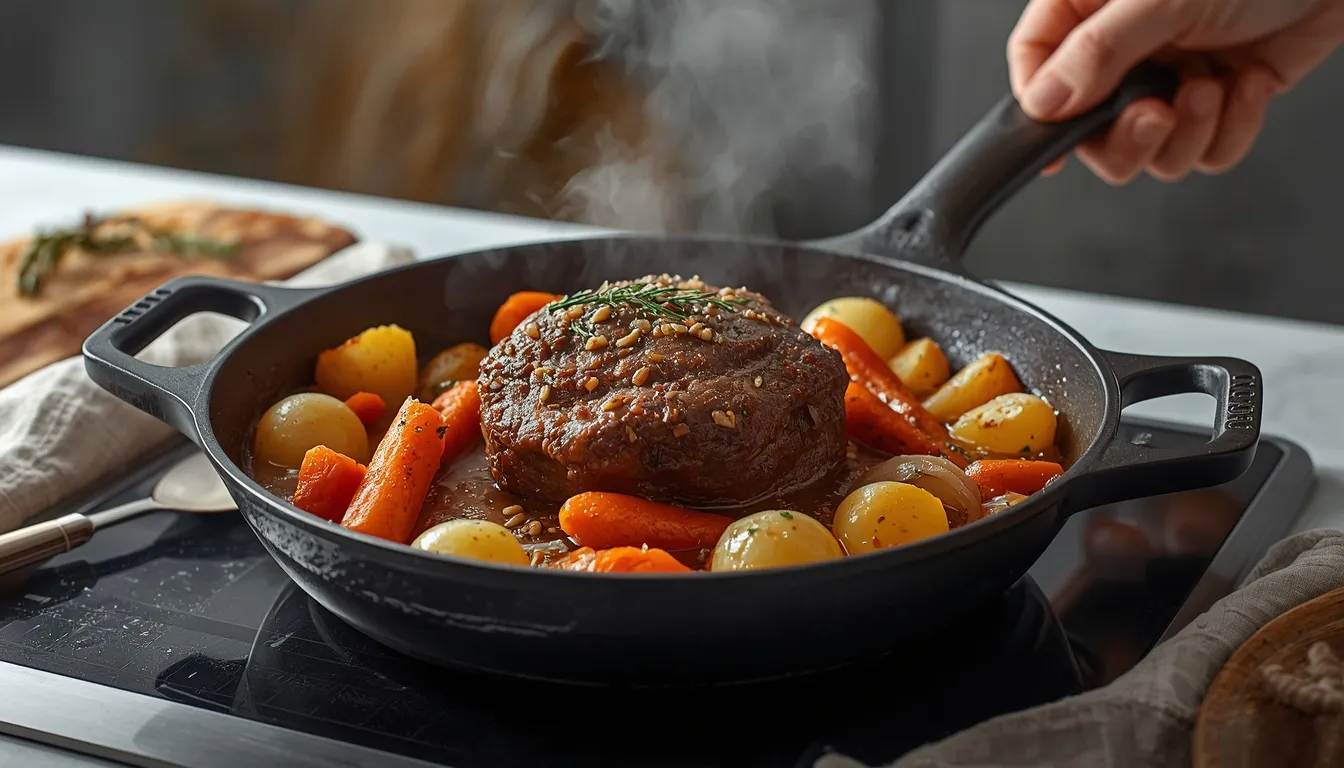
Yes, you can cook a pot roast in an electric skillet, and it is actually one of the better ways to prepare a tender roast when you do not want to use an oven or slow cooker.
The method is straightforward: brown the beef first, add a small amount of liquid, cover the skillet, reduce the heat, and let the roast cook gently until it becomes fork-tender. You can also add potatoes, carrots, onions, and other vegetables near the end, making the entire meal in one pan.
The key is temperature control. Pot roast needs an initial burst of heat for browning, followed by a long, gentle simmer. According to Presto’s electric skillet cooking instructions, braising or pot roasting involves browning food at about 325–350°F (163–177°C) and then simmering it in a small amount of liquid over low heat.
Below, you will learn exactly how to cook a pot roast in an electric skillet, including the best cut of beef, temperature settings, cooking time, amount of liquid, when to add vegetables, how to make gravy, and what to do if your roast turns out tough or dry.
Quick Answer: Can You Cook a Pot Roast in an Electric Skillet?
Yes. A deep electric skillet with a lid works well for pot roast because it can both sear and braise the meat.
For a typical 3- to 4-pound (1.4- to 1.8-kg) chuck roast:
- Brown the roast at about 325–350°F (163–177°C).
- Add broth, onions, and seasonings.
- Cover the skillet.
- Reduce the temperature to a gentle simmer.
- Cook until the roast is fork-tender.
- Add potatoes and carrots later in the cooking process so they do not become overly soft.
Older West Bend electric skillet instructions for a 3- to 4-pound chuck or blade roast call for browning at 325°F and then cooking it covered at a simmer for roughly 2 to 2½ hours, turning it after about an hour. Actual cooking time can vary depending on your skillet and the thickness of the roast.
If you are interested in other meals that work well with this appliance, KiCook’s guide to what you can cook in an electric skillet covers dozens of breakfast, lunch, dinner, braising, simmering, and one-pan cooking ideas.
What Is the Best Cut of Beef for Electric Skillet Pot Roast?
Chuck roast is usually the best choice.
Pot roast needs a cut with enough connective tissue and marbling to benefit from long, moist cooking. Chuck becomes much softer as it braises, making it ideal when you want meat that can be pulled apart easily with a fork.
Good options include:
- Chuck roast
- Chuck blade roast
- Shoulder roast
- Arm roast
- Blade roast
- Bottom round roast
- Brisket
Why Chuck Roast Works So Well
Chuck comes from the shoulder area of the animal. It is not naturally as tender as premium steak cuts, but that is exactly why it works for pot roast.
Long, gentle cooking gives the tougher connective tissue time to soften while the braising liquid helps keep the meat moist.
Very lean cuts can still be cooked this way, but they are less forgiving and may dry out more easily.
What Size Pot Roast Can You Cook in an Electric Skillet?
A 3- to 4-pound roast is a practical size for many full-size electric skillets.
However, skillet dimensions vary considerably.
Before buying your roast, check that:
- It sits flat enough to brown properly.
- The lid can close completely.
- There is room around the meat for some liquid and vegetables.
- The skillet will not be filled dangerously close to the rim.
For reference:
- 2 pounds = about 0.9 kg
- 3 pounds = about 1.36 kg
- 4 pounds = about 1.8 kg
If the roast is so large that the lid cannot close, choose a smaller roast rather than forcing it into the pan.
What Temperature Should You Cook Pot Roast in an Electric Skillet?
You will normally use two temperature stages: a higher temperature for browning and a much lower setting for braising.
Temperature for Browning
Set the electric skillet to approximately:
325–350°F (163–177°C)
Preheat the pan before adding the beef.
Presto’s manufacturer guidance describes 325–350°F as an appropriate range for browning food before braising or pot roasting.
If you are unsure how your skillet’s dial compares with low, medium, or high heat, KiCook’s electric skillet temperature guide explains common temperature ranges in both Fahrenheit and Celsius.
Temperature for Simmering
Once the roast has browned and the liquid has been added, reduce the skillet to a gentle simmer.
Do not assume every electric skillet has the same simmer temperature.
Presto notes that food may simmer somewhere between the WARM setting and 200°F on some of its electric skillets. The manufacturer recommends first heating food until the liquid begins to boil and then reducing the temperature until a gentle simmer is maintained.
Some electric skillet recipes use about 200–250°F (93–121°C) for the braising stage.
The goal is more important than the exact number: you want gentle bubbling, not an aggressive rolling boil.
How Long Does Pot Roast Take in an Electric Skillet?
A 3- to 4-pound pot roast will often need around 2 to 3 hours after browning, but treat this only as a planning estimate.
West Bend’s traditional electric skillet instructions use approximately 2 to 2½ hours for a 3- to 4-pound chuck or blade roast. Other recipes use closer to 2½ to 3 hours depending on the temperature and amount of liquid.
Several things can change the cooking time:
- Weight of the roast
- Thickness rather than weight alone
- Starting temperature of the beef
- Bone-in versus boneless meat
- Amount of liquid
- Temperature calibration of the skillet
- How often you remove the lid
- Type of beef cut
The best rule is simple:
Use the clock to know when to start checking the roast, but use tenderness to decide when it is finished.
Ingredients for Electric Skillet Pot Roast
For a family-size roast, you can use:
For the Roast
- 3 to 4 lb (1.4 to 1.8 kg) chuck roast
- 1 to 2 tablespoons cooking oil
- 1½ teaspoons salt, or to taste
- 1 teaspoon black pepper
- 1 teaspoon garlic powder
- 1 teaspoon onion powder
- ½ teaspoon dried thyme
- ½ teaspoon paprika, optional
For the Braising Liquid
- 1½ to 2 cups (360 to 475 ml) beef broth or stock
- 1 tablespoon Worcestershire sauce, optional
- 1 to 2 tablespoons tomato paste, optional
- 2 to 4 cloves garlic, minced
- 1 large onion, sliced
- 1 bay leaf, optional
Vegetables
- 3 to 4 medium potatoes, quartered
- 3 to 4 carrots, cut into large pieces
- 2 celery stalks, cut into chunks
- Extra onion, if desired
You can adjust the seasonings without changing the basic cooking method.
How to Cook a Pot Roast in an Electric Skillet
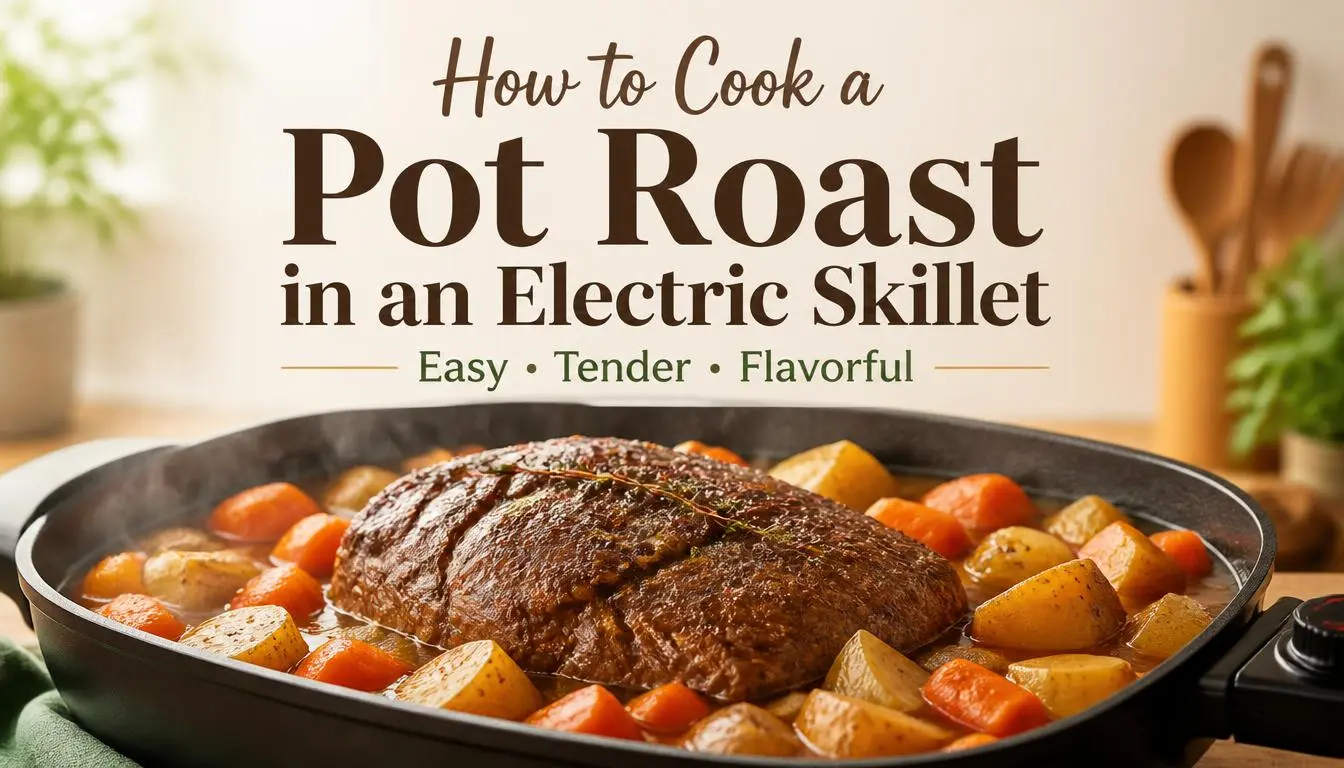
The best electric skillet pot roast follows the same basic principle as traditional braising: brown first, then cook slowly with moisture.
Step 1: Prepare the Roast
Remove the roast from its packaging and pat the surface dry with paper towels.
A relatively dry surface browns more easily than wet meat.
Trim away only very large or loose pieces of exterior fat. You do not need to remove every bit of fat because some contributes flavor during cooking.
Season the beef with salt, pepper, garlic powder, onion powder, and any herbs you want to use.
Step 2: Preheat the Electric Skillet
Set the skillet to approximately 325–350°F (163–177°C).
Allow it to preheat, then add a tablespoon or two of oil.
Use an oil suitable for moderately high cooking temperatures.
Step 3: Brown the Roast
Place the roast in the hot skillet.
Let the first side brown before moving it. Turn the beef and brown the other side, followed by the edges if practical.
Depending on the skillet and roast, this usually takes several minutes per side.
You are not trying to cook the center yet. The goal is simply to develop a flavorful browned exterior.
Step 4: Add the Onion and Garlic
Remove the roast temporarily if you need additional room.
Add the sliced onion and cook until it begins to soften.
Add garlic toward the end so it does not burn.
If you are using tomato paste, stir it into the onions and cook briefly.
Step 5: Deglaze the Skillet
Pour in a small amount of beef broth.
Use a wooden or silicone utensil to gently loosen the browned bits from the bottom of the skillet.
Those browned bits can add plenty of flavor to the braising liquid and eventual gravy.
Avoid metal utensils if your electric skillet has a nonstick coating.
Step 6: Add the Roast and Braising Liquid
Return the roast to the skillet.
Add enough beef broth to create a shallow pool of liquid around the roast.
You do not need to completely submerge the beef.
Add:
- Worcestershire sauce
- Thyme
- Bay leaf
- Additional pepper or seasonings
Bring the liquid toward a simmer.
Step 7: Cover and Reduce the Heat
Put the lid on the skillet and lower the temperature.
Maintain a gentle simmer.
Presto specifically describes pot roasting as browning food first and then simmering it in a small amount of liquid over low heat.
Avoid opening the lid every few minutes. Each time you remove it, you release heat and steam.
Check occasionally to make sure there is still enough liquid in the pan.
Step 8: Turn the Roast During Cooking
You do not need to flip the roast constantly.
Turning it once during a long braise can help expose both sides to the cooking liquid.
Traditional West Bend electric skillet instructions recommend turning a pot roast after approximately one hour.
Step 9: Add Potatoes and Carrots
Do not add all of the vegetables too early unless you want them extremely soft.
For many recipes, potatoes and carrots are better added during the final 45 to 60 minutes or so of cooking.
Cut them into fairly large pieces so they hold their shape.
Place them around the roast, replace the lid, and continue simmering until both the meat and vegetables are tender.
Step 10: Check the Roast for Doneness
Insert a fork into the thickest part.
A properly braised pot roast should feel tender rather than firm or rubbery. The fork should slide in fairly easily, and the meat should begin to separate with gentle pressure.
If the roast is still tough, it usually needs more cooking time.
Add a little broth if necessary, replace the lid, and continue cooking at a gentle simmer.
How Much Liquid Should You Put in an Electric Skillet for Pot Roast?
Start with approximately 1½ to 2 cups of liquid for a 3- to 4-pound roast, then adjust according to the size and shape of your skillet.
You are braising the meat, not boiling it.
That means the roast does not need to be completely underwater.
Presto describes braising as cooking browned meat in a small amount of liquid over low heat.
During cooking, check the liquid occasionally.
If the bottom of the skillet begins drying out, add a little more warm broth or water.
Beef Broth or Water: Which Is Better?
Both can work.
Beef broth usually provides a richer base for the sauce and gravy, so it is my preferred option for this recipe.
If you do not have broth, water can still provide the moisture needed for braising. You may simply need to add more seasoning.
You can also combine:
- Beef stock
- Water
- Worcestershire sauce
- Tomato paste
- Onion
- Garlic
- Herbs
Some recipes also include red wine. If you use it, combine it with broth rather than making wine the only cooking liquid.
Should Pot Roast Be Completely Covered With Liquid?
No.
Pot roast is normally braised, meaning it cooks with some liquid while the lid traps moisture and steam around the meat.
Completely submerging the roast is unnecessary and may dilute the flavor of the cooking liquid.
Keep enough liquid in the skillet to prevent scorching and maintain a moist cooking environment.
Do You Need a Rack for Pot Roast in an Electric Skillet?
Usually not.
A rack is useful for certain dry-roasting techniques because it lifts the meat away from the cooking surface.
Pot roast is different.
The meat is browned directly in the skillet and then braised with liquid, so it can normally remain on the bottom of the pan.
Some electric skillets can also be used for roasting-style cooking on a rack. KiCook explains the difference in its guide to using an electric skillet as an oven.
For a classic moist pot roast, however, a rack is unnecessary.
Is Pot Roast the Same as Roast Beef in an Electric Skillet?
Not exactly.
Pot Roast
Pot roast is generally:
Browned → covered → cooked slowly with liquid → cooked until very tender
It works especially well with tougher cuts such as chuck.
Traditional Roast Beef
Roast beef is often:
Cooked with drier heat → sometimes elevated on a rack → cooked to a particular internal doneness → sliced
A lean roast intended for medium-rare slicing is very different from a chuck roast cooked until it pulls apart.
For an electric skillet, pot roasting is usually the more forgiving method because the lid and braising liquid help maintain moisture.
Is an Electric Skillet the Same as an Electric Frying Pan?
In everyday cooking, the terms electric skillet, electric frying pan, and electric fry pan often describe the same general type of countertop appliance.
The terminology varies by country and manufacturer.
That means someone searching for a “pot roast in an electric frying pan” is generally looking for the same cooking technique described here.
Still, not every appliance has the same:
- Depth
- Temperature range
- Lid design
- Capacity
- Thermostat accuracy
Always check your particular model’s instructions.
What Internal Temperature Should Pot Roast Reach?
Food safety and pot-roast tenderness are two different questions.
According to the USDA safe minimum internal temperature chart, whole beef roasts should reach at least 145°F (62.8°C) and then rest for at least three minutes before serving.
However, a chuck roast that has merely reached the minimum safe temperature may still be far too tough for the texture expected from pot roast.
Pot roast is generally cooked considerably longer so its connective tissues have time to soften.
For this dish, check both:
- Safe internal temperature
- Fork tenderness
Do not remove the meat simply because it has crossed the minimum food-safe temperature if it still feels tough.
Why Is My Electric Skillet Pot Roast Tough?
The most common reason is surprisingly simple:
It probably has not cooked long enough.
Tough cuts need time at a gentle temperature.
Other possible causes include:
- Choosing an overly lean cut
- Cooking at too high a temperature
- Letting the braising liquid evaporate
- Using a roast that is much larger than the recipe assumes
- Removing the lid too often
How to Fix a Tough Pot Roast
If the beef has reached a safe temperature but remains tough:
- Add a little broth if the skillet is dry.
- Cover the pan again.
- Keep the temperature at a gentle simmer.
- Cook for another 20 to 30 minutes.
- Check tenderness again.
Do not turn the skillet to maximum heat in an attempt to speed things up. Higher heat can cause the liquid to evaporate rapidly without giving the connective tissue enough gentle cooking time.
Why Did My Pot Roast Turn Out Dry?
Dry pot roast can result from:
- Using a very lean cut of beef
- Cooking at an unnecessarily high temperature
- Losing too much liquid
- Cooking uncovered
- Continuing to cook meat after it is already tender
- Having inaccurate skillet temperature control
If food frequently scorches even when your temperature dial looks correct, the appliance may be part of the problem.
KiCook’s guide to an electric skillet heating unevenly explains common causes of hot spots, while its guide to a broken electric skillet thermostat can help if the skillet repeatedly runs hotter or cooler than the dial setting.
What Should You Do If the Liquid Evaporates?
Add more liquid.
Warm beef broth is ideal because it maintains the flavor of the dish.
Add a small amount at a time rather than flooding the skillet.
Also check:
- Is the temperature too high?
- Is the lid fitting correctly?
- Is a steam vent unusually wide open?
- Is the thermostat cycling correctly?
A pot roast needs moisture throughout the braising process.
Should the Lid Stay On?
Yes.
For most of the slow-cooking portion, keep the lid on.
The lid helps retain:
- Heat
- Moisture
- Steam
- Braising liquid
Opening it briefly to turn the roast, check the liquid, or add vegetables is fine.
Leaving the skillet uncovered for long stretches is not.
Should the Steam Vent Be Open or Closed?
This depends on the skillet.
Some traditional electric skillet pot-roast instructions specify cooking with the vent closed, but lid designs vary between manufacturers and models.
Follow the instructions for your own appliance.
The general goal is to retain enough steam and moisture for gentle braising without interfering with any safety feature built into the lid.
Can You Cook Pot Roast Without Browning It First?
Yes, but browning is worth the extra few minutes.
You could technically put the meat, liquid, and seasonings into the skillet and begin slow cooking immediately.
However, searing develops a darker exterior and gives the cooking liquid a richer base.
Because an electric skillet can brown and braise in the same pan, there is little reason to skip this step unless you are short on time.
Can You Cook a Frozen Pot Roast in an Electric Skillet?
For this particular method, thawing first is the better option.
A thawed roast:
- Browns more evenly
- Is easier to season
- Cooks more predictably
- Allows better control over timing
The USDA recognizes refrigerator, cold-water, and microwave thawing as safe methods. A 3- to 4-pound beef roast may take around 2 to 3 hours to thaw using the cold-water method, while larger whole roasts can take two days or longer to thaw completely in a refrigerator.
Do not thaw raw beef on the kitchen counter.
How to Make Gravy From Electric Skillet Pot Roast Drippings
One of the best parts of cooking pot roast in an electric skillet is that the gravy can be made in the same pan.
Easy Cornstarch Gravy
Once the roast and vegetables are cooked:
- Transfer the beef and vegetables to a serving platter.
- Leave the cooking liquid in the skillet.
- Skim off excess fat if necessary.
- Increase the heat slightly.
- Mix 1 tablespoon cornstarch with 1 tablespoon cold water.
- Whisk the slurry into the simmering liquid.
- Add more slurry if you want thicker gravy.
- Taste and adjust the salt and pepper.
Never add dry cornstarch directly to hot liquid because it can form lumps.
Flour Gravy
You can also make gravy with flour.
Mix flour with a little fat or cold liquid first, then gradually incorporate it into the hot pan juices while stirring.
The browned bits, beef juices, broth, onions, and seasonings left in the skillet create a flavorful gravy without needing another saucepan.
Electric Skillet vs Slow Cooker for Pot Roast
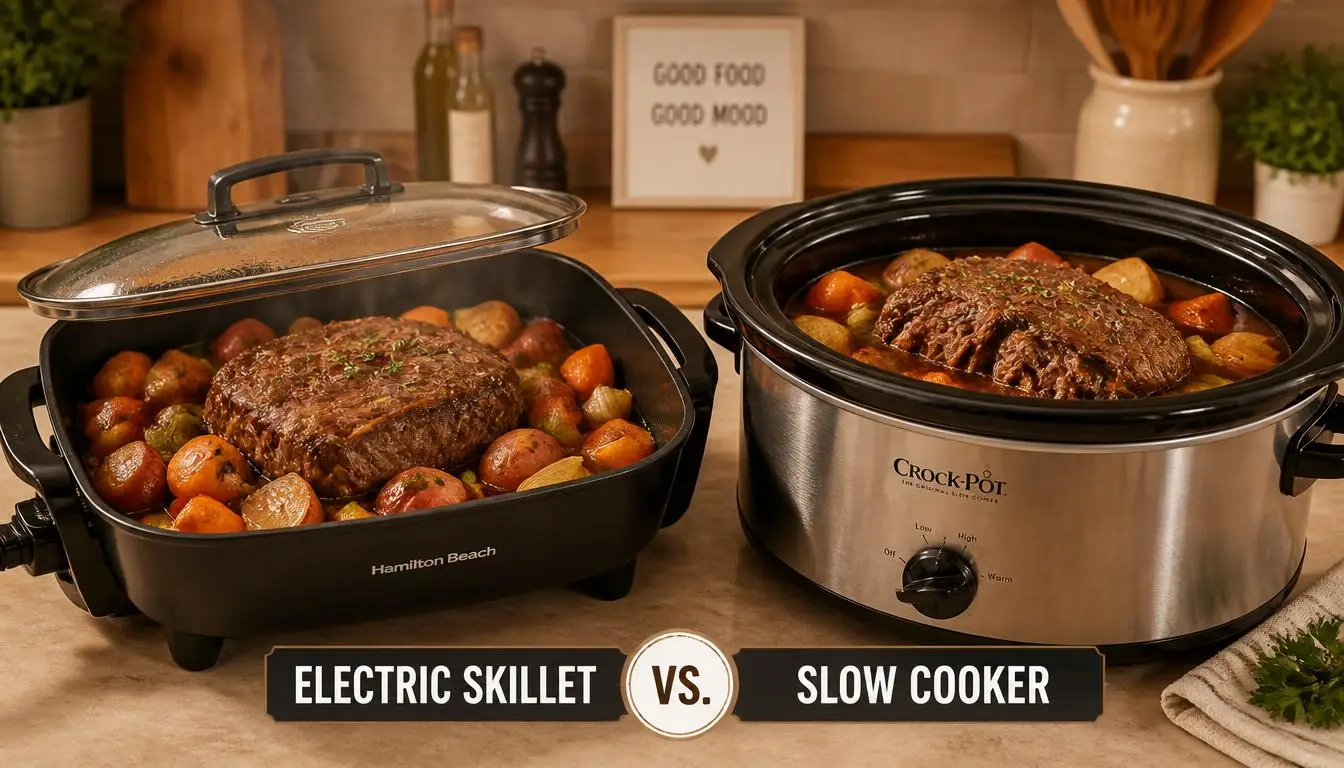
Both appliances can produce tender pot roast, but they cook differently.
Electric Skillet Advantages
- You can brown the meat in the same appliance.
- You have direct control over temperature.
- Gravy can be made directly in the pan.
- The wide surface makes vegetables easy to arrange.
- Cooking may be faster than a traditional all-day slow-cooker recipe.
Slow Cooker Advantages
- Designed specifically for extended low-temperature cooking.
- Requires less active monitoring.
- Convenient for meals that cook for many hours.
- Usually holds moisture very effectively.
An electric skillet is particularly useful when you want a one-pan meal without running the oven.
Electric Skillet vs Oven Pot Roast
A conventional oven surrounds a roasting vessel with heat, while an electric skillet supplies most of its direct heat from below.
That makes their cooking behavior different.
The electric skillet can be convenient when:
- Your oven is being used for something else.
- You want to avoid heating the entire kitchen.
- You live in a small apartment.
- You are cooking in an RV or temporary kitchen where permitted.
- You want to brown and braise in the same pan.
KiCook’s guide to whether an electric skillet can be used as an oven explains why covered skillet cooking can handle some oven-style dishes while still producing different browning and heat distribution.
Common Electric Skillet Pot Roast Mistakes
Avoiding a few mistakes makes a noticeable difference.
1. Choosing Meat That Is Too Lean
Chuck and similar cuts are generally more forgiving for long braising.
2. Skipping the Browning Step
You will miss some of the deep savory flavor created during searing.
3. Cooking at High Heat the Entire Time
Pot roast needs gentle cooking after it has been browned.
4. Completely Submerging the Roast
This is braising, not boiling.
5. Letting the Skillet Dry Out
Check occasionally and add broth when necessary.
6. Adding Vegetables Too Early
Small potatoes and carrots can become mushy if they cook for the entire braising period.
7. Opening the Lid Constantly
Repeatedly releasing heat and steam can extend cooking time.
8. Using Cooking Time as the Only Doneness Test
Two roasts of the same weight can cook differently.
Check tenderness.
9. Cutting the Roast Immediately
Allowing the meat to rest briefly makes it easier to handle and serve.
10. Ignoring an Inaccurate Thermostat
If your skillet regularly burns food on low settings or barely heats on high settings, troubleshoot the appliance before trusting the temperature dial.
Tips for a Better Electric Skillet Pot Roast
For consistently good results:
- Choose a well-marbled chuck roast.
- Pat the beef dry before browning.
- Season the meat generously.
- Preheat the skillet before searing.
- Brown more than one side.
- Deglaze the skillet after searing.
- Keep enough liquid in the pan.
- Maintain a gentle simmer.
- Keep the lid on most of the time.
- Add vegetables later.
- Judge doneness by tenderness, not just time.
- Save the pan juices for gravy.
A deep electric skillet with stable temperature control makes this process much easier.
How to Store Leftover Pot Roast
Transfer leftovers to shallow covered containers and refrigerate them promptly.
USDA guidance recommends refrigerating perishable leftovers within two hours of cooking, or within one hour when the surrounding temperature is above 90°F (32°C). Most cooked leftovers should be used within about three to four days.
Keep some of the gravy or cooking liquid with the beef if possible. It helps prevent the meat from drying out during reheating.
How to Reheat Pot Roast Without Drying It Out
Place the leftover pot roast in a covered pan with some gravy or broth.
Heat it gently until hot throughout.
According to USDA food-safety guidance, leftovers should be reheated to 165°F (73.9°C).
You can also reheat leftovers in the electric skillet over low heat. Add enough liquid to prevent the meat from sticking or drying out.
Once the skillet has cooled after cooking, clean it according to your appliance’s instructions. If you are unsure which components can get wet, KiCook’s guide to cleaning an electric skillet safely explains which parts generally require extra care.
Frequently Asked Questions
Can you cook a pot roast in an electric skillet?
Yes. Brown the roast first, add a small amount of braising liquid, cover the skillet, reduce the heat to a gentle simmer, and cook until the beef is fork-tender.
What temperature should I cook pot roast in an electric skillet?
Brown the meat at about 325–350°F (163–177°C), then reduce the skillet to its simmer or low setting. The exact simmer temperature varies by appliance.
How long does a 3-pound roast take in an electric skillet?
A 3-pound roast may take roughly 2 to 3 hours after browning, although thickness, beef cut, skillet temperature, and other factors can change the timing. Check tenderness rather than relying only on the clock.
How long does a 4-pound pot roast take?
A 4-pound chuck roast often needs around 2½ hours or longer at a gentle simmer. Start checking when you reach the expected cooking window and continue until the meat is tender.
How much water do you put in an electric skillet for pot roast?
You generally need only enough liquid for braising rather than enough to submerge the roast. For a typical 3- to 4-pound roast, 1½ to 2 cups of broth or similar liquid is a useful starting point, with more added if needed during cooking.
Can I use water instead of beef broth?
Yes. Water will provide the moisture needed for braising, but broth gives the cooking liquid a richer flavor. If you use water, consider adding extra onion, garlic, Worcestershire sauce, herbs, or other seasonings.
Should pot roast be covered while cooking?
Yes. Keep the lid on during most of the slow-cooking stage. The lid helps retain moisture and maintain the gentle braising environment.
Should I flip the roast?
You do not need to flip it repeatedly. Turning the roast once during the cooking process can help both sides spend time near the braising liquid.
Do you need a rack?
No. Classic pot roast is braised directly in the skillet with liquid, so a roasting rack is normally unnecessary.
When should I add potatoes and carrots?
Add them toward the latter part of the cooking period. For many recipes, the final 45 to 60 minutes works well, depending on the size of the vegetable pieces and the skillet temperature.
Why is my pot roast still tough after two hours?
It may simply need more time. Add enough liquid to keep the pan moist, cover the skillet, maintain a gentle simmer, and continue cooking until the meat becomes fork-tender.
Can I make gravy directly in the electric skillet?
Yes. Remove the cooked meat and vegetables, then thicken the remaining cooking liquid with a cornstarch slurry or flour mixture.
Can you cook pot roast without an oven?
Absolutely. An electric skillet, slow cooker, pressure cooker, or suitable stovetop pot can all be used for pot roast. An electric skillet is especially convenient because you can brown and braise the beef in the same cooking vessel.
Final Thoughts
So, can you cook a pot roast in an electric skillet? Yes—and you can make an exceptionally satisfying one without turning on the oven.
Start with a chuck roast, brown it at about 325–350°F (163–177°C), add a modest amount of broth and seasonings, cover the skillet, and reduce the heat to a gentle simmer. Give the beef enough time to become fork-tender, add your potatoes and carrots later in the cooking process, and use the pan juices to finish the meal with gravy.
The biggest mistake is trying to rush it. Pot roast benefits from low heat, moisture, and time. Keep those three things under control, and an electric skillet can handle the entire meal from the first sear to the final spoonful of gravy.

“I believe great cooking starts with the right tools, trusted advice, and a little confidence in the kitchen.”
Hi, I’m Emma Carter. My love for cooking began in my grandmother’s kitchen, where I learned that every great meal starts with simple ingredients and the right cookware. Over the years, I’ve spent countless hours researching, testing, and comparing kitchen appliances, cookware, coffee makers, air fryers, and other everyday kitchen essentials.
Here at KiCook, my goal is to make your buying decisions easier with honest product reviews, practical buying guides, and easy-to-follow cooking tips. Whether you’re upgrading your kitchen or searching for the best appliance for your home, I focus on providing clear, reliable, and research-backed information you can trust.
When I’m not testing new kitchen gadgets or writing in-depth guides, you’ll usually find me trying new recipes, visiting local farmers’ markets, or enjoying a quiet cup of coffee while planning my next kitchen project.