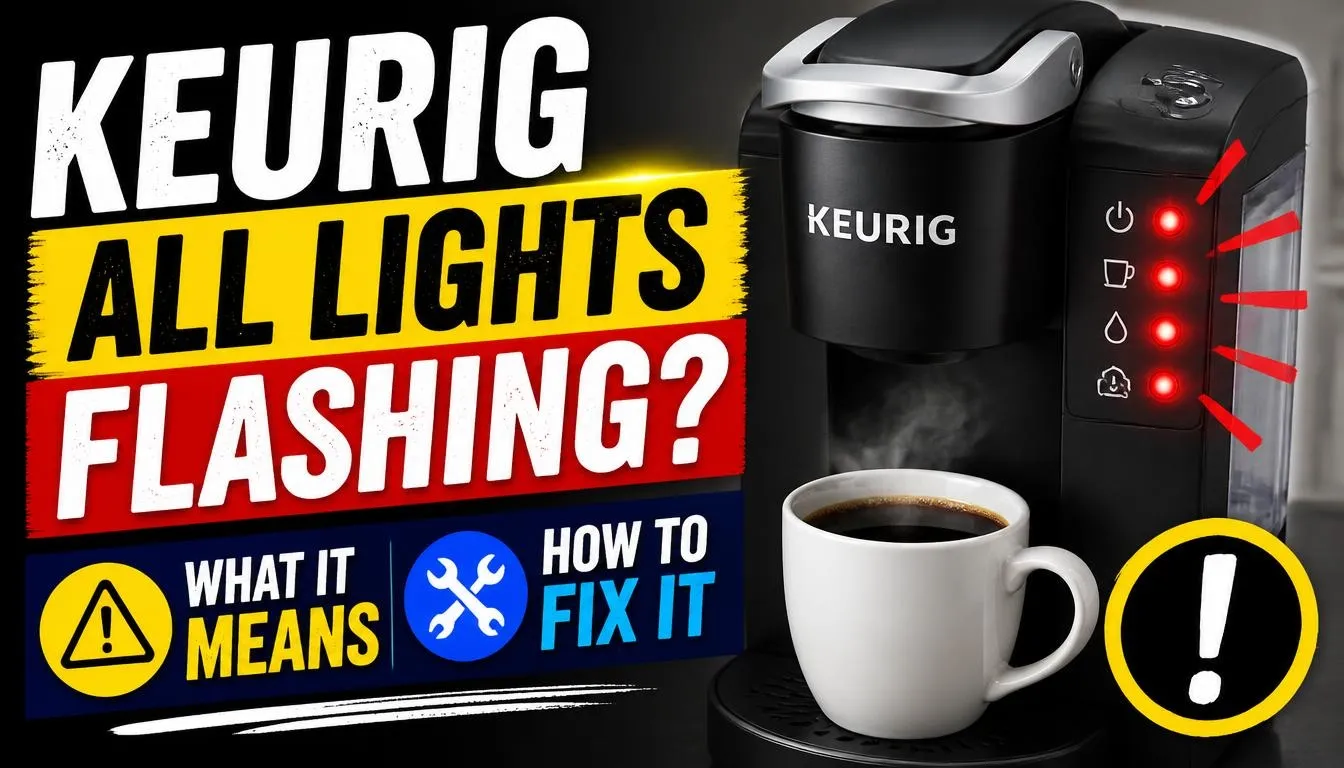
Quick Answer: If all or several lights on your Keurig are flashing at the same time, the meaning depends on your brewer model and the exact lights involved. On some models, flashing lights can indicate a water reservoir or water flow problem. On others, blinking buttons are part of normal operation or mean the brewer needs customer service.
Start by identifying your Keurig model and checking which lights are flashing. Reseat the water reservoir if your model’s instructions recommend it. Do not try random reset combinations or repeat a descaling cycle without checking the manufacturer’s guidance.
Seeing several lights flashing together on your Keurig can be confusing. You may fill the water tank, press a brew button, and find that the machine still refuses to make coffee.
The important thing to understand is that Keurig does not use one universal flashing-light code across all its coffee makers. A K40, K45, K-Elite, and K-Latte can show different light patterns for different reasons.
In this guide, you will learn what different flashing patterns mean, which troubleshooting steps are safe to try, and when you should contact Keurig customer support.
First, Identify Which Lights Are Flashing on Your Keurig
Before trying to fix the problem, take a close look at the control panel.
Are all the lights blinking, or are only a few buttons flashing? Does the flashing happen immediately after turning on the machine, during heating, or when you try to brew coffee?
These details can help you avoid trying the wrong solution.
Check the following:
- Exact lights: Note which indicator lights or brew buttons are flashing.
- Light colour: Check whether the lights are blue, red, white, or another colour.
- Flashing pattern: Notice whether they blink together or one after another.
- Timing: Check whether the flashing starts during startup, heating, brewing, or descaling.
- Brewer model: Find the model name or number on your machine or its product documentation.
For example, a combination of the Add Water light, Heating light, and Small Mug button flashing on a K40 or K45 has a specific troubleshooting procedure. It should not be treated the same as five brew-size buttons flashing on a K-Elite.
What Does It Mean When All Keurig Lights Are Flashing?
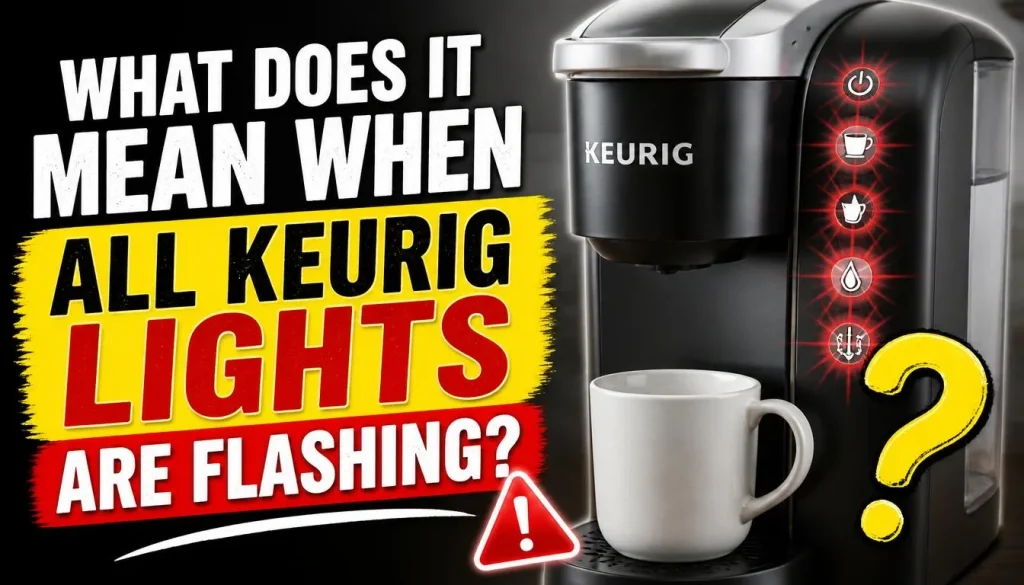
There are several possible explanations, but the correct one depends on your machine.
1. The Water Reservoir Is Not Seated Correctly
Some Keurig brewers may have trouble drawing water when the reservoir is not positioned correctly.
This can happen after you remove the tank for cleaning, refill it, or move the machine.
On applicable models, water-related indicator lights may flash when the brewer cannot complete its expected water flow.
Check whether the reservoir sits correctly in its base. Also make sure it contains enough water and that the tank is not visibly damaged.
If your Keurig displays a steady Add Water warning instead of several flashing lights, follow our guide on Keurig Add Water Light Stays On for that separate problem.
2. The Brewer Is Having a Water Flow Problem
A Keurig needs to draw water from its reservoir before it can heat and brew.
If the expected amount of water does not reach the brewing system, the machine may fail to complete its cycle.
Possible things to check include:
- Incorrectly positioned water reservoir.
- A water filter that needs attention.
- Insufficient water in the reservoir.
- Restricted water flow.
- A problem that requires manufacturer support.
However, flashing lights alone do not prove that the pump is damaged or the machine is clogged.
Follow the troubleshooting instructions for your exact model before assuming that an internal part has failed.
3. The Brewer Is Showing a Model-Specific Warning
Some flashing patterns have a specific meaning in the manufacturer’s manual.
For example, the K40 and K45 have a documented warning involving the blue Add Water light, red Heating light, and Small Mug button flashing together.
The Keurig K-Elite also has a separate instruction for its five brew-size lights blinking simultaneously.
These patterns require different responses. That is why identifying the machine matters before attempting a repair.
4. The Flashing Is Part of Normal Operation
Not every flashing light indicates a fault.
Some Keurig models flash their buttons when they are heating, waiting for a brew selection, or completing an initial cleansing cycle.
For example, the Keurig K-Latte manual explains that its three brew buttons and SHOT button blink during the initial cleansing process. The user must press the 6 oz button to start that process without a K-Cup pod.
So, before treating flashing lights as an error, check whether your machine is asking you to complete a normal operating step.
Keurig Flashing Light Patterns and Their Meanings by Model
Different Keurig models use different indicator systems. Here are some manufacturer-documented examples.
| Keurig Model | Light Pattern | Recommended Action |
|---|---|---|
| K40 / K45 | Blue Add Water, red Heating, and Small Mug button flash together | Clean and reseat the reservoir according to the manual |
| K-Elite | 4, 6, 8, 10, and 12 oz lights blink simultaneously | Contact Keurig Customer Service |
| K-Latte | Three brew buttons and SHOT button blink during initial cleansing | Press the correct button to continue setup |
| Other models | Multiple lights or buttons flash together | Check the model-specific user guide |
These are documented examples, not a complete list of every Keurig brewer. Do not apply instructions from one model to another.
Keurig K40 and K45 Lights Flashing Together
The K40 and K45 have a specific warning pattern.
If the blue Add Water light, red Heating light, and Small Mug button are all flashing simultaneously, the owner’s manual provides the following procedure:
- Remove the water reservoir completely.
- Clean the reservoir thoroughly according to the user manual.
- Fill it with fresh water without going above the MAX FILL line.
- Return the reservoir to the brewer.
- Make sure it is seated correctly.
- Press the flashing Small Mug button.
The manual says to repeat this procedure no more than twice. If the same warning continues, contact Keurig Customer Service.
You can read the official Keurig K40/K45 Owner’s Manual for the complete instructions.
This procedure is specifically for the documented K40/K45 light combination. Do not assume it is a universal reset for newer Keurig machines.
Keurig K-Elite All Brew Size Lights Blinking
The K-Elite has five brew-size buttons:
- 4 oz
- 6 oz
- 8 oz
- 10 oz
- 12 oz
According to the K-Elite Use and Care Guide, if all five brew-size lights blink simultaneously, you should contact Keurig Customer Service.
This is important because another light combination on the same brewer has different instructions.
For example, when the five brew-size lights and the ICED button are all illuminated together, the manual describes a different procedure involving the handle, K-Cup pod, mug, and power button.
Therefore, check whether the lights are actually blinking or staying illuminated. These are not the same warning.
Do not try the K40/K45 reservoir procedure or an online reset combination just because the K-Elite lights are flashing.
Read the official Keurig K-Elite Use and Care Guide for the exact warning and troubleshooting instructions.
Keurig K-Latte Lights Flashing During Cleansing
If you have just plugged in a K-Latte for the first time, flashing buttons may be completely normal.
The K-Latte Use and Care Guide explains that the three brew buttons and SHOT button blink during the initial cleansing process.
To complete this step:
- Make sure the water reservoir has fresh water.
- Place a suitable mug under the dispenser.
- Lift and lower the handle.
- Do not insert a K-Cup pod for the initial cleansing brew.
- Press the 6 oz button.
- Allow the cleansing cycle to finish.
- Empty the hot water from the mug.
The brewer is then ready for normal use.
You can check the official Keurig K-Latte Use and Care Guide for additional setup instructions.
If the flashing continues outside the normal operating steps, check your user guide before trying to reset the machine.
What If You Own a Different Keurig Model?
The examples above do not cover every Keurig coffee maker.
Models such as the K-Mini, K-Express, K-Supreme, and K-Duo have different controls and operating instructions.
Do not assume that a solution for the K40 or K-Elite will work on your brewer.
Find the exact model number and look for its official Use and Care Guide. If the guide does not explain your light pattern, contact Keurig Support before trying unfamiliar button combinations.
How to Troubleshoot a Keurig With Multiple Flashing Lights
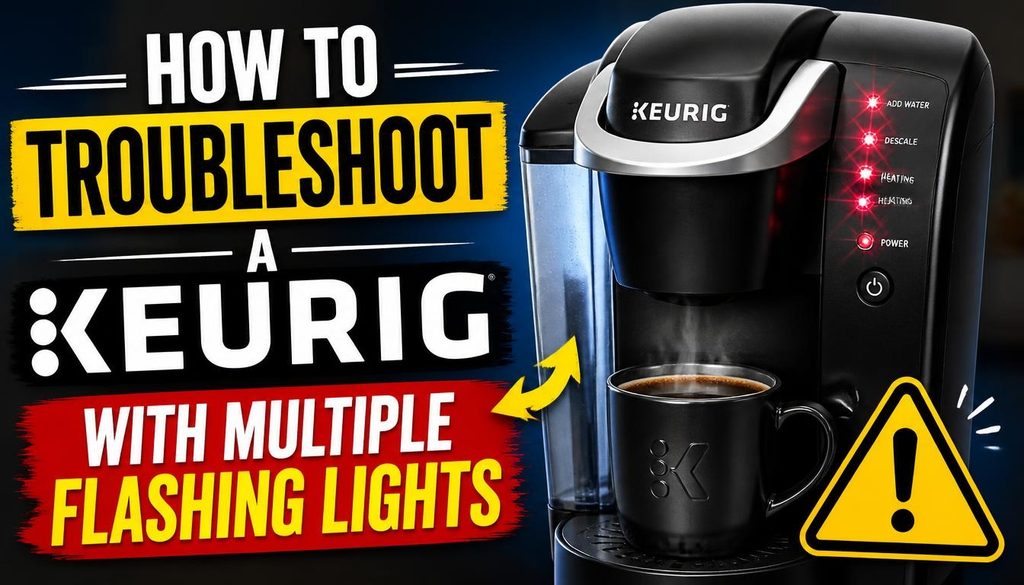
Once you identify your model and light pattern, follow these checks.
1. Check Your Keurig Model Number
Start with the model name or number.
You may find it on the brewer’s product label or in the original product documentation.
This step matters because two Keurig machines can have different controls even if they look similar.
Keep the model number available when looking for a troubleshooting guide or contacting support.
2. Check and Reseat the Water Reservoir
If your model’s troubleshooting instructions point to a water supply problem, check the reservoir.
Try these steps:
- Turn off the brewer.
- Remove the water reservoir.
- Check whether it contains enough fresh water.
- Look for visible dirt or residue around the removable tank and its base.
- Reinstall the reservoir carefully.
- Make sure it sits correctly in the base.
- Check whether the same warning appears.
Do not force the reservoir into position.
If the tank is cracked, leaking, or does not fit correctly, stop using the machine until the issue is addressed.
3. Perform a Water-Only Brew Test When Recommended
Keurig provides a specific water-flow troubleshooting procedure for certain flashing-light patterns.
Its official guide recommends checking whether the reservoir is seated correctly and performing a water-only brew using the 6 oz or 8 oz setting.
For the models covered by that procedure:
- Place a measuring cup under the dispenser.
- Remove the K-Cup pod, if present.
- Select the recommended water-only brew size.
- Check how much water is dispensed.
- Follow the next steps in the official troubleshooting guide if the expected amount does not come out.
If your brewer uses a removable water filter, the guide also explains when to remove and test it separately.
Do not apply this sequence to every Keurig model. Use it only when the instructions for your specific brewer recommend it.
You can read the manufacturer’s official troubleshooting guide for flashing lights on a K-Cup brewer.
4. Check the Water Filter if Your Model Uses One
Some Keurig water reservoirs contain a removable charcoal water filter.
If the manufacturer’s troubleshooting instructions recommend checking the filter, follow the procedure in the user guide.
A filter that needs replacement may affect the water supply or flow in some circumstances.
However, do not remove parts that are not designed to be user-removable.
Check the filter replacement instructions for your exact model before reinstalling or replacing it.
5. Follow the Model-Specific Troubleshooting Instructions
This is one of the most important steps.
If your model has a documented light pattern, follow that procedure instead of trying a general reset.
For example:
- K40/K45 users should follow the reservoir procedure for the documented three-light combination.
- K-Elite users should contact customer service when the five brew-size lights blink simultaneously.
- K-Latte owners should complete the correct cleansing or brewing step when the buttons are flashing as part of normal operation.
Do not keep pressing different buttons to see whether the lights stop.
6. Contact Keurig Customer Support
Sometimes the correct solution is manufacturer assistance rather than another cleaning or reset attempt.
Contact Keurig if:
- The manual specifically instructs you to contact customer service.
- The same warning returns after the recommended procedure.
- The machine does not dispense water after the approved tests.
- The controls stop responding.
- You notice unusual leakage or signs of internal damage.
Before contacting support, prepare your model number and describe exactly which lights are flashing.
This will make it easier for the support team to identify the correct troubleshooting procedure.
Visit Keurig Customer Support for assistance.
Keurig All Lights Flashing but Not Brewing: What Should You Do?
A Keurig that flashes multiple lights and refuses to brew needs a little more attention.
First, determine whether the machine is showing a normal operating prompt or a warning.
If it is still heating or waiting for you to select a brew option, allow the process to finish and follow the display or button instructions.
If the lights match a documented warning pattern, use the relevant model-specific procedure.
Also check whether the brewer dispenses water without a K-Cup pod, but only when the manufacturer recommends a water-only test.
If the machine cannot dispense water after the approved steps, stop trying repeated brew cycles and contact Keurig.
For broader brewing problems, including a machine that turns on but will not make coffee, see our guide on Keurig Not Brewing and How to Fix It.
Are Flashing Lights on a Keurig Always a Problem?
No. Some flashing lights are part of normal operation.
Here are three situations worth understanding.
During heating: Certain models flash a button while heating water. The light may change once the brewer is ready to dispense coffee.
During brewing or setup: Some controls flash to tell you which button to press next.
During descaling: A brewer may flash indicators while it moves through the cleaning and rinsing process.
The important difference is whether the flashing matches the normal instructions for your particular model.
If a warning appears unexpectedly or the brewer stops responding, check the official user guide.
Also remember that a flashing Descale light is a separate maintenance issue. For that problem, read our guide on Keurig Descale Light Won’t Turn Off.
What You Should Not Do When All Keurig Lights Are Flashing
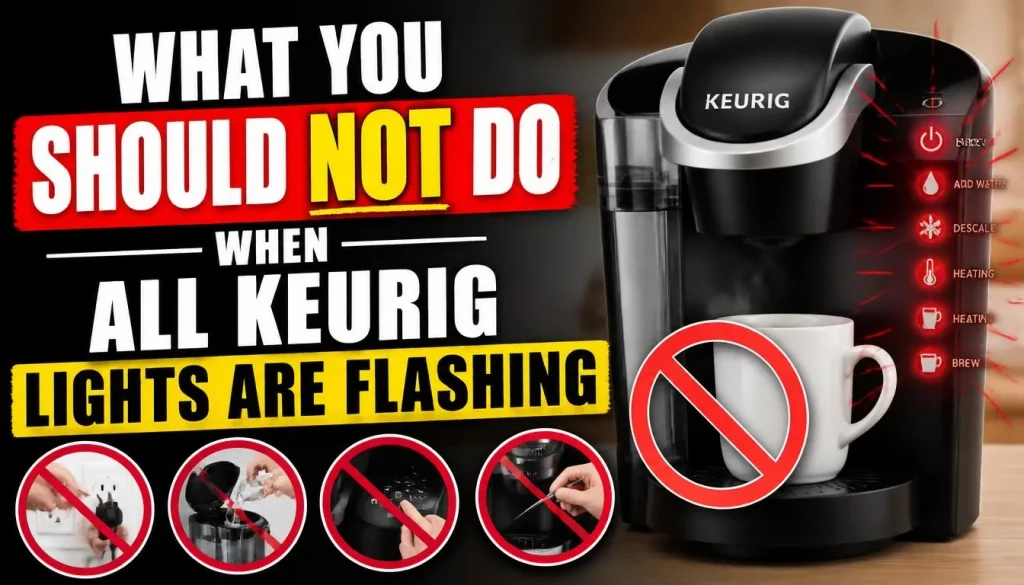
Trying random repairs can make troubleshooting more difficult. It may also create a safety risk.
Avoid these mistakes:
1. Do not press random button combinations. A shortcut that works on one model may have a different function on another.
2. Do not start descaling without a reason. Flashing lights do not automatically mean mineral buildup is responsible.
3. Do not open the machine’s internal housing. The brewer contains electrical and heating components that should not be repaired without the appropriate training.
4. Do not put your fingers near the brew needles. They are sharp and may cause injury.
5. Do not keep running the brewer when water is not flowing. Follow the manufacturer’s water-flow troubleshooting instructions instead.
6. Stop using the machine if you notice smoke, sparks, a burning smell, or electrical damage. Disconnect power only if it is safe to do so, and contact the manufacturer.
When Should You Contact Keurig Customer Support?
You do not need to keep trying different fixes when the machine is clearly showing a condition that requires service.
Contact Keurig if the official manual tells you to do so or the recommended troubleshooting steps do not resolve the problem.
It is especially important to stop DIY troubleshooting when:
- All five K-Elite brew-size lights continue blinking together.
- The K40/K45 warning remains after the permitted procedure.
- Your brewer will not dispense water after the recommended tests.
- The machine displays an unfamiliar warning that is not explained in its manual.
- There are signs of electrical damage or internal leakage.
Keep your purchase details and model number ready.
If the coffee maker is still under warranty, ask Keurig about the available support and service options before buying replacement parts.
Frequently Asked Questions
Why Are All the Lights Flashing on My Keurig at Once?
The meaning depends on the Keurig model and which lights are flashing. Some patterns indicate a water supply issue, while others are part of normal operation or require customer service. Check the exact light combination in your brewer’s user manual.
How Do I Reset My Keurig When All Lights Are Flashing?
There is no single reset method for every Keurig model. First identify the flashing pattern and follow the manufacturer’s instructions. Avoid trying random button combinations because they may not apply to your machine.
Why Are All the Brew Size Buttons Blinking on My Keurig?
On the K-Elite, the five brew-size lights blinking simultaneously have a specific instruction: contact Keurig Customer Service. Other models may use different light patterns, so check your exact model before deciding what the blinking means.
Why Is My Keurig Flashing Lights but Not Brewing?
The brewer may be showing a water-flow warning, waiting for a required operating step, or displaying a model-specific error. Check the water reservoir, identify the exact lights, and follow the correct manual instructions.
Can a Water Filter Cause Keurig Lights to Flash?
A water filter may affect water flow in some circumstances. Keurig’s official troubleshooting guide recommends a filter test for certain flashing-light conditions. Follow that guide only when it applies to your brewer.
Does Descaling Fix All Flashing Lights on a Keurig?
No. Descaling can help when mineral buildup is affecting water flow, but it will not fix every flashing-light warning. Some light combinations require a reservoir procedure, a normal operating step, or customer service.
Should I Unplug My Keurig When All Lights Are Flashing?
You can turn off and disconnect the brewer before cleaning removable parts when the manufacturer’s instructions call for it. However, unplugging is not a universal reset for every flashing-light problem. Follow the correct procedure for your model.
Can I Still Use My Keurig When the Lights Are Flashing?
That depends on why the lights are flashing. If they are part of a normal heating or brewing step, you may be able to continue by following the instructions. If the brewer shows a warning or refuses to work, do not force another brew cycle.
Final Thoughts
Seeing all or several lights flashing on your Keurig does not automatically mean the machine is broken. The real cause depends on the model and the exact combination of lights.
Start by identifying your brewer and checking whether the flashing is part of normal operation. Then follow the manufacturer’s troubleshooting steps for that specific light pattern.
A water reservoir check may help with some older models, while other warnings require customer service. The K-Elite, for example, has a specific instruction for five brew-size lights blinking together.
Most importantly, do not assume that one reset, cleaning method, or descaling procedure works for every Keurig.
A careful check of the correct user manual is the safest way to understand the warning and decide what to do next.

“I believe great cooking starts with the right tools, trusted advice, and a little confidence in the kitchen.”
Hi, I’m Emma Carter. My love for cooking began in my grandmother’s kitchen, where I learned that every great meal starts with simple ingredients and the right cookware. Over the years, I’ve spent countless hours researching, testing, and comparing kitchen appliances, cookware, coffee makers, air fryers, and other everyday kitchen essentials.
Here at KiCook, my goal is to make your buying decisions easier with honest product reviews, practical buying guides, and easy-to-follow cooking tips. Whether you’re upgrading your kitchen or searching for the best appliance for your home, I focus on providing clear, reliable, and research-backed information you can trust.
When I’m not testing new kitchen gadgets or writing in-depth guides, you’ll usually find me trying new recipes, visiting local farmers’ markets, or enjoying a quiet cup of coffee while planning my next kitchen project.