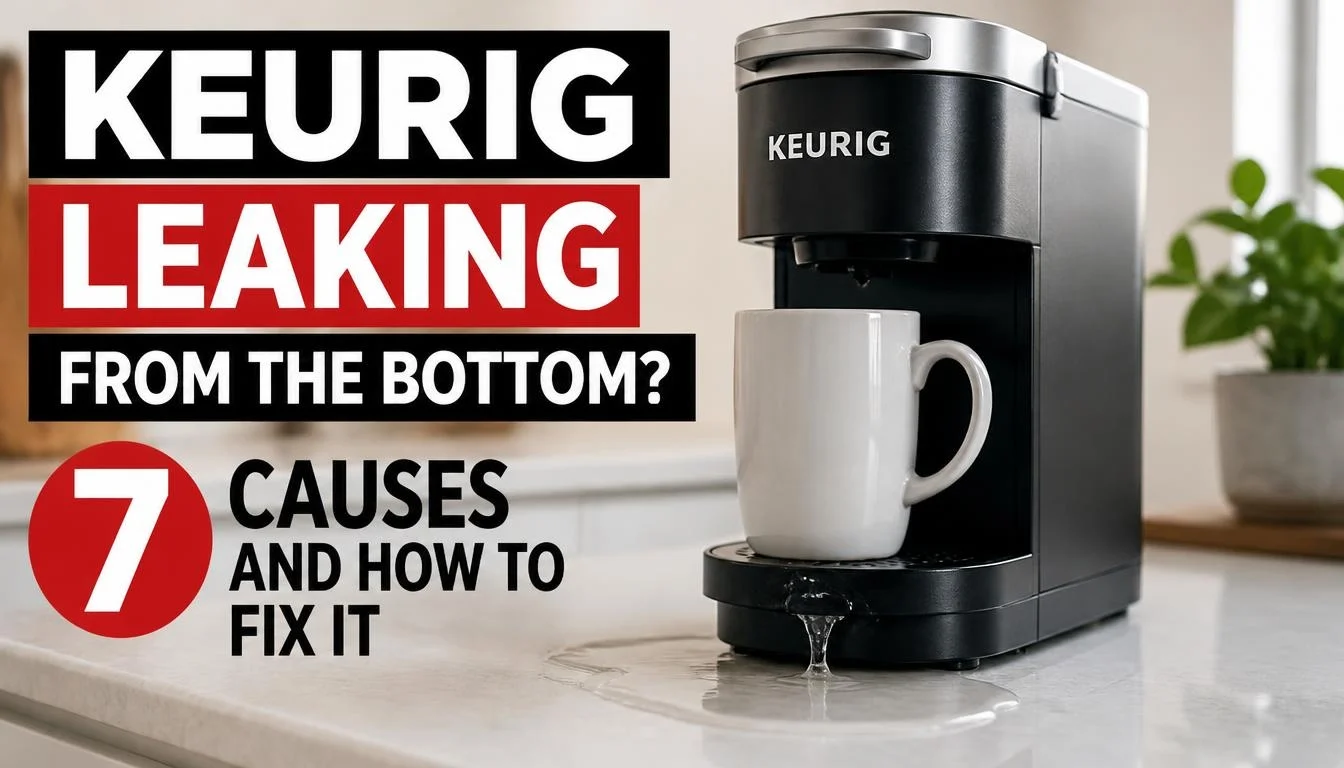
Finding a puddle of water underneath your Keurig can be frustrating, especially when you were not expecting a leak. You may notice water on the kitchen counter after brewing, while the machine is sitting unused, or even after descaling.
The good news is that not every Keurig leak means the brewer is broken. Sometimes, the water reservoir is damaged, its outlet is not holding water, or water has collected in the drip tray. Other times, the leak may be coming from inside the machine and need professional attention.
The important thing is to find out where the water is coming from before attempting a repair.
In this guide, I will explain seven possible reasons your Keurig is leaking from the bottom, how to check the common problem areas, and when you should contact Keurig Customer Support.
Quick Answer: Why Is My Keurig Leaking From the Bottom?
A Keurig may leak from the bottom because its water reservoir is cracked, its outlet is leaking, or water has collected around the reservoir well or drip tray. First, turn off the brewer and inspect the removable reservoir. If it is not leaking but water continues seeping from the base, stop using the machine and contact Keurig Support.
What to Do First If You See Water Under Your Keurig
Before trying to find the cause, take a few safety steps.
A coffee maker contains hot water and electrical components. Handling a leaking machine without care can create a risk of burns or electric shock.
Follow these steps:
- Turn off the Keurig: Stop using the brewer as soon as you notice the leak.
- Disconnect the power safely: Unplug the machine only if the plug, outlet, and surrounding area are completely dry. Never touch a wet plug or outlet.
- Let the machine cool: Give the brewer enough time to cool before touching or removing its parts.
- Clean the surrounding area: Once it is safe, wipe the countertop so you can identify where new water appears.
- Do not open the machine: Avoid removing its outer housing or trying to repair internal electrical or water components.
If water has reached the electrical connection, keep away from the wet area and get appropriate electrical assistance. Do not attempt to operate the brewer.
First, Find Out Where Your Keurig Is Leaking From
Before replacing a part, identify where the water first appears.
A small amount of water inside the drip tray does not necessarily mean the machine has a damaged water system. Water underneath the actual brewer is a different concern.
Here is how to understand the difference.
| Where You Notice Water | Possible Explanation | What to Check |
|---|---|---|
| Directly underneath the machine | Spillage or a possible internal leak | Reservoir and base area |
| Around the water reservoir | Damaged tank or leaking outlet | Reservoir body and valve |
| Inside the reservoir well | Residual water or leakage from the tank | Area underneath the reservoir |
| Inside the drip tray | Normal drainage or excess water | Drip tray and model instructions |
| Underneath during brewing | Water escaping during operation | Reservoir and possible internal fault |
| Underneath while switched off | Reservoir leakage or remaining water | Reservoir outlet and surrounding area |
One useful clue is the amount of water in the reservoir.
If the water level drops even when you are not brewing coffee, check whether the removable tank is leaking.
Do not assume that every puddle underneath a Keurig has the same cause.
Why Is My Keurig Leaking From the Bottom? 7 Possible Causes
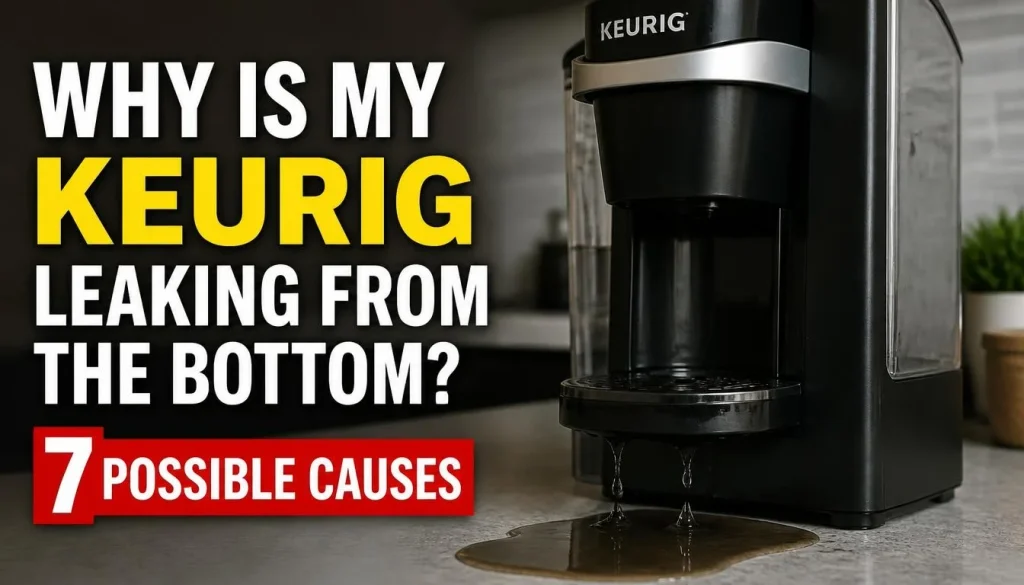
Let’s look at the seven areas that deserve attention.
1. The Water Reservoir Is Cracked or Damaged
The water reservoir is one of the first parts to inspect.
Even a small crack can allow water to escape slowly. You might not notice it immediately, but a little water can collect underneath the brewer over several hours.
This may explain why you find a puddle in the morning even though nobody has used the coffee maker overnight.
How to identify the problem:
- Look for visible cracks along the reservoir walls.
- Check the bottom corners and seams.
- Look for moisture around the outlet.
- Notice whether the water level drops while the machine is not being used.
What to do:
Remove the reservoir according to your model’s instructions. Check it over a dry sink to see whether water escapes from the tank.
If the reservoir is cracked or leaking, stop using it. Replace it with a compatible part designed for your Keurig model.
Do not try to seal a drinking-water reservoir with household glue or silicone.
2. The Water Reservoir Is Not Sitting Properly
A water reservoir that is not positioned correctly can cause problems around its connection.
This may happen after cleaning, refilling, or moving the machine.
If you recently removed the tank and put it back, check that it is correctly seated.
How to check it:
- Turn off the machine and allow it to cool.
- Remove the reservoir according to the user manual.
- Check the area where the reservoir sits.
- Look for visible dirt or anything preventing the tank from sitting correctly.
- Reinstall the reservoir according to the manufacturer’s instructions.
Never force the tank into position.
If the reservoir fits correctly but water continues collecting underneath, investigate whether the tank itself is leaking.
3. The Reservoir Outlet or Valve Is Leaking
The reservoir has an outlet that allows water to move into the brewer.
If this outlet or its sealing mechanism is damaged, water may escape from the tank.
You may notice that the reservoir loses water even when the Keurig is not brewing.
Common signs include:
- Water escaping from the bottom of the removable reservoir.
- Water collecting around the reservoir well.
- A reservoir that loses water while sitting outside the machine.
- A recurring puddle underneath the brewer.
How to check it:
Remove the reservoir and hold it over a sink.
Look for water escaping from the outlet or other visible areas.
Keurig recommends this reservoir check in its official troubleshooting guide for a brewer leaking from the bottom.
If the tank itself is leaking, ask Keurig about a compatible replacement.
Do not push tools into the outlet or attempt to dismantle its valve.
4. Water Is Collecting in the Reservoir Well
The reservoir well is the area underneath the removable water tank.
Sometimes water collects here after filling the reservoir, removing it for cleaning, or accidentally spilling water around the connection.
This does not automatically mean that an internal part is damaged.
What to check:
- Turn off and disconnect the brewer safely.
- Remove the water reservoir.
- Look at the area underneath it.
- Check whether there is standing water.
- Look for signs of fresh moisture around the reservoir connection.
Once the machine is safe to handle, dry any accessible spilled water with a clean cloth.
If water returns to the reservoir well while the machine is switched off, check the reservoir again.
If the tank is not leaking but fresh water continues to seep from the brewer, contact Keurig Support rather than attempting an internal repair.
5. Your Keurig Is Leaking After Descaling
Did you notice the leak immediately after descaling your Keurig?
The timing is important.
During descaling, you may remove the reservoir, refill it several times, and handle other removable parts. A tank that is not correctly positioned or water spilled during cleaning may explain the problem.
However, finding a leak after descaling does not prove that the descaling solution damaged the brewer.
What to check:
- Is the water reservoir correctly positioned?
- Does the reservoir have any visible damage?
- Is there water around the reservoir well?
- Is the drip tray full?
- Did you notice the leak during the cleaning process or afterward?
If your coffee maker started leaking after a cleaning cycle, read my guide on Coffee Maker Leaking After Descaling.
It explains how to identify leaks after cleaning and when to seek professional help.
For your Keurig, always follow the descaling instructions for the exact model.
6. The Drip Tray Is Collecting Excess Water
Sometimes, people think their Keurig is leaking from the bottom when the actual problem is water collecting in the drip tray.
The drip tray catches certain spills and drainage during normal use.
If it becomes full, water may overflow onto the countertop and appear to be coming from underneath the machine.
Some Keurig models also have specific water-fill limits that affect how much water enters the tray.
How to check it:
- Turn off the machine.
- Allow hot parts to cool.
- Remove the drip tray according to the manual.
- Empty its contents into the sink.
- Clean and dry the tray.
- Reinstall it correctly.
Pay special attention if you own a Keurig K15 or MINI Plus.
Keurig explains that adding more than 10 ounces of water to the cold-water reservoir of these models can cause excess water to collect in the drip tray. This is by design and does not necessarily mean the brewer is leaking.
You can read Keurig’s official brewer information and troubleshooting guidance for more details.
For other K-Mini generations, check the specific fill limit in your user guide. Not every K-Mini model has exactly the same reservoir instructions.
7. An Internal Component May Be Damaged
If you have checked the removable reservoir and confirmed that it is not leaking, the water may be escaping from inside the brewer.
An internal connection, water line, seal, or another component could be involved.
However, you cannot confirm the exact cause just by looking at a puddle underneath the machine.
Signs that professional help may be needed:
- Water continues appearing underneath the brewer.
- The leak returns even after the reservoir has been checked.
- Water appears to come from inside the machine.
- The machine leaks during operation.
- The surrounding area becomes wet without a visible spill.
In this situation, stop using the Keurig.
Do not open its housing, tighten internal connections, or attempt electrical repairs.
Keurig’s own troubleshooting instructions recommend contacting Customer Service when the cold-water reservoir is not leaking but water continues seeping from the bottom.
How to Fix a Keurig Leaking From the Bottom
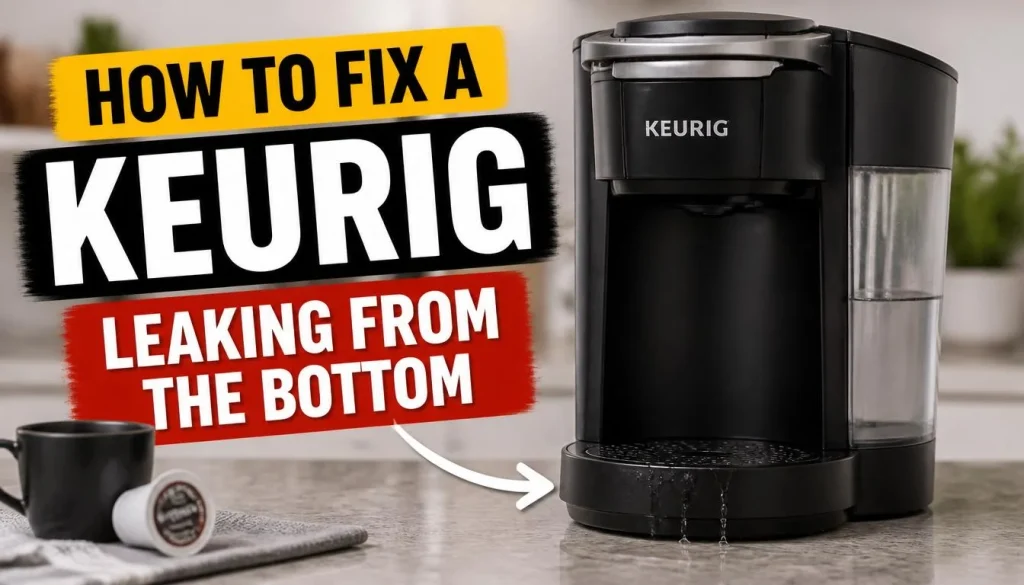
Now that you know the possible causes, here is a safe troubleshooting process.
The goal is to identify the source of the leak without damaging the brewer.
Step 1: Turn Off and Disconnect Your Keurig
Stop brewing and switch off the machine.
Disconnect the power only when the plug and surrounding area are dry.
Allow the brewer to cool before handling its removable parts.
If water has reached the electrical connection, do not touch it.
Step 2: Inspect the Water Reservoir
Carefully remove the reservoir according to your model’s instructions.
Look for:
- Cracks or visible damage.
- Water escaping from the bottom.
- Signs of leakage around the outlet.
- Damage to accessible seals.
Hold the full reservoir over a sink and check whether water escapes.
This is an important first check because Keurig specifically recommends it for bottom leakage.
Step 3: Check the Reservoir Well
With the reservoir removed, look at the area underneath it.
Is water collecting there?
If you find water, determine whether it could have spilled during filling or removal.
Dry any accessible spilled water once it is safe to do so.
If water returns without a clear explanation, do not continue experimenting with the brewer.
Step 4: Reinstall the Reservoir Correctly
If the reservoir is not damaged, reinstall it according to the correct model instructions.
Make sure it sits properly.
Do not force it or apply pressure to the outlet.
If the tank does not fit correctly or appears damaged, contact Keurig about the correct replacement part.
Step 5: Empty and Inspect the Drip Tray
Remove the drip tray and empty any collected water.
Clean it with the method recommended in your user guide.
Check for visible damage and reinstall it correctly.
If you have a K-Mini or K15, confirm that you are not exceeding the water-fill limit for your specific model.
Step 6: Decide Whether the Machine Needs Professional Repair
After checking the reservoir and accessible removable parts, consider what you found.
If the reservoir is confirmed to be leaking, replace it with a compatible tank.
If the reservoir is not leaking but water continues appearing underneath the machine, stop using the brewer.
Do not run repeated brewing cycles to find the leak.
Contact Keurig or a qualified repair professional for further help.
Why Is My Keurig Leaking When It Is Not Brewing?
A Keurig that leaks while switched off needs attention.
If water appears underneath the machine overnight or while it is sitting unused, the removable water reservoir is a sensible place to start.
A damaged tank or leaking outlet may allow water to escape even when the brewer is not operating.
Here is what you should check:
- Look for water around the reservoir.
- Remove the tank and inspect it over a sink.
- Check whether the water level drops while the tank is outside the machine.
- Look for water inside the reservoir well.
- Check whether the countertop is wet from an earlier spill.
If the reservoir is not leaking but water continues coming from the brewer, the problem may be internal.
Do not continue using the machine until the source has been identified.
Why Does My Keurig Leak Only During Brewing?
Sometimes, a Keurig appears completely dry when switched off but releases water during a brewing cycle.
This can make the problem harder to identify.
Start by noting exactly when you first see the water.
For example:
- Does water appear as soon as the brewing process starts?
- Does it appear while the machine is heating?
- Does it appear after the coffee has finished brewing?
- Does water collect around the reservoir or directly under the brewer?
These observations can help Keurig Support understand the problem.
A leak that appears only during operation may involve an internal water-flow component. However, the timing alone cannot identify a failed part.
Do not repeatedly run the machine to reproduce the leak. Stop using it and arrange an inspection if water continues escaping.
Keurig K-Mini, K15, and MINI Plus Leaking Problems
Owners of smaller Keurig models may notice water inside the drip tray and assume the brewer has developed a leak.
This is not always the case.
Some of these models have specific water-handling features that differ from larger Keurig brewers.
Why Does My Keurig K-Mini Leak Into the Drip Tray?
The K-Mini uses a different reservoir arrangement from many larger Keurig models.
Some older K-Mini instructions explain that water added above the allowed amount can drain into the drip tray.
The correct maximum amount depends on the particular version.
Check the fill markings on your brewer and read the matching user guide before adding water.
You can find the official Keurig K-Mini Use & Care Guide for model-specific instructions.
Why Is My Keurig K15 or MINI Plus Drip Tray Filling With Water?
Keurig explains that adding more than 10 ounces of water to the cold-water reservoir on the K15 and MINI Plus can send excess water into the drip tray.
This is part of the brewer’s design.
It does not automatically indicate a damaged internal component.
If you notice water in the tray, check how much water you added before assuming that the machine is leaking.
However, water appearing underneath the actual brewer should still be investigated.
Do not confuse normal drip tray drainage with an active leak from the base.
Is Your Keurig Leaking or Is the Drip Tray Just Filling Up?
This is an important difference.
A drip tray is designed to collect liquid from certain parts of the brewing process.
Water underneath the actual machine may indicate a separate problem.
Use this comparison to understand what you are seeing.
| What You Notice | What It May Mean |
|---|---|
| Water inside the drip tray | Normal collection or excess drainage |
| Drip tray fills after adding too much water | Model-specific water drainage |
| Water around the reservoir | Possible tank or outlet leak |
| Water appears underneath while switched off | Possible reservoir or internal leak |
| Water continues seeping from the base | Requires professional attention |
Do not assume that a drip tray problem and an internal water leak are the same thing.
If you own a regular drip coffee maker rather than a Keurig, coffee collecting on the warming plate may have a different cause. My guide on Coffee Leaking Onto the Warming Plate explains that problem separately.
When Should You Contact Keurig Customer Support?
Some leakage problems can be identified by checking the removable reservoir.
Others need professional attention.
Contact Keurig Support when:
- The reservoir is not leaking but water continues coming from the bottom.
- Water appears to be coming from inside the brewer.
- The leak returns after checking the removable parts.
- You notice unusual damage around the machine.
- You suspect that water has reached an electrical component.
Before contacting support, prepare these details:
- Your Keurig model name.
- The approximate age of the machine.
- When you first noticed the leak.
- Whether it leaks during brewing or while switched off.
- Whether you checked the removable reservoir.
If the machine is still under warranty, ask about the available repair or replacement options before opening or attempting to repair it.
You can visit the official Keurig Support Center to find troubleshooting information and contact options.
For readers in Canada, the UK, and Australia, check the support and warranty arrangements available for the country and retailer where the brewer was purchased.
Frequently Asked Questions
Why Is My Keurig Leaking From the Bottom but the Reservoir Is Not Leaking?
If the reservoir is not leaking but water continues appearing underneath the brewer, the problem may involve an internal water connection or another component. Stop using the machine and contact Keurig Support. Do not open the brewer to investigate internal parts yourself.
Why Is My Keurig Leaking When It Is Turned Off?
A leaking reservoir or outlet may allow water to escape while the machine is switched off. Remove the reservoir and check whether water escapes when it is held over a sink. If the reservoir is not leaking, but water continues appearing underneath the machine, professional assistance may be needed.
Why Does My Keurig Leak Only When Brewing?
Water that appears during brewing may indicate a problem with the water system or an internal connection. Check the reservoir for visible leakage first. If the problem continues, stop using the machine and contact Keurig Support.
Why Is My Keurig Leaking Overnight?
A reservoir that loses water while the machine is unused may have a crack or an outlet problem. Check the removable tank over a sink and look for signs of water around the reservoir well. A recurring leak from the brewer itself requires professional attention.
Can Overfilling a Keurig Cause It to Leak?
It depends on the model. Some smaller Keurig brewers have specific fill limits, and excess water may drain into the drip tray. For example, Keurig states that adding more than 10 ounces to the K15 or MINI Plus cold-water reservoir can cause excess water to collect in the drip tray. Always follow the instructions for your exact brewer.
Is It Safe to Use a Keurig That Leaks From the Bottom?
No. You should not continue using a brewer that has an unexplained or ongoing leak. Water and electrical components can create a safety risk. Turn off the machine, disconnect it safely if the electrical connection is dry, and identify the source before using it again.
Can I Fix a Leaking Keurig Myself?
You may be able to identify a simple reservoir problem or correct a removable tank that is not seated properly. However, an internal leak should not be repaired by opening the machine without the right skills and service instructions. Contact Keurig or a qualified repair professional when the source is unclear.
Should I Replace My Keurig if It Keeps Leaking?
Not necessarily. A damaged removable reservoir may be replaceable. However, if the leak is coming from inside the brewer, compare the repair cost, warranty coverage, and age of the machine before deciding whether replacement makes more sense.
Final Verdict
A Keurig leaking from the bottom does not always mean you need to buy a new coffee maker.
Start by checking the removable water reservoir. Look for cracks, leaking outlets, and water collecting in the reservoir well. Also, make sure you understand how your model handles excess water in the drip tray.
The most important thing is not to guess where the leak is coming from.
If the reservoir is not leaking but water continues seeping from the base, stop using the brewer and contact Keurig Support.
A careful inspection of the accessible parts can help you understand the problem without risking further damage or an unsafe repair.

“I believe great cooking starts with the right tools, trusted advice, and a little confidence in the kitchen.”
Hi, I’m Emma Carter. My love for cooking began in my grandmother’s kitchen, where I learned that every great meal starts with simple ingredients and the right cookware. Over the years, I’ve spent countless hours researching, testing, and comparing kitchen appliances, cookware, coffee makers, air fryers, and other everyday kitchen essentials.
Here at KiCook, my goal is to make your buying decisions easier with honest product reviews, practical buying guides, and easy-to-follow cooking tips. Whether you’re upgrading your kitchen or searching for the best appliance for your home, I focus on providing clear, reliable, and research-backed information you can trust.
When I’m not testing new kitchen gadgets or writing in-depth guides, you’ll usually find me trying new recipes, visiting local farmers’ markets, or enjoying a quiet cup of coffee while planning my next kitchen project.