
To clean an electric skillet safely, always remove the temperature control probe first, then wash the pan with warm, soapy water and a soft sponge, ensuring the electrical inlet stays dry if the unit isn't fully submersible. Never use metal scouring pads on the non-stick surface, and ensure the appliance is completely dry before plugging it back in.
Let’s be honest I love my electric skillet. It’s the workhorse of my kitchen, perfect for everything from pancakes to pot roasts. But cleaning it? That part always used to make me nervous.
Unlike a standard frying pan, you can’t just toss this gadget into the dishwasher or dunk the whole thing in a sink full of water without checking the manual first. The fear of ruining the electrical components or scratching that precious non-stick coating is real.
Over the years, I’ve learned exactly how to scrub, rinse, and maintain these appliances without sending them to the graveyard. Whether you have a fully immersible model or a vintage unit that needs delicate care, this guide will walk you through the process step-by-step.
The Golden Rule: Know Your Skillet Type
Before we even turn on the tap, we need to determine one thing: Is your skillet immersible?
Most modern electric skillets allow you to detach the temperature probe and submerge the pan in water. However, some older models or budget-friendly units have integrated heating elements that cannot get wet.
Check the bottom of your pan or the manual. If it says "Do Not Immerse," you’ll need to follow the "Wipe-Down Method" I explain later.
Step-by-Step: Cleaning an Immersible Electric Skillet
If your skillet is immersible (most are), cleaning is relatively straightforward, but you still need to be careful with the connection points.
1. Unplug and Cool Down
Safety first. Never attempt to clean a hot skillet. Let it cool completely to prevent warping the metal or burning yourself.
2. Remove the Temperature Control Probe
This is the most critical step. The probe (the part with the dial and cord) must never touch water. Set it aside in a dry place.
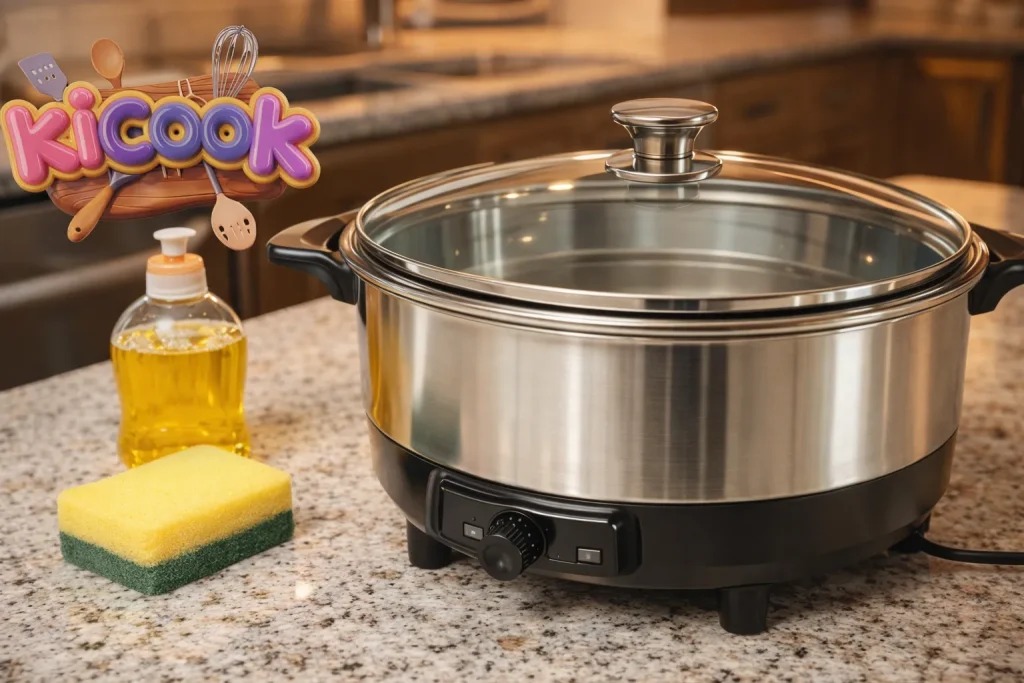
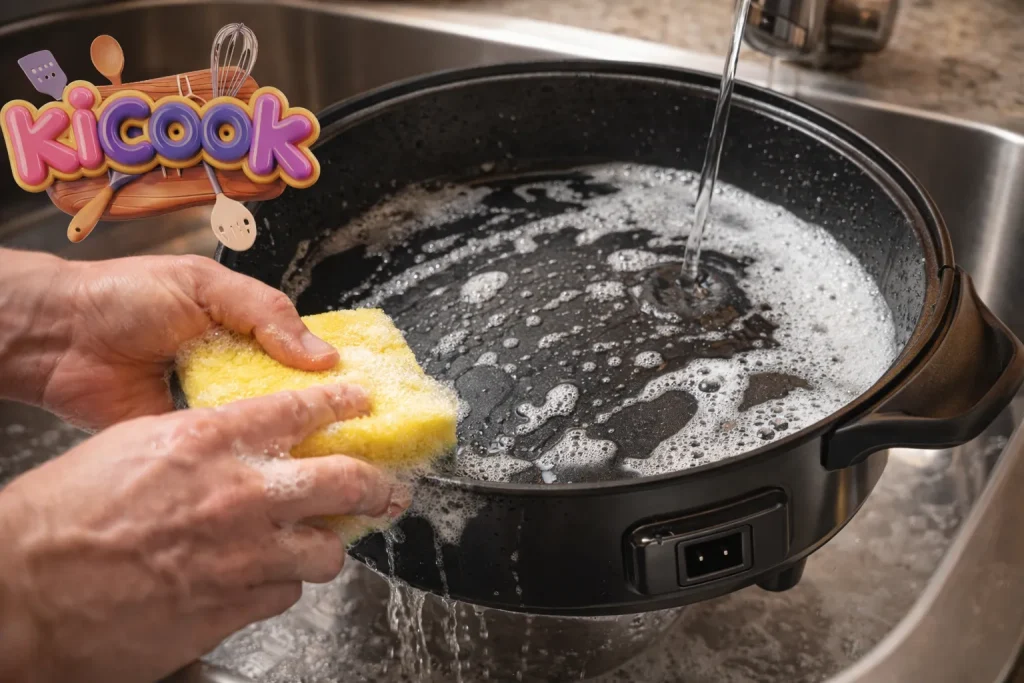
3. Wash With Warm, Soapy Water
Place the skillet in the sink. Use a soft sponge or a microfiber cloth with mild dish soap.
- Tip: Avoid steel wool or abrasive scrubbing pads. They will strip the non-stick coating faster than you can flip a pancake.
4. Mind the Connector
Even though the pan is "immersible," I always play it safe. Try to keep the electrical socket (where the probe plugs in) as dry as possible. If water gets in, it’s usually fine, but you must ensure it’s 100% dry before using it again.
How to Clean a Non-Immersible Skillet
If your skillet has the heating element permanently attached or the manual forbids soaking, follow these steps:
- Heat it slightly: Warm the skillet for 30 seconds to loosen grease, then unplug it.
- Pour water inside: Carefully pour a cup of hot soapy water inside the pan, keeping the outside dry.
- Scrub the interior: Use your sponge to clean the cooking surface.
- Rinse carefully: Pour the dirty water out and wipe the interior with a clean, wet cloth until no soap remains.
- Wipe the exterior: Use a damp cloth to wipe down the outside. Do not run it under the tap.
Tackling Burnt-On Food and Stubborn Grease
We’ve all been there you looked away for a minute, and now there’s a layer of carbonized sauce stuck to the bottom.
The Simmer Trick:
- Fill the skillet with an inch of water and a drop of dish soap.
- Plug it in (with the probe) and turn it to low heat.
- Let it simmer for 5–10 minutes. The heat will lift the burnt food right off.
- Unplug, cool, and wipe clean.
The Baking Soda Paste:
For tough stains on the exterior or stainless steel parts, mix baking soda and water to form a paste. Rub it gently on the stain and let it sit for 15 minutes before wiping it away.
Maintaining the Non-Stick Coating
The non-stick surface is the lifespan of your skillet. Once it flakes, the appliance is essentially toast.
- Use Silicone or Wood: Never use metal spatulas or forks.
- Avoid Thermal Shock: Don't run cold water over a hot pan. It can warp the metal and crack the coating.
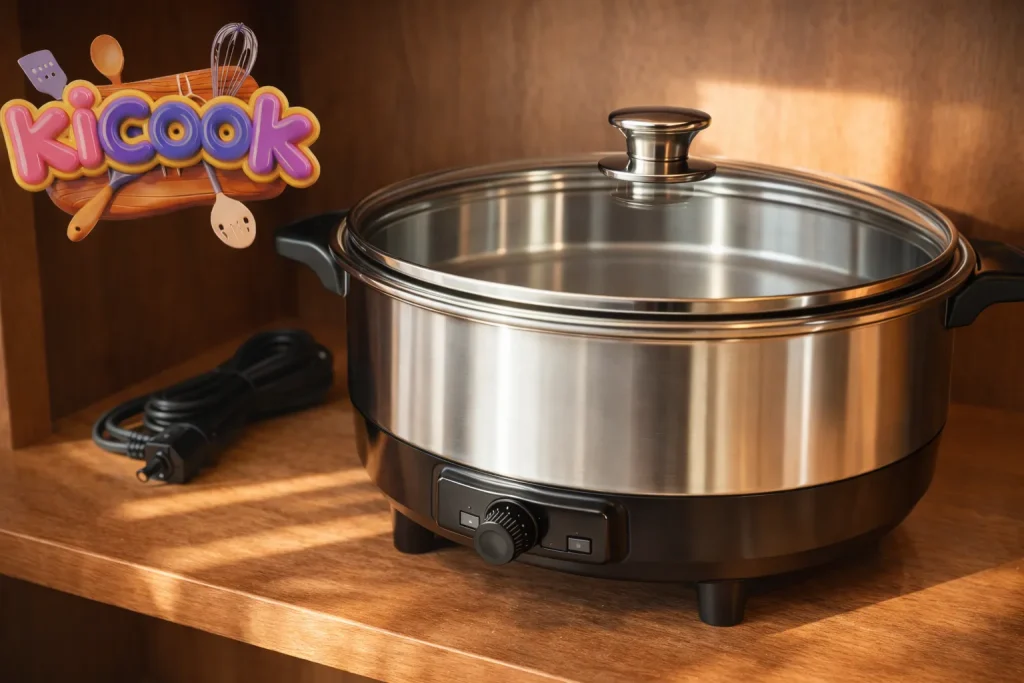
- Stack Carefully: If you store other pots on top of your skillet, place a paper towel or cloth protector in between.
According to Consumer Reports, proper care of non-stick cookware includes avoiding high heat when an empty pan is on the burner, as this can degrade the coating and release fumes.
Expert Opinion: My Take
"In my experience, the number one reason electric skillets fail isn't electrical issues—it's water damage in the probe socket. Even if the box says 'dishwasher safe,' I never put mine in the dishwasher. The harsh detergents and high heat can degrade the waterproof seals over time. Hand washing takes two minutes and guarantees your skillet lasts for years."
— Your Friendly Kitchen Expert
Pros & Cons of Electric Skillets
| Pros | Cons |
| Precise temperature control compared to stovetops | bulky to store in small kitchens |
| Frees up burner space when cooking large meals | The non-stick coating can wear out over time |
| Portable (great for RVs, dorms, or potlucks) | Cleaning requires more care than standard pans |
| Even heat distribution prevents hot spots | Not all models are fully immersible |
FAQs: Clean an Electric Skillet
Can I put my electric skillet in the dishwasher?
Even if the manufacturer claims it is dishwasher safe, I highly recommend hand washing. Dishwasher detergents are abrasive and can dull the non-stick finish or damage the electrical connection points over time.
What happens if I get the electrical pin wet?
If you accidentally get water in the socket where the probe connects, don't panic. Shake out the excess water and let the skillet air dry for at least 24 hours before using it. Do not plug it in while wet.
How do I clean the temperature control probe?
Never submerge the probe. If it’s greasy, wipe it down with a damp cloth and dry it immediately. If the metal prongs are dirty, you can use a dry scouring pad to gently buff them, ensuring a good electrical connection.
Conclusion
Cleaning an electric skillet doesn't have to be a headache. By identifying whether your model is immersible and keeping the electrical probe dry, you can keep your appliance looking and cooking like new for years.
The key takeaway? Treat the non-stick coating with respect, and always double-check that the electrical inlet is bone-dry before you start your next meal. A little bit of maintenance goes a long way in keeping your kitchen gear running smoothly.
Related Articles You May Find Helpful
If you are looking to upgrade your current appliance, you might want to read our guide on what is the best electric skillet for your kitchen needs.
However, if you are experiencing glitches, check out our list of 15 common electric skillet problems to identify the issue.
Is your unit completely unresponsive? We have a detailed post on what to do when your electric skillet is not working.
Before using older models, it is always smart to review potential electric skillet safety issues to prevent accidents.
If you are still on the fence about buying one, this article discusses are electric skillets worth it for modern home cooks.