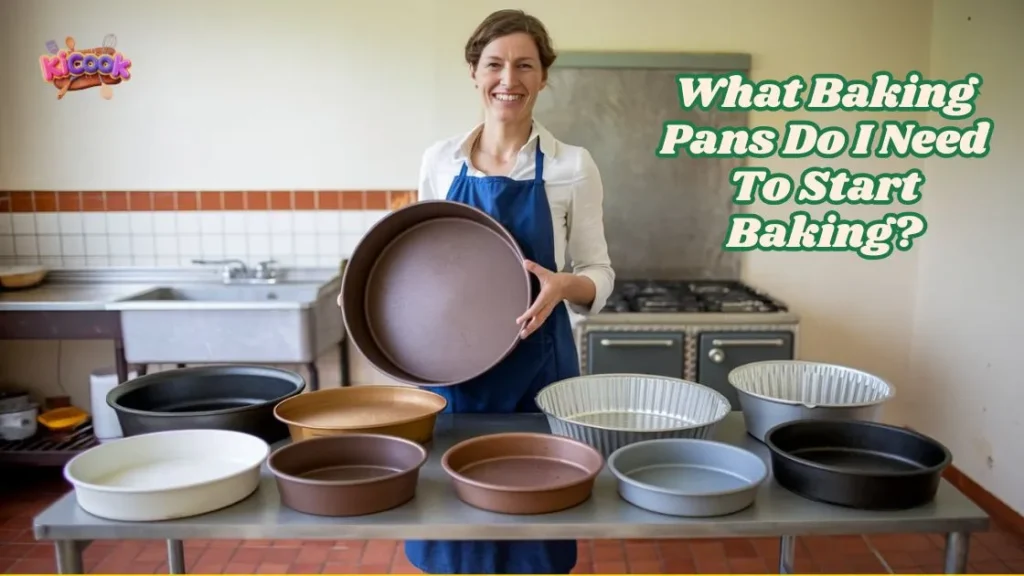
When I first started baking, I had one big question: what baking pans do I need to start baking? I didn’t want to buy too many, but I also didn’t want to miss out on the basics. The right pans make all the difference. They help your cakes bake evenly, your cookies come out golden, and your bread rise perfectly. Trust me, having the right tools makes baking so much easier—and way more fun! Let’s dive in and get you set up for success.
“A good baker starts with a reliable 9×13 pan—it’s the workhorse of the kitchen.” – Julia Child
Quick Recap
- Start with a half-size sheet pan (13” x 18”) for versatility. Use it for cookies, roasting, and quick cakes.
- A nonstick muffin pan is essential for beginners. It simplifies cleanup and ensures your muffins release easily.
- Invest in two round cake pans (8-inch or 9-inch) for layer cakes. They help you bake multiple layers at once without adjusting recipes.
- A 9×13 rectangular pan is a must-have. It’s perfect for cakes, casseroles, and brownies, making it a true kitchen multitasker.
- Choose aluminum pans for even baking. They heat quickly and are durable, making them ideal for most baking needs.
The Essential Baking Pans for Beginners
Sheet Pan
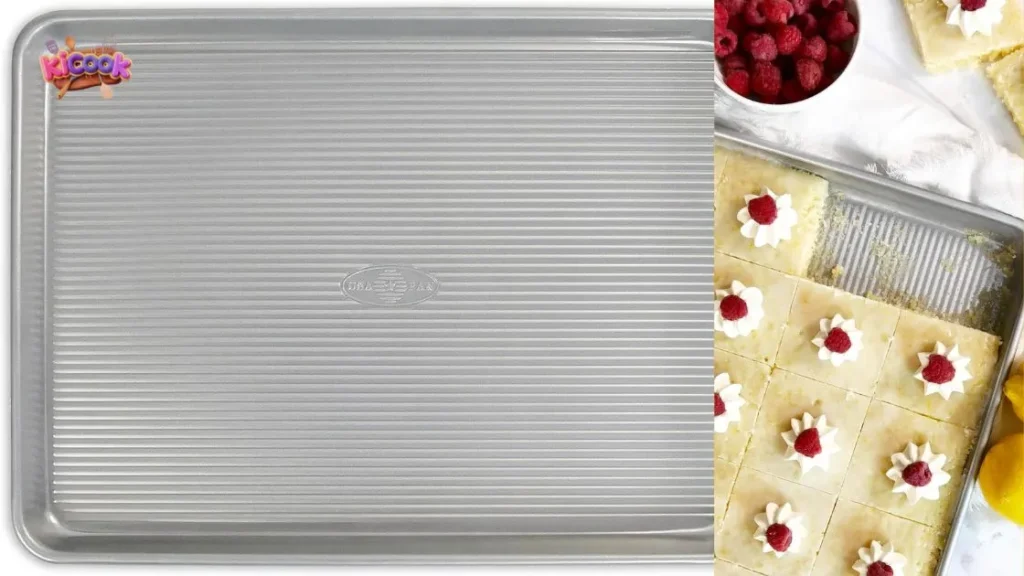
When I started baking, a sheet pan was one of the first things I bought. It’s incredibly versatile! You can use it for cookies, roasting veggies, or even baking a quick sheet cake. I recommend starting with a half-size sheet pan (13” x 18”). It fits perfectly in most home ovens and gives you plenty of space to bake without overcrowding.
Here’s a quick guide to sheet pan sizes:
- Full-Size (18” x 26”): Great for commercial kitchens but too big for most home ovens.
- Half-Size (13” x 18”): Perfect for home bakers.
- Quarter-Size (9-1/2” x 13”): Handy for smaller batches or limited space.
When choosing a sheet pan, I always look for aluminum. It heats up quickly and ensures even browning, which is key for baking cookies or pastries. If you’re worried about durability, go for a pan with a reinforced rim—it’ll last longer and resist warping.
Here’s a fun fact: According to a survey, Fat Daddio’s and Wilton are the most popular brands for baking pans. Check out this chart to see how other brands rank:
Muffin Pan
A muffin pan is a must-have for any beginner baker. It’s not just for muffins—you can use it for cupcakes, mini quiches, or even individual cheesecakes. I love how versatile it is! Most muffin pans come with 12 cups, which is the standard size for most recipes.
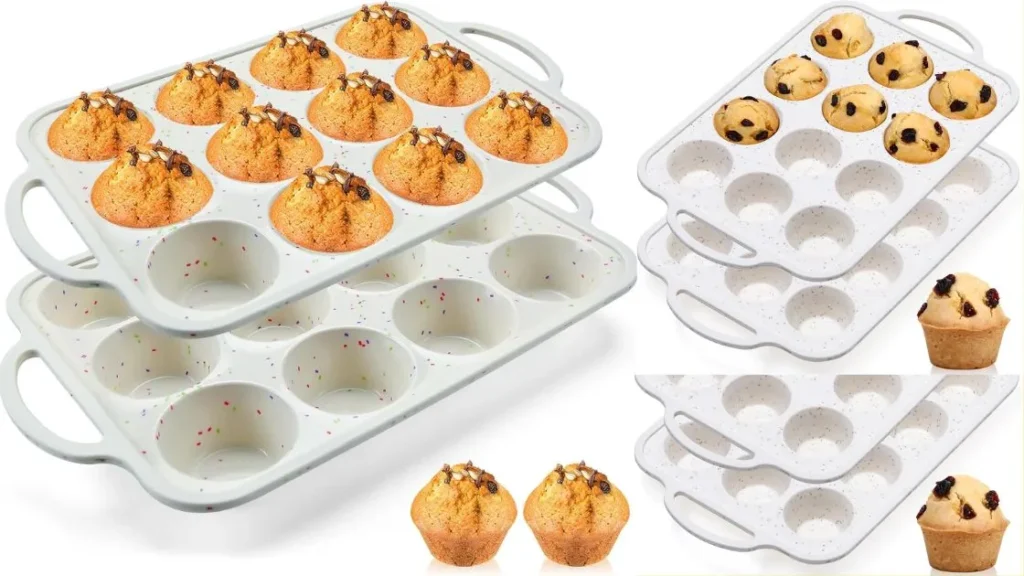
Aluminum muffin pans are my go-to because they distribute heat evenly. This means your muffins will bake uniformly, with no undercooked centers or burnt edges. Trust me, nothing’s more satisfying than pulling out a tray of perfectly golden muffins!
If you’re just starting out, stick to a nonstick muffin pan. It makes cleanup a breeze, and you won’t have to worry about your baked goods sticking to the pan.
Round Cake Pan
If you’re dreaming of baking layer cakes, you’ll need a round cake pan. I recommend getting two 8-inch or 9-inch pans so you can bake multiple layers at once. These sizes are the most common in recipes, so you won’t have to adjust measurements.
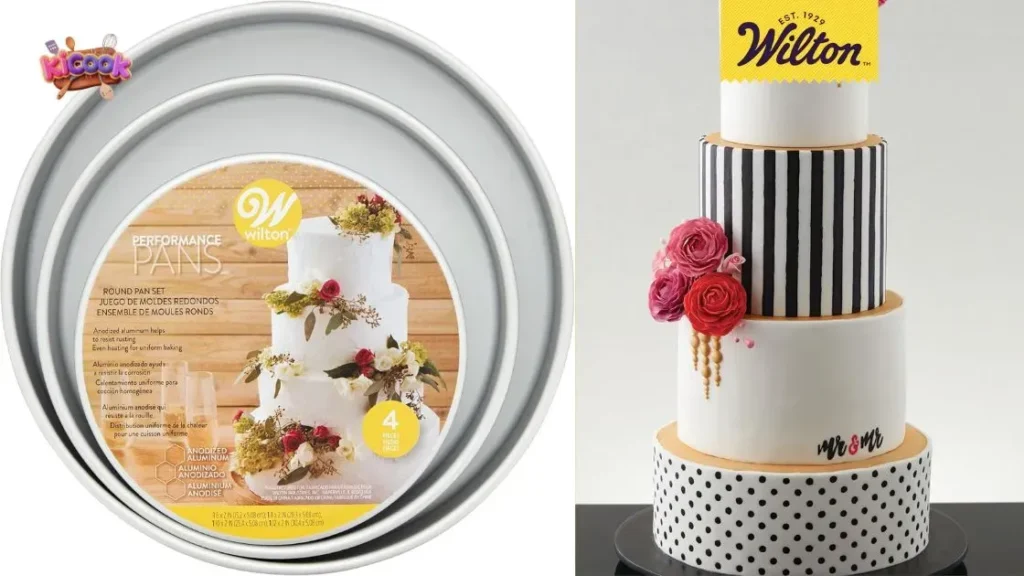
When I bake cakes, I always use pans with straight sides. They give your cakes a professional look and make stacking layers much easier. Nonstick pans are great for beginners because they help your cakes release smoothly. But if you want a crispier edge, go for aluminum—it’s a classic choice for a reason.
Pro tip: Line the bottom of your cake pan with parchment paper. It’s a little extra work, but it guarantees your cake won’t stick.
Loaf Pan
A loaf pan is a game-changer if you love baking bread or quick loaves like banana bread. I remember my first loaf of bread—it came out perfectly golden and smelled amazing, all thanks to the right pan. Loaf pans are rectangular and typically come in a standard size of 8.5” x 4.5” or 9” x 5”. These sizes work for most recipes, so you don’t have to worry about adjusting measurements.
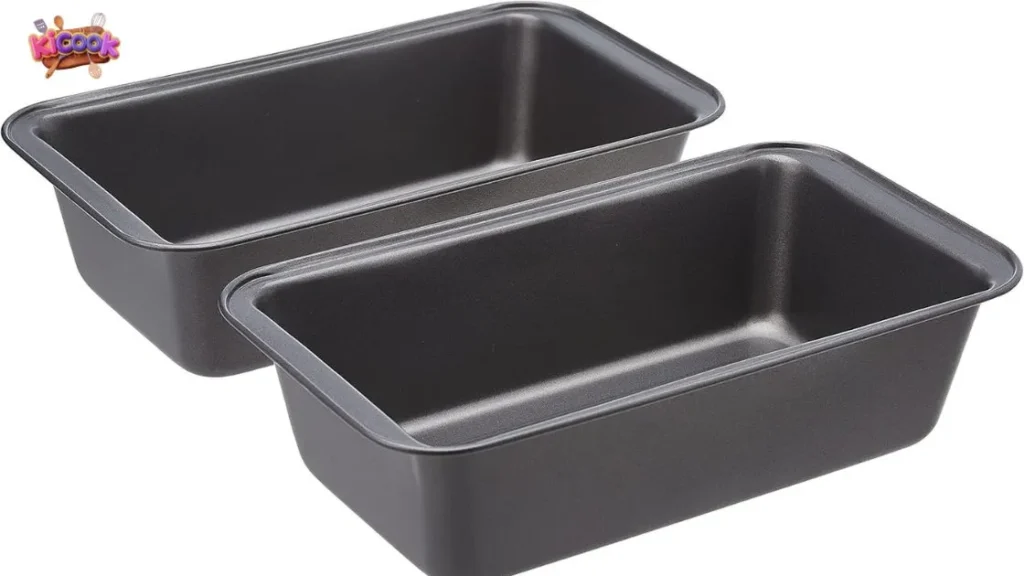
When choosing a loaf pan, the material makes a big difference. I’ve tried a few types, and here’s what I’ve learned:
- Metal pans (like aluminum or aluminized steel) are my favorite. They heat up quickly and bake evenly, giving your bread a nice crust.
- Ceramic pans are beautiful and can handle high temperatures (up to 500°F), but they take longer to heat up.
- Glass pans are great for seeing how your bread is browning, but they don’t bake as evenly as metal.
If you’re just starting out, I’d recommend a metal loaf pan. It’s durable, performs well, and is easy to clean. Plus, it helps your bread rise better and bake faster compared to glass or silicone.
Tip: Grease your loaf pan or line it with parchment paper to make sure your bread slides out easily.
Square Baking Pan
A square baking pan is another must-have for beginners. It’s perfect for brownies, bars, and even small casseroles. I use mine all the time for making fudgy brownies and blondies. The most common size is 8” x 8” or 9” x 9”, and either one works for most recipes.
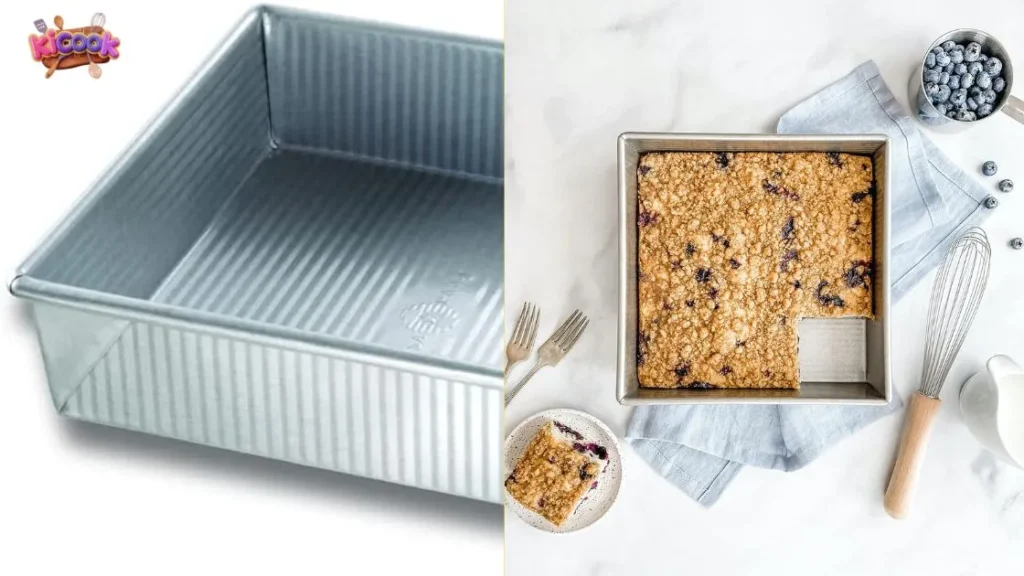
I prefer aluminum square pans because they heat evenly and give my baked goods a nice, golden edge. Nonstick pans are also a great option, especially if you want to avoid the hassle of lining the pan.
One thing I love about square pans is their versatility. You can use them for both sweet and savory dishes. For example, I’ve baked cornbread, lasagna, and even a small batch of cinnamon rolls in mine. It’s a true multitasker!
Pro Tip: If you’re baking something sticky like brownies, line the pan with parchment paper. Leave a little overhang on the sides so you can lift the brownies out easily.
Pie Dish
If you’re dreaming of baking pies, a pie dish is essential. I still remember the first time I made a homemade apple pie—it was so satisfying to see the golden crust and bubbling filling. A standard pie dish is 9 inches in diameter, which is the size most recipes call for.
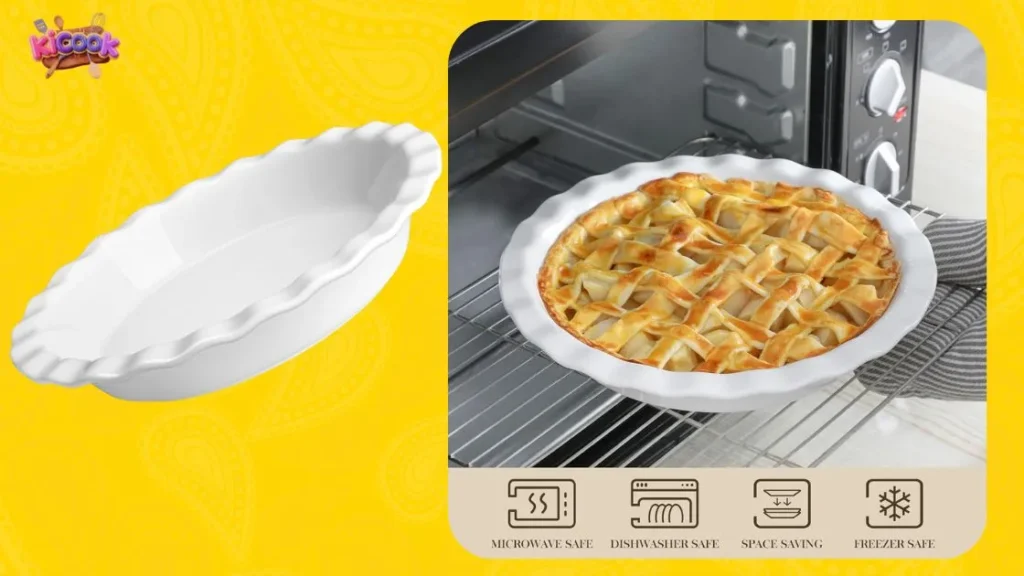
Pie dishes come in different materials, and each has its own perks:
- Glass dishes are my favorite because they let you see if the bottom crust is browning properly.
- Ceramic dishes are beautiful and hold heat well, keeping your pie warm longer.
- Metal dishes bake faster and are great for achieving a crisp crust.
For beginners, I recommend starting with a glass pie dish. It’s affordable, easy to use, and helps you keep an eye on your crust.
Fun Fact: Did you know that the first pies were made by the ancient Egyptians? They used honey and nuts as filling!
No matter which pie dish you choose, don’t forget to chill your dough before baking. It helps prevent the crust from shrinking and keeps it flaky.
9×13 Rectangular Pan
If I had to pick one pan that every beginner baker absolutely needs, it would be the 9×13 rectangular pan. This pan is a true workhorse in the kitchen. I use mine for everything—cakes, casseroles, brownies, and even roasting vegetables. It’s the ultimate multitasker!
The standard size for this pan is 9 inches by 13 inches, and it’s perfect for recipes that serve a crowd. Whether you’re baking a birthday cake or whipping up a lasagna for dinner, this pan has you covered.
Here’s why I love it:
- Versatility: You can bake desserts like sheet cakes, cobblers, and bars. It’s also great for savory dishes like baked ziti or enchiladas.
- Even Baking: A good-quality 9×13 pan ensures your food cooks evenly, with no burnt edges or undercooked centers.
- Portion-Friendly: The size makes it easy to cut your baked goods into neat, even portions.
When choosing a 9×13 pan, I recommend going for metal, especially aluminum or aluminized steel. These materials heat up quickly and distribute heat evenly. If you’re worried about sticking, a nonstick coating can be a lifesaver.
Tip: If you’re baking something sticky, like a gooey chocolate cake, line the pan with parchment paper. It makes cleanup so much easier!
I also love using this pan for meal prep. I’ll bake a big batch of chicken or veggies, then portion them out for the week. It’s a time-saver and keeps me organized. Trust me, once you have a 9×13 pan, you’ll wonder how you ever baked without it!
Springform Pan
A springform pan might sound fancy, but it’s actually super beginner-friendly. I remember the first time I used one—it made baking cheesecakes so much easier! The magic of this pan lies in its design. It has a removable bottom and a latch on the side, so you can release your baked goods without flipping the pan over.
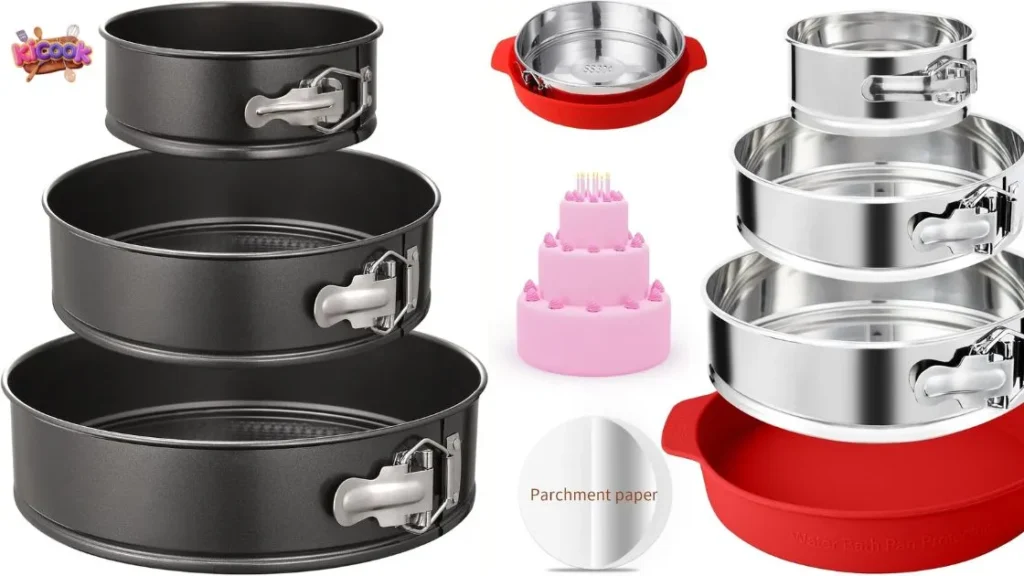
This pan is a must-have for recipes that are delicate or have a soft texture. Cheesecakes, tarts, and flourless cakes are just a few examples. I also use mine for savory dishes like deep-dish pizza or quiche.
Here’s what makes a springform pan special:
- Easy Release: The latch lets you remove your baked goods without damaging them. No more worrying about stuck cakes!
- Perfect Presentation: Your desserts come out looking flawless, which is great if you’re baking for a special occasion.
- Versatility: It’s not just for cheesecakes. You can use it for layered desserts, icebox cakes, and even no-bake recipes.
When shopping for a springform pan, look for one with a tight seal. This prevents leaks, especially if you’re working with a runny batter. I prefer nonstick pans because they make cleanup a breeze.
Pro Tip: Wrap the bottom of your springform pan with aluminum foil if you’re baking in a water bath. It keeps water from seeping into your dessert.
One thing I’ve learned is to always test the latch before using the pan. A secure latch ensures your pan stays closed during baking. With a springform pan in your collection, you’ll feel like a pro baker in no time!
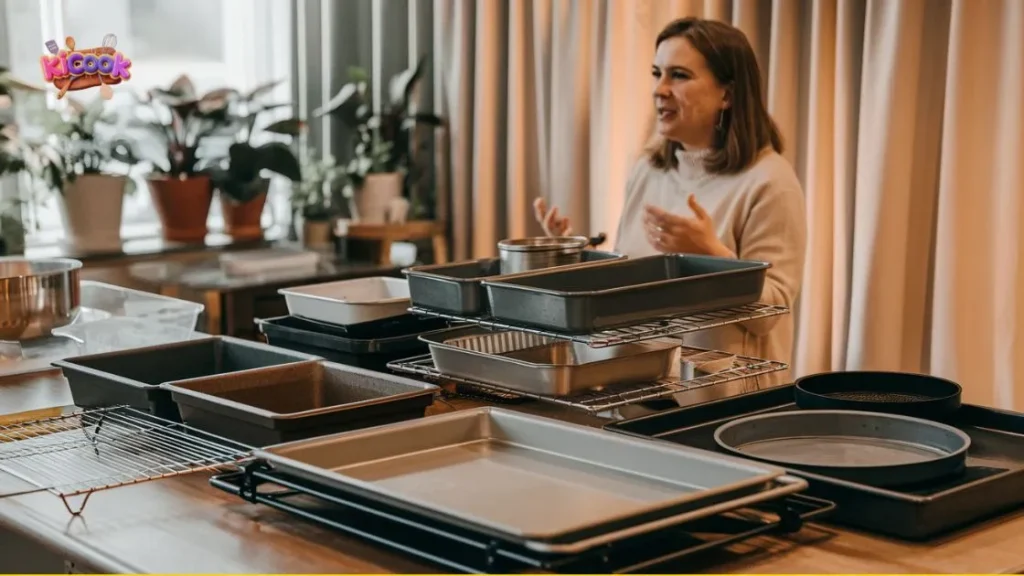
Why These Pans Are Essential
Versatility for Different Recipes
When I started baking, I quickly realized how versatile these pans are. Each one opens up a world of possibilities in the kitchen. For example:
- A 1/4 sheet pan isn’t just for cookies. I use it to roast veggies, reheat leftovers, and even keep pancakes warm.
- My loaf pan is perfect for gluten-free quick breads, especially in the standard 9×5 inch size.
- The 9×13 pan? It’s my go-to for casseroles, brownies, and even roasting potatoes.
- Square baking pans are ideal for brownies, fudge, and cornbread. Some even come with lids, making storage a breeze.
- And let’s not forget the muffin tin. It’s not just for muffins and cupcakes—I’ve made mini cheesecakes and even mini meatloaves in mine!
These pans make it easy to experiment with different recipes without needing a ton of extra tools. That’s why they’re essential for any beginner asking, “What baking pans do I need to start baking?”
“Baking is both an art and a science—don’t be afraid to experiment!” – Mary Berry
Common Uses for Each Pan
Each pan has its own specialty, and knowing what to use when makes baking so much easier. I rely on light-colored pans for delicate recipes like cakes because they reflect heat and prevent overbaking. My two sheet pans are always in rotation, whether I’m baking cookies or roasting veggies. For layer cakes, I stick to two 8-inch round cake pans—they’re the perfect size for most recipes.
I also love my glass pie plate. As a beginner, it helped me see the bottom crust while it baked, so I knew exactly when it was done. That kind of feedback is a lifesaver when you’re just starting out.
Tip: Light-colored pans are great for beginners because they reduce the risk of burning and ensure even cooking.
How They Simplify Baking for Beginners
These pans simplify baking by taking the guesswork out of the process. For example, a nonstick muffin pan ensures your cupcakes pop out perfectly every time. A springform pan makes delicate desserts like cheesecakes stress-free. And using a loaf pan for quick breads guarantees even baking and a beautiful crust.
I’ve also found that having the right pans saves time. With a 9×13 pan, I can bake a big batch of brownies or prep a casserole for dinner in one go. Plus, the versatility of these pans means I don’t need a separate tool for every recipe.
Pro Tip: Always test your pans before baking. A secure latch on a springform pan or a well-greased loaf pan can make all the difference.
With these pans, baking becomes less intimidating and more enjoyable. They’re the foundation of a beginner’s toolkit, helping you build confidence one recipe at a time.
Choosing the Right Baking Pans
Material: Aluminum, Nonstick, or Glass?
When I started baking, I had no idea how much the material of a pan could affect the results. After experimenting with different types, I learned that each material has its own strengths. Here’s what I’ve discovered:
- Aluminum: This is my go-to for most recipes. It heats up quickly and evenly, which is perfect for cookies and cakes. I love how lightweight it is, but I’ve noticed it can warp if exposed to high heat.
- Nonstick: If you’re worried about sticking, nonstick pans are a lifesaver. They’re great for muffins and cakes because they release baked goods effortlessly. Just be careful not to use metal utensils—they can scratch the coating.
- Glass: I use glass pans for pies and casseroles. They’re heavier but let you see how your food is browning. One downside is that they don’t heat as evenly as metal pans, so I stick to recipes that don’t require precise heat distribution.
If you’re just starting out, I’d recommend aluminum or nonstick pans. They’re beginner-friendly and work well for most recipes.
Tip: Avoid acidic foods like tomatoes in aluminum pans. They can react with the metal and alter the taste of your dish.
Size: Standard Sizes for Each Pan
Choosing the right size pan can make or break a recipe. I’ve learned this the hard way—using the wrong size can lead to uneven baking or overflowing batter. Here are the standard sizes I rely on:
- Sheet Pan: Half-size (13” x 18”) is perfect for home ovens.
- Muffin Pan: Standard 12-cup pans work for most recipes.
- Round Cake Pan: 8-inch or 9-inch pans are ideal for layer cakes.
- Loaf Pan: 8.5” x 4.5” or 9” x 5” are the most common sizes.
- Square Baking Pan: 8” x 8” or 9” x 9” pans are great for brownies and bars.
- Pie Dish: A 9-inch diameter is the standard for most pie recipes.
- 9×13 Rectangular Pan: This size is a kitchen staple for cakes and casseroles.
- Springform Pan: 9-inch pans are the most versatile for cheesecakes and tarts.
I always check the recipe before choosing a pan. If the size isn’t specified, I stick to these standards—they rarely let me down.
Pro Tip: If you don’t have the exact size, adjust the baking time. A larger pan will bake faster, while a smaller pan may need extra time.
Durability and Maintenance Tips
Durability is key when choosing baking pans. I’ve had pans that warped or rusted after just a few uses, and trust me, it’s frustrating. Here’s what I’ve learned about keeping pans in good shape:
| Material | Properties | Maintenance Tips |
|---|---|---|
| Aluminum | Lightweight, affordable, good heat conduction, prone to warping. | Avoid high temperatures and acidic foods to prevent warping and taste alteration. |
| Stainless Steel | Durable, corrosion-resistant, non-reactive, but uneven heat distribution. | Use pans with aluminum or copper cores for better heat distribution. |
| Carbon Steel | Excellent heat conductivity, develops non-stick surface with seasoning. | Proper seasoning is essential to prevent rust and maintain non-stick properties. |
| Cast Iron | Great heat retention, requires seasoning, heavy. | Regular seasoning and care are needed to prevent rust and maintain performance. |
I’ve found that aluminum pans are the easiest to care for. They’re lightweight and affordable, but I avoid using them at very high temperatures to prevent warping. For stainless steel, I look for pans with an aluminum core to improve heat distribution.
Carbon steel and cast iron pans require a bit more effort. Seasoning them regularly keeps them non-stick and prevents rust. It’s worth the extra care because they last forever if maintained properly.
Note: Never put cast iron or carbon steel pans in the dishwasher. Hand washing and drying immediately will keep them in top shape.
Durable pans are an investment, but they save money in the long run. With proper care, they’ll last for years and make baking a breeze.
Light vs. Dark Pans: Which to Choose?
When I first started baking, I didn’t realize how much the color of a pan could affect the results. I thought all pans were the same, but I quickly learned that light and dark pans behave very differently in the oven. Choosing the right one can make or break your recipe, so let me walk you through what I’ve discovered.
The Key Differences Between Light and Dark Pans
The main difference lies in how they absorb and distribute heat. Here’s a quick breakdown:
- Light-colored pans reflect heat. This means they bake more gently and evenly, which is perfect for delicate recipes like cakes or cookies.
- Dark-colored pans absorb heat faster. They bake hotter, which can lead to crispier edges and darker bottoms.
I’ve noticed that when I use a dark pan, my baked goods tend to brown more quickly. This can be great for certain recipes, but it’s tricky if you’re not paying attention.
Tip: If you’re using a dark pan, lower the oven temperature by 25°F to prevent overbaking.
How Light and Dark Pans Affect Baking
Different recipes react differently to light and dark pans. Here’s what I’ve experienced:
- Cookies: Dark pans give cookies a crispier edge and a golden-brown bottom. Light pans, on the other hand, produce softer cookies with a more uniform color.
- Cakes: Cakes baked in dark pans tend to have darker, thicker crusts and rounded tops. Light pans create taller cakes with a more even texture.
- Brownies: I love using dark pans for brownies because they create a chewy edge while keeping the center soft. Light pans result in a more uniform texture throughout.
If you’re not sure which pan to use, think about the texture and appearance you want. For example, if you’re baking a delicate sponge cake, go with a light pan. But if you’re making brownies or cookies and want a crisp edge, a dark pan works better.
My Personal Preference
I keep both light and dark pans in my kitchen because they each have their strengths. For cakes and pastries, I always reach for my light aluminum pans. They bake evenly and give me consistent results. For cookies and brownies, I prefer my dark nonstick pans. They create that perfect golden edge I love.
Pro Tip: If you’re baking something for the first time, check it a few minutes earlier than the recipe suggests. Dark pans can speed up baking, so it’s better to be safe than sorry!
Final Thoughts
Choosing between light and dark pans doesn’t have to be complicated. It’s all about understanding how they affect your baked goods and using them to your advantage. With a little practice, you’ll know exactly which pan to grab for every recipe. And trust me, once you get the hang of it, your baking will reach a whole new level!
Starting your baking journey doesn’t have to feel overwhelming. I’ve learned that having just a few essential baking pans can make all the difference. They simplify the process and help you bake with confidence. Whether it’s a trusty 9×13 pan or a versatile muffin tin, these tools set you up for success.
Investing in high-quality, versatile pans is worth it. They last longer and work for a variety of recipes. With the right tools, you’ll feel ready to tackle anything from cookies to casseroles. So, if you’re wondering, “What baking pans do I need to start baking?” start with the basics, and you’ll be amazed at what you can create!
“The secret of successful baking is simple: good ingredients, good tools, and a little patience.” – Paul Hollywood
FAQ for What Baking Pans Do I Need To Start Baking?
What’s the best pan to start with if I’m on a budget?
A 9×13 rectangular pan is the most versatile and budget-friendly option. You can bake cakes, casseroles, brownies, and more. It’s a great all-in-one pan for beginners.
Tip: Look for an aluminum pan—it’s affordable and bakes evenly.
Can I use a glass pan instead of metal?
Yes, but keep in mind that glass heats up slower and retains heat longer. This can affect baking times. I use glass for pies and casseroles but stick to metal for cookies and cakes.
How do I stop my baked goods from sticking to the pan?
Grease the pan with butter or cooking spray. For extra protection, line it with parchment paper. This works wonders for cakes, brownies, and sticky recipes.
Pro Tip: Nonstick pans make cleanup easier and reduce sticking.
Do I need both 8-inch and 9-inch round cake pans?
Not necessarily. Start with one size, like 9-inch pans, since they’re more common in recipes. You can always adjust baking times slightly if needed.
How do I know if my pan is the right size for a recipe?
Check the recipe for pan size recommendations. If it’s not listed, use a standard size like 9×13 for cakes or 8×8 for brownies. Avoid overfilling the pan—leave room for the batter to rise.
Note: Too much batter can cause overflow, so fill pans no more than two-thirds full.