
Installing a microwave oven is easy—just plug it into a dedicated outlet, ensure proper ventilation, and follow the manufacturer’s instructions for safe placement!
Install a microwave oven doesn’t have to feel like a daunting task. If you’ve been wondering how to install a microwave oven, trust me, with a little preparation and the right tools, you can have it up and running in no time.
I’ll walk you through the process step by step, so you’ll know exactly how to install a microwave oven without breaking a sweat. Ready to get started?
Main Points
- Collect tools like a drill, mounting plate, and level first. Being ready helps make the job easier and quicker.
- Check the electrical setup to stay safe. Use a grounded outlet and don’t overload circuits to avoid problems.
- Follow clear steps to install. Attach the bracket, lift the microwave with help, and test it to see if it works.
Tools and Materials for Installing a Microwave Oven
Before starting, gather everything you’ll need. Having the right items ready will save time and effort.
Tools You’ll Need
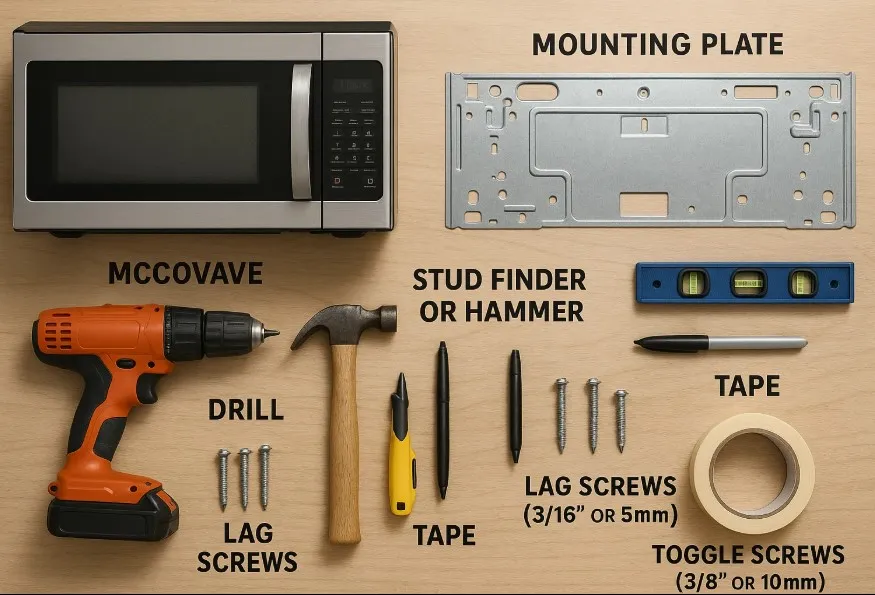
You don’t need fancy tools to install a microwave. Here’s a simple list:
- Microwave: The main item you’ll be installing.
- Mounting Plate: Helps attach the microwave to the wall securely.
- Drill: Makes drilling holes quick and easy.
- Stud Finder or Hammer: Finds strong spots in the wall for mounting.
- Pen or Marker: Marks where screws will go.
- Level: Ensures the microwave is straight.
- Tape: Holds paper templates in place while you work.
- Lag Screws (3/16″ or 5mm): Secures the mounting plate to wall studs.
- Toggle Screws (3/8″ or 10mm): Useful for drywall without studs.
These tools meet safety rules like UL 923 for microwave appliances. Always follow safety codes like NFPA 70 for electrical setups.
“A well-placed microwave saves time and keeps your kitchen clutter-free.” – Sarah Johnson, Home Improvement Expert
Materials You’ll Need
Now let’s talk about materials. You won’t need much:
- Installation Manual: Gives instructions for your specific microwave model.
- Wall Template: Helps mark where screws should go.
- Power Outlet: Make sure there’s a grounded outlet nearby.
That’s all! With these tools and materials ready, installing a microwave becomes simple and stress-free.
Safety Tips for Installing a Microwave Oven
Safety is super important when setting up a microwave oven. Here are some tips to keep you and your home safe.
Electrical Safety
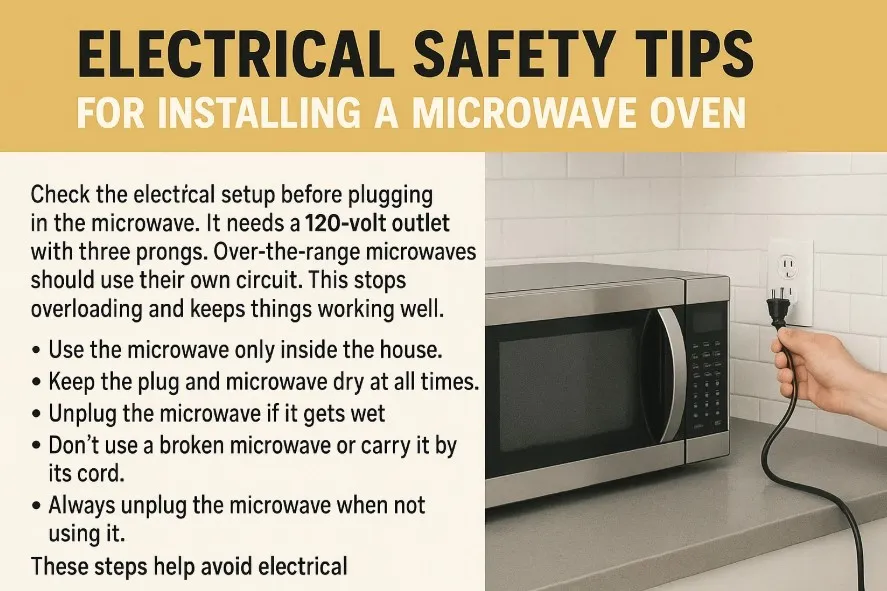
Check the electrical setup before plugging in the microwave. It needs a 120-volt outlet with three prongs. Over-the-range microwaves should use their own circuit. This stops overloading and keeps things working well.
More electrical safety tips:
- Use the microwave only inside the house.
- Keep the plug and microwave dry at all times.
- Unplug the microwave if it gets wet.
- Don’t use a broken microwave or carry it by its cord.
- Always unplug the microwave when not using it.
These steps help avoid electrical problems and keep the microwave safe to use.
Lifting and Moving the Microwave
Microwaves are heavy, usually 50 to 70 pounds. Don’t lift one alone—ask someone to help.
- Turn off the breaker and unplug the microwave.
- Use a tester to make sure power is off.
- Hold the microwave while removing screws.
- Tilt it forward to free it from the bracket.
- Lower it slowly and place it somewhere safe.
Following these tips can prevent injuries and protect the microwave from damage.
Step-by-Step Guide: How to Install a Microwave Oven?
Installing a microwave oven might seem tricky, but trust me, it’s easier than you think when you break it down into steps. Let’s dive in!
Step 1: Prepare the Installation Area
Before anything else, make sure the area where you’ll install the microwave is ready. Clear out any clutter from the countertop or cabinets above the stove. If your microwave is an over-the-range model, check that there’s enough space between the stove and the bottom of the cabinet—usually about 30 inches. This ensures proper ventilation and safety.
Also, confirm that there’s a grounded power outlet nearby. If not, you might need an electrician to install one. Don’t forget to grab the installation manual and wall template that came with your microwave. These will guide you through the process.
Tip: If your microwave has a venting system, decide whether you’ll vent it outside or recirculate the air. This choice affects how you’ll set up the blower later.
Step 2: Locate Wall Studs and Mark Mounting Points
Finding the wall studs is crucial for securely mounting your microwave. Here’s how I do it:
- Use a stud finder to locate the studs behind the wall.
- If you don’t have a stud finder, a strong magnet can help you find screws or nails in the wall, which usually indicate a stud.
- Another trick is to measure about 3/4 of an inch from a light switch or outlet to find the center of a stud. From there, measure in 16-inch increments to locate additional studs.
Once you’ve found the studs, mark their locations with a pencil. Then, use the wall template to mark where you’ll drill holes for the mounting screws or bolts. Make sure the template is level before marking.
Note: If you can’t find a stud where you need one, toggle bolts are a great alternative for securing the mounting bracket to drywall.
Step 3: Install the Mounting Bracket
Now it’s time to attach the mounting bracket to the wall. This bracket will hold the weight of your microwave, so it’s important to get it right.
- Align the bracket with the marks you made earlier.
- Drill pilot holes into the studs or drywall where the screws will go.
- Secure the bracket to the wall using lag screws for studs or toggle bolts for drywall.
Double-check that the bracket is level before tightening the screws completely. A crooked bracket can cause the microwave to hang unevenly.
Pro Tip: If your microwave has a venting system, this is a good time to install the exhaust fan or blower onto the bracket.
Step 4: Secure the Microwave in Place
Here’s where you’ll need an extra pair of hands. Microwaves are heavy, and lifting them alone can be dangerous.
- With someone’s help, lift the microwave and position it on the mounting bracket.
- Feed the power cord through the hole in the bottom of the cabinet above.
- While holding the microwave in place, thread the bolts or screws provided with your microwave through the bottom of the cabinet and into the top of the appliance.
Tighten the screws securely, but don’t overtighten, as this could damage the microwave or cabinet.
Safety Reminder: Always keep your hands clear of the bracket and screws while securing the microwave to avoid pinching or injury.
Step 5: Connect the Power and Test the Microwave
Finally, it’s time to bring your microwave to life! Plug the power cord into the grounded outlet. If your microwave has network features like Bluetooth or Wi-Fi, disable them during testing if possible. This ensures accurate energy efficiency measurements, as recommended by the Department of Energy.
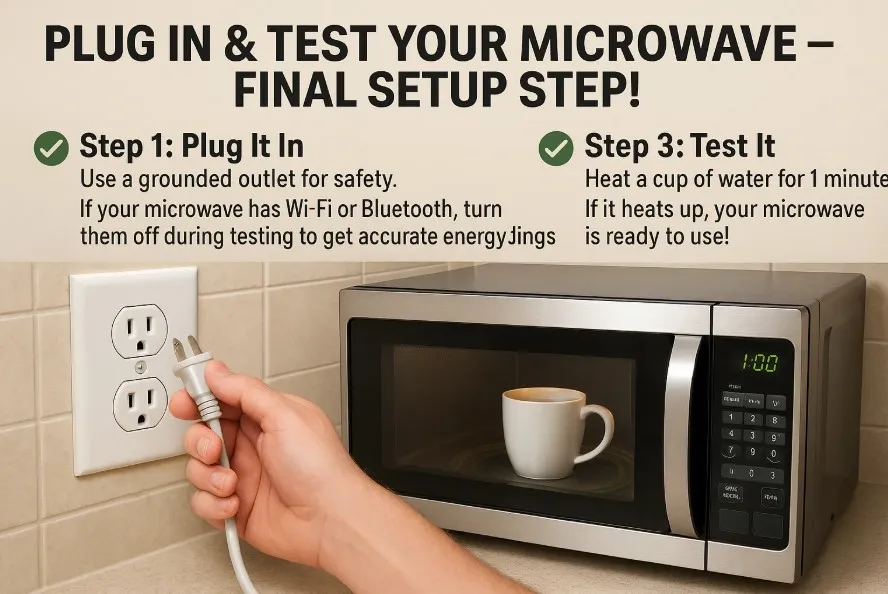
Flip the circuit breaker back on and test the microwave. Heat a cup of water for a minute to check if it’s working properly. If everything looks good, you’re all set!
Quick Check: If the microwave doesn’t turn on, double-check the power connection and ensure the circuit breaker is on.
And that’s it! You’ve just learned how to install a microwave oven step by step. Doesn’t it feel great to tackle this project on your own?
Troubleshooting and Common Challenges
Sometimes, installing a microwave doesn’t go perfectly. Here are tips to fix common problems like uneven mounting or electrical issues.
Fixing Uneven Mounting Issues
If your microwave looks crooked or wobbles, try these steps:
- Check the mounting bracket. Make sure it’s straight and tightly attached.
- If the microwave isn’t level, loosen screws, adjust its position, and retighten.
- Use a level to confirm the microwave is straight before finishing.
Other problems might come from hardware or tiredness during installation. This table can help:
| Problem | Solution |
|---|---|
| Mounting Hardware | Use screws of the correct size and ensure everything is straight. |
| Installer Practices | Work slowly and use tools to check alignment. |
| Installer Fatigue | If you’re tired, ask someone to help or review your work. |
Tip: If the microwave still feels shaky, check the turntable inside. Make sure it spins freely and is clean to avoid blockages.
Addressing Electrical Connection Problems
Electrical issues can be annoying but are often simple to fix. If the microwave won’t turn on, try this:
- Test the outlet by plugging in another device. If it doesn’t work, the outlet may need fixing.
- Look at the microwave cord for damage. Replace it if it’s worn or cut.
- Reset the circuit breaker. It might have tripped during setup.
If the microwave still doesn’t work, avoid using the same circuit for other appliances.
Quick Fix: Keep the microwave dry. If it gets wet, unplug it right away to prevent electrical problems.
Troubleshooting takes time, but it’s worth it to get your microwave working properly. Let me know if these tips help!
Putting in a microwave oven is simpler than it looks if you’re ready. Here’s what you should do:
- Use the spacer kit that comes with your microwave.
- Take out the old microwave carefully.
- Make sure the wires are connected tightly.
- Attach the new microwave with brackets and a drill.
WARNING: Heavy Item Alert. Always get help lifting or installing the microwave to stay safe.
Not sure about doing it yourself? Call a professional installer. It’s a smart choice for safety. Follow these steps, and your microwave will be ready to use quickly!
“Taking a few extra minutes to install correctly prevents hours of frustration later.” – Mark Davis, Appliance Technician
Frequently Asked Questions For How to install a microwave oven?
How do I know if my microwave is securely mounted?
I always check by gently shaking the microwave. If it feels stable and doesn’t wobble, it’s securely mounted.
Can I install a microwave without a stud finder?
Yes! I’ve used a magnet or measured near outlets to locate studs. It’s not perfect, but it works in a pinch.
What should I do if my microwave doesn’t turn on after installation?
First, I’d check the outlet with another device. If that works, I’d inspect the microwave cord for damage or reset the circuit breaker.
Conclusion
Installing a microwave oven is simple if you follow these steps carefully. Whether it’s a countertop, over-the-range, or built-in model, proper placement and electrical safety are key.
“A well-installed microwave makes kitchen life easier and safer.” – Lisa Chen, Kitchen Designer