
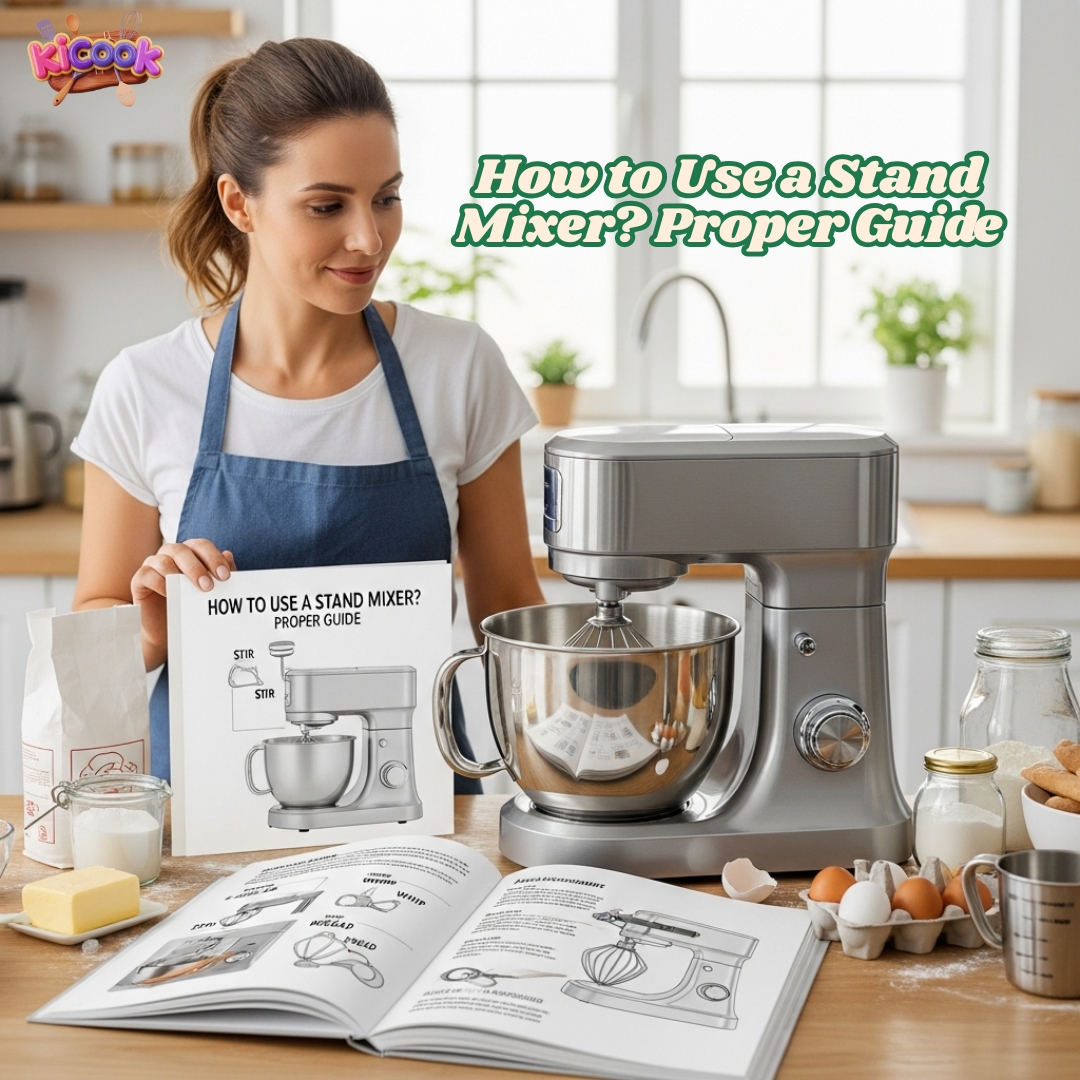
To use a stand mixer, first secure the bowl and attach the correct accessory for your task, like the paddle for butter or the dough hook for bread. Then, select your starting speed on the control knob, beginning slowly and increasing as needed for mixing, whipping, or kneading.
I remember the day my stand mixer arrived. I unboxed that beautiful, heavy machine with a mix of excitement and pure fear. It sat on my counter for a week—a gleaming, chrome-plated mystery. I was intimidated. All those levers, buttons, and attachments felt like a test I hadn’t studied for. I worried I’d break it, or worse, make a huge mess.
If you’ve ever felt that way, you’re in the right place. I’ve been there, and now, after years of almost daily use, I can’t imagine my kitchen without it. This guide is the friend I wish I’d had, walking you through everything from that first unboxing to baking your first perfect loaf of bread. Let’s turn that intimidation into inspiration together.
First Things First: Getting to Know Your Machine
Before you even plug it in, let’s get familiar. Your stand mixer is a powerful kitchen helper, but it’s also a simple machine at heart.
- The Body: This is the main part, the “head,” that houses the motor. It has a tilt-back feature—that lever on the side lets you lift the head up and away from the bowl for easy access.
- The Bowl: The stainless steel bowl locks into the base with a simple turn. Getting this secure is your first key step.
- The Speed Control Knob: This is your best friend. It goes from Stir (the slowest) all the way up to high-speed whipping. We’ll talk about when to use which speed.
- The Attachments: You’ll typically get three main ones:
- The Paddle Attachment: Your go-to for general mixing. Use it for cookies, cake batter, and mashed potatoes.
- The Whisk Attachment: This is for incorporating air. Think whipped cream, meringues, and whipping egg whites to stiff peaks.
- The Dough Hook: This sturdy, hook-shaped tool is for kneading bread dough. It mimics the motion of hand-kneading.
As the great Julia Child once said, “No one is born a great cook, one learns by doing.” So, let’s start doing.
Your First Mix: A Step-by-Step Walkthrough

Let’s make a simple chocolate chip cookie dough. It’s a perfect first project.
- Secure the Bowl: Place the bowl on the base and turn it clockwise until it locks into place. You should feel it click.
- Attach the Paddle: With the head tilted back, click the paddle attachment onto the post. Lower the head back down.
- Add Your Ingredients: Start with your room-temperature butter and sugars. This is important: Using cold, hard butter can strain the motor. Room-temperature ingredients combine more smoothly.
- Start Slow! This is the golden rule. Always begin on Speed 1 or 2. This prevents a cloud of flour and sugar from exploding out of the bowl. Let the butter and sugar cream together for a minute or two until it’s light and fluffy.
- Scrape the Bowl: Stop the mixer. Tilt the head back, and use a flexible spatula to scrape down the sides and bottom of the bowl. This ensures everything gets mixed evenly. Do this periodically.
- Add Dry Ingredients: With the mixer on the slowest “Stir” setting, gradually add your flour mixture. Once it’s mostly incorporated, you can increase to Speed 2 until just combined. Finally, mix in your chocolate chips on Low.
See? You just made cookie dough without a sore arm from all that creaming and mixing!
Choosing the Right Tool for the Job

Using the correct accessory is a big part of learning how to use a stand mixer effectively.
- Paddle Attachment: Best for creaming butter and sugar, mixing batters, and stirring thick mixtures. It’s your most frequent flyer.
- Whisk Attachment: Use this for whipping cream, beating egg whites for a meringue, or making light, airy mixtures like genoise cake. You’ll use higher speeds, like 8 to 10, for this.
- Dough Hook: This is for yeast doughs. It works by stretching and folding the dough. Start on Speed 2 for most bread recipes. You’ll hear the motor working, but it shouldn’t sound like it’s struggling. A good bread dough will pull away from the sides of the bowl and form a ball.
Mastering Speed and Scraping
The speed control knob isn’t a suggestion; it’s a recipe for success.
- Low Speeds (1-2): For initial mixing, combining dry ingredients, and kneading heavy doughs.
- Medium Speeds (4-6): For general beating and creaming.
- High Speeds (8-10): Reserved for whipping air into cream or egg whites.
And I’ll say it again: scrape your bowl! It feels like a small step, but it makes a huge difference in getting a consistent, well-mixed result. Don’t just rely on the mixer to do all the work.
Common Pain Points (And How to Solve Them)
I’ve been through these struggles, so let’s solve them.
- Pain Point: “My flour poofs everywhere when I turn it on!”
- Solution: Always start on the lowest speed when adding dry ingredients. Some mixers even come with a shield to prevent this. You can also drape a clean kitchen towel loosely over the top of the bowl for the first few seconds of mixing.
- Pain Point: “My mixer ‘walks’ across the counter.”
- Solution: This is common with stiff dough or on high speeds. Make sure your counter is dry and level. If it still moves, place a grippy shelf liner or a damp dish towel underneath the base to keep it stable.
- Pain Point: “My butter and sugar never got ‘light and fluffy.'”
- Solution: This almost always comes down to butter temperature. Your butter should be cool to the touch but soft enough that you can make an indentation with your finger. If it’s too cold, the paddle will just slice through it. If it’s melted, you’ve lost the ability to trap air.
James Beard, a champion of American cooking, noted, “The kitchen is a place where we can come to understand the past and create the future.” Your stand mixer is a tool that helps you do just that, connecting you to generations of bakers.
Beyond Baking: What Else Can It Do?
Your stand mixer is a multi-talented star. With a few extra accessories, it can become a food grinder, a pasta maker, or a vegetable slicer. But even with the standard attachments, you can:
- Shred Chicken: Cook chicken breasts, let them cool slightly, and put them in the bowl with the paddle attachment. Turn it on low for 30-60 seconds, and you’ll have perfectly shredded chicken for salads or tacos.
- Make Mashed Potatoes: Cook your potatoes, drain them, and put them back in the hot pot. Add your warm milk and butter, and then transfer to the mixer bowl. Use the paddle on medium speed for the fluffiest, creamiest mashed potatoes of your life.
- Mix Meatloaf: Combine all your meatloaf ingredients quickly and evenly with the paddle attachment on low speed.
Cleaning and Caring for Your Investment
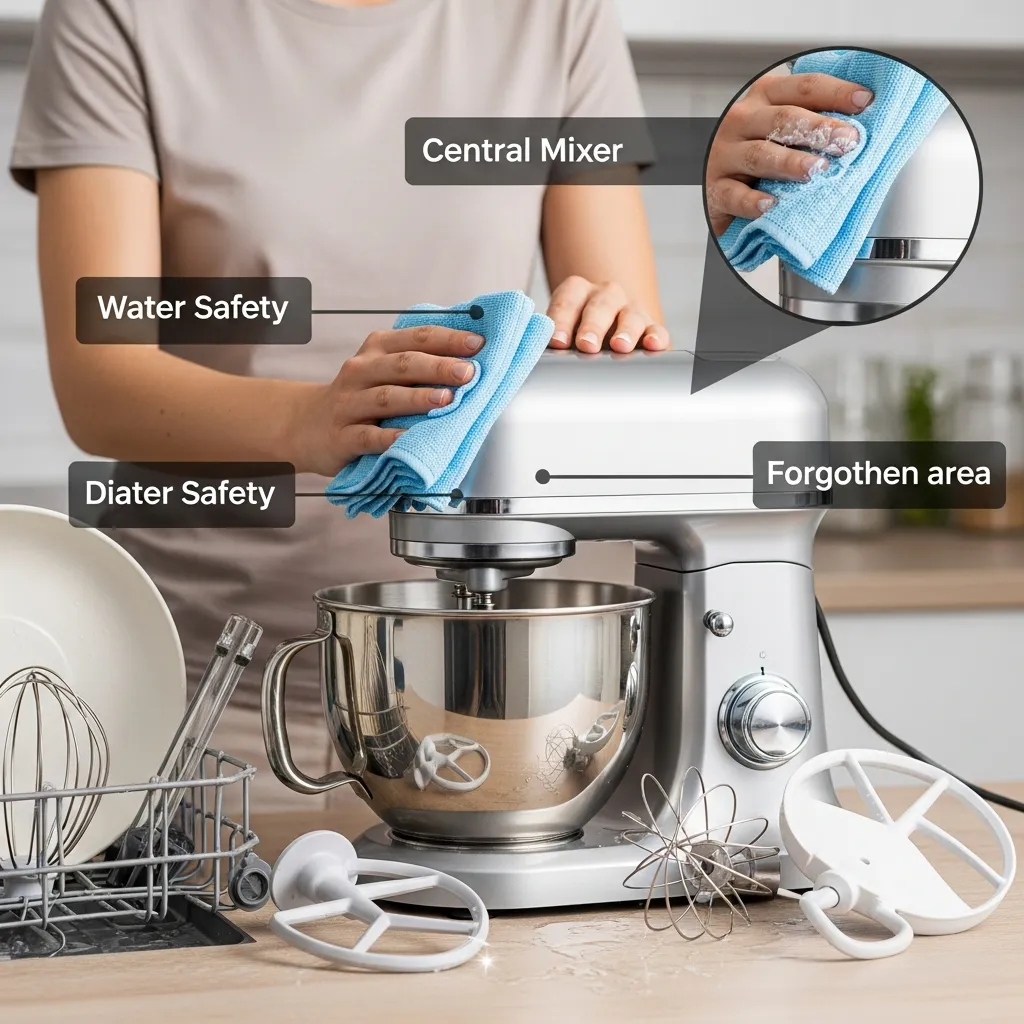
A little care goes a long way. Never, ever immerse the main body in water. To clean it, just wipe it down with a damp cloth. The bowl, paddle, whisk, and dough hook are almost always dishwasher safe, but check your manual to be sure. I prefer hand washing to keep them looking new.
The one part people forget? The area where the head attaches to the stand. A little bit of flour and grease can build up there over time, so give it a quick wipe every so often.
Frequently Asked Questions
Is a stand mixer worth the cost?
If you bake regularly, or want to start, it is absolutely worth it. It saves time and effort, and it consistently delivers better results than hand mixing. It encourages you to try new recipes you might have found too difficult before.
Can I make bread dough in it?
Yes! The dough hook is made for this. It kneads dough efficiently, though you should be mindful not to over-knead very soft doughs. It’s perfect for pizza dough and most bread loaves.
What’s the difference between a hand mixer and a stand mixer?
A hand mixer is great for light jobs like whipping cream or mixing a small batch of muffins. A stand mixer is more powerful, hands-free, and better for heavy doughs, large batches, and long mixing times.
My recipe says to mix for 3 minutes. Do I time it exactly?
Yes, timing is important in baking. Use a timer. Mixing for the specified time develops the gluten in flour or incorporates the right amount of air, which is key for the recipe’s texture.
How do I know when my egg whites have reached stiff peaks?
Stop the mixer and lift the whisk straight up. If the peak that forms stands straight up and doesn’t droop, you have stiff peaks. If the tip folds over, it’s a soft peak and needs more whipping.
Conclusion
My stand mixer went from being a countertop decoration to my most trusted kitchen companion. It’s not about being a fancy chef; it’s about making your time in the kitchen easier, more enjoyable, and more successful. It’s about the joy of pulling a perfectly risen loaf of bread from the oven or the pride in serving a birthday cake you made from scratch.
You don’t need to be an expert to use it. You just need a little guidance and the willingness to try. Start with a simple recipe, follow these steps, and you’ll build confidence with every batch. As the wonderful home chef and author Ina Garten says, “Food is not about impressing people. It’s about making them feel comfortable.” Your stand mixer is there to help you do just that—create delicious food and warm memories, one perfectly mixed batch at a time.
Now, go preheat your oven. It’s time to get mixing