
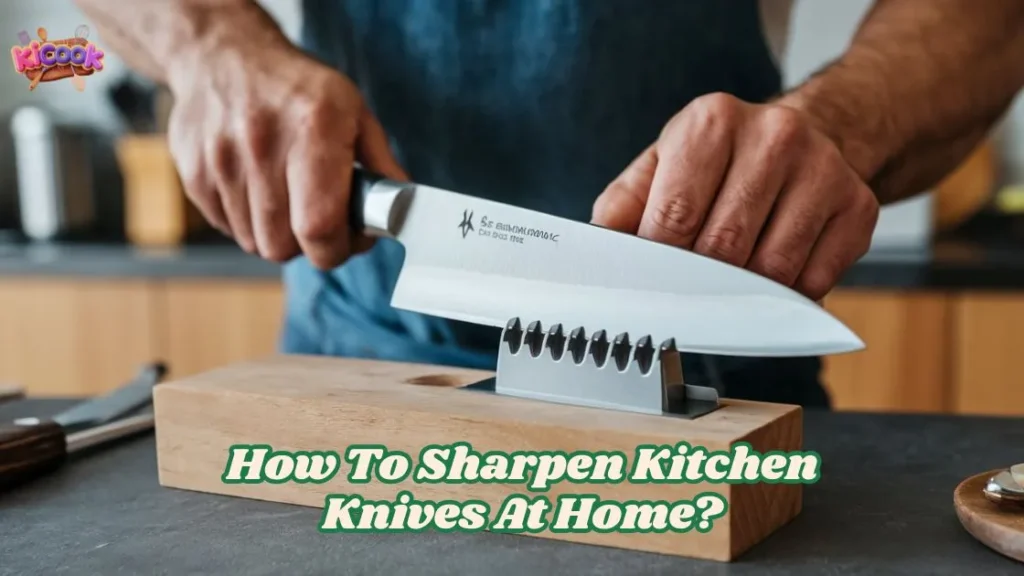
Keep your kitchen knives razor-sharp at home with just a few simple tools—learn the best techniques to maintain their edge effortlessly!
Have you ever struggled with a dull knife while cooking? I know I have, and it’s incredibly frustrating. Learning how to sharpen kitchen knives at home is not just about making cooking easier—it’s also about safety.
A sharp knife not only cuts more efficiently but also reduces the risk of accidents. For optimal performance, knives should ideally stay within the 150-175 BESS range. Regular sharpening helps maintain this level, ensuring your knives remain both safe and precise.
It’s also crucial to understand the difference between honing and sharpening. Honing realigns the blade, while sharpening restores its sharp edge. Both are essential, but knowing when and how to sharpen kitchen knives at home is the key to keeping them in top condition. Let’s dive into the process and make sure your knives are always ready to perform!
“A sharp knife is a safe knife. Dull blades force you to push harder, increasing the risk of injury.” – Gordon Ramsay
Key Takeaways
- A sharp knife helps you cook safely and easily. Sharpening often keeps knives working well.
- Honing fixes the blade’s edge and should be done regularly. Sharpening brings back the edge but is needed less often.
- Use a whetstone for careful sharpening or an electric sharpener for fast results. Check sharpness by cutting paper or tomatoes.
Honing vs Sharpening: Key Differences
What honing does for your knife
Honing is like a quick fix for your knife. It doesn’t make the blade sharper but straightens its edge. Over time, a knife’s edge can bend or curve, even if it’s not dull. Honing fixes this by making the blade straight again, so it cuts better.
Honing is like upkeep—it keeps your knife working well and avoids big damage. Experts suggest using a honing steel often to keep sharpness without wearing down the blade.
Honing mostly creates a tiny bevel. While many think honing just straightens the edge, studies show damaged steel near the tip often breaks off instead of bending back. This improves sharpness by removing tiny bits of metal, not just aligning the edge.
Here’s a simple chart to explain honing:
| Process | Description | Purpose |
|---|---|---|
| Honing | Straightens the blade’s edge, fixing small bends or curves. | Stops major blade damage. |
How sharpening restores the blade
Sharpening is a stronger process. It takes off small amounts of metal to make a new edge. If your knife feels dull and struggles to cut, it’s time to sharpen it.
Sharpening doesn’t just make the blade sharp again—it also fixes problems like rough edges from wear. Tools like a whetstone or electric sharpener can smooth out these issues and make your knife work like new.
Here’s what experts say:
- Sharpening fixes roughness and jagged edges, improving the blade’s structure.
- Tools like butcher’s steel remove tiny metal bits to reshape the edge.
If you want to know how to sharpen kitchen knives at home, sharpening is the step that turns a dull knife into a sharp one.
| Process | Description | Purpose |
|---|---|---|
| Sharpening | Smooths and reshapes the edge by removing metal. | Makes a dull blade sharp again. |
“Sharpening is an art. Take your time, and the results will speak for themselves.” – Julia Child
When to hone vs when to sharpen
Knowing when to hone or sharpen helps keep your knives in great shape. Honing should be done often—before or after big uses. It’s a fast way to straighten the edge and keep it sharp.
Sharpening is needed less often. Only sharpen when the knife feels dull or worn out. Regular honing can delay sharpening, saving you effort.
Here’s an easy guide:
| Action | Frequency of Use | Purpose |
|---|---|---|
| Honing | Before or after big uses | Straightens the edge for better cutting |
| Sharpening | Only when dull or worn | Removes metal to make the blade sharp again |
Honing is great for daily care, while sharpening fixes dull blades. Using both methods keeps your knives sharp and ready for any job.
Methods for Sharpening Kitchen Knives at Home
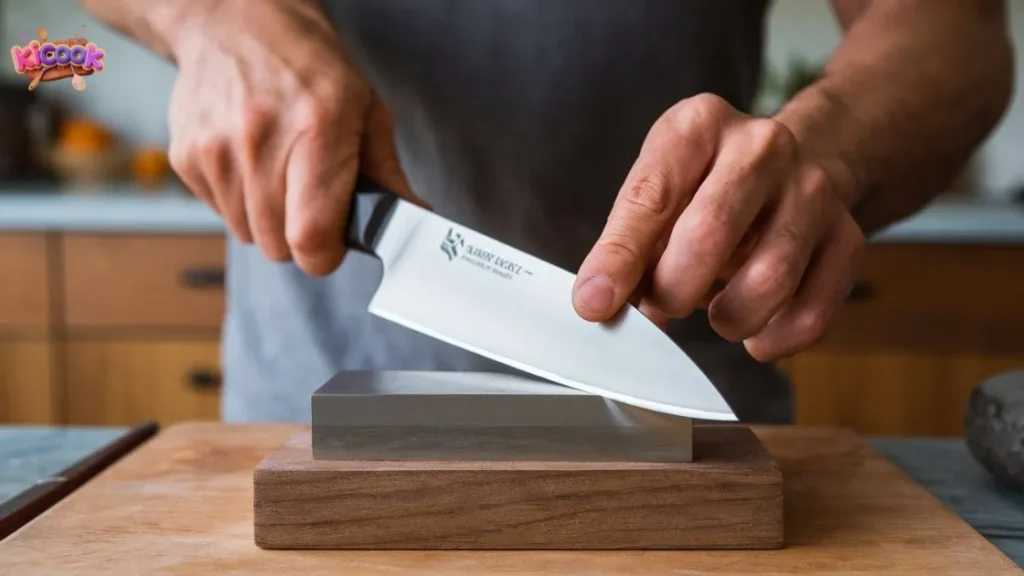
Sharpening with a whetstone
Want to sharpen knives like a pro? Use a whetstone. It’s my favorite tool because it gives full control. A whetstone is a block with different grit levels. Each grit has a specific job to do.
Here’s how to use a whetstone:
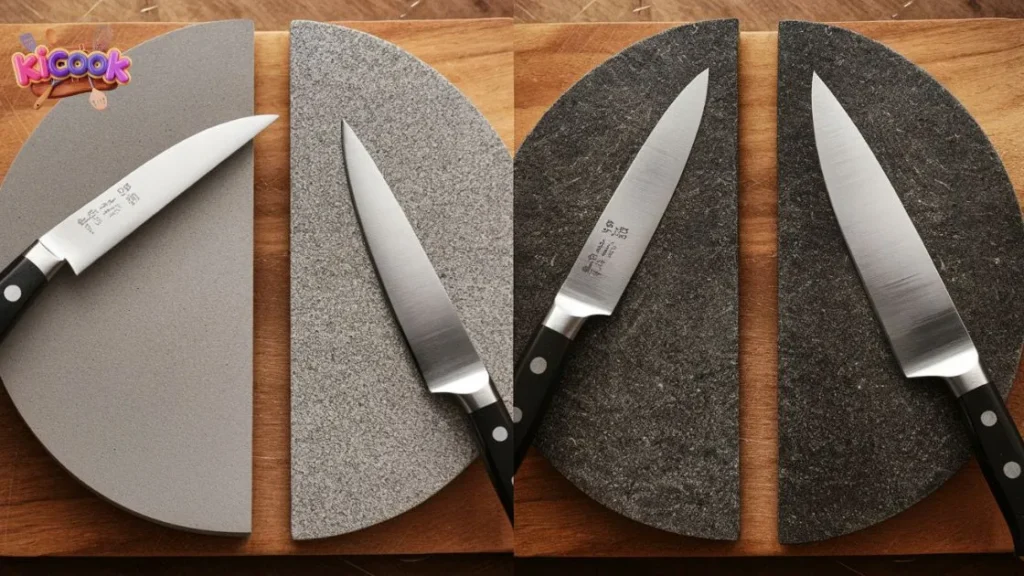
| Grit Level | Purpose | Technique |
|---|---|---|
| 800-1000 | Coarse grit for creating the edge | Soak the stone, hold the knife at 15°-20°, press, and stroke 50-80 times. |
| 3000 | Medium grit for smoothing the edge | Do the same steps with less pressure. |
| 6000-8000 | Fine grit for polishing the edge | Finish with light strokes. You can also use a leather strop or honing rod. |
I start with coarse grit to sharpen, then use finer grits to polish. Keeping the angle steady is very important. A 15°-20° angle works for most kitchen knives.
Tip: Soak your whetstone in water for 10-15 minutes first. This keeps it wet and helps sharpening go smoothly.
Using an electric knife sharpener
Electric sharpeners are great when I’m in a hurry. They’re easy to use and good for beginners. These machines sharpen blades fast with motorized parts.
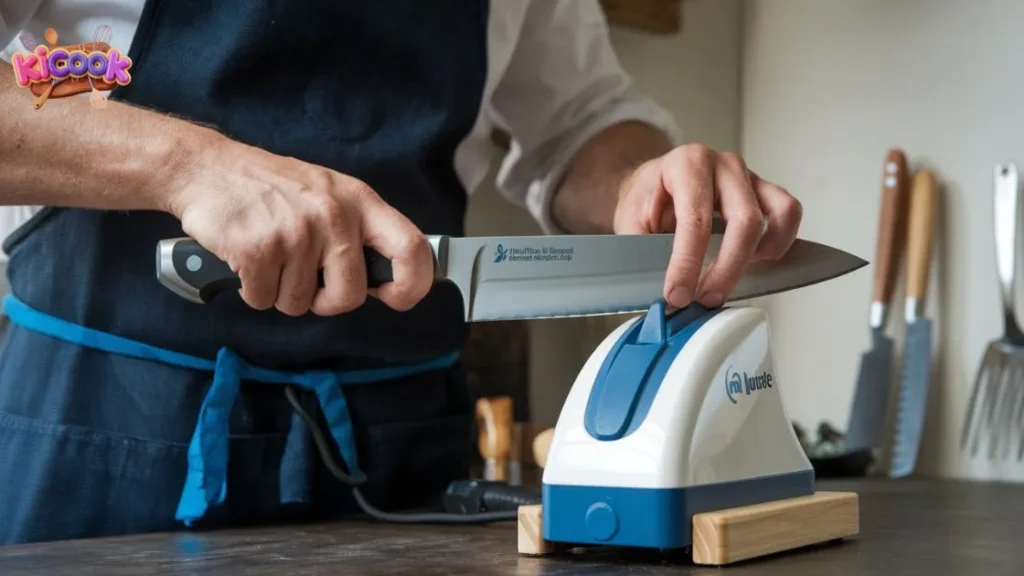
Electric sharpeners are convenient but remove more metal than whetstones. This can wear down high-quality knives faster. Newer models are better, though. Some use diamond abrasives and angle guides for stronger, longer-lasting edges.
If you need a quick way to sharpen knives, try an electric sharpener. Just follow the instructions to avoid over-sharpening.
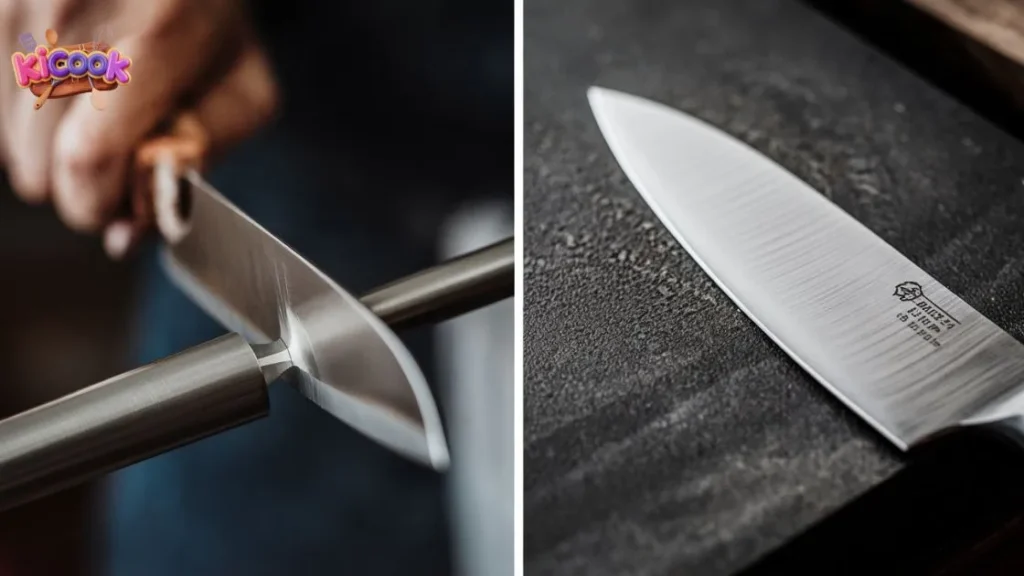
Alternative methods like ceramic mugs or honing rods
No whetstone or sharpener? Try a ceramic mug or honing rod. These methods aren’t perfect but work in a pinch.
For the mug method, flip the mug upside down. Use the rough base to sharpen the knife. Run the blade over it a few times. Adding water or butter helps keep the blade cool and sharpens better. It’s not scientific, but it works for dull knives.
Honing rods are for keeping knives sharp, not fixing dull ones. I use one often to realign the blade’s edge. This helps delay sharpening.
If you need a quick fix, these methods can help. They’re not ideal but get the job done when needed.
Testing Knife Sharpness
How do you know if your knife is sharp enough? Testing its sharpness is simple and can save you from frustration in the kitchen. Here are a few easy ways I like to check my knives.
The paper slicing test
This is my go-to test. Grab a regular piece of paper—printer paper works great. Hold it up with one hand and slice through it with your knife. A sharp knife will glide through the paper effortlessly, leaving a clean cut. If the knife struggles or tears the paper, it’s time to sharpen it.
I love this test because it’s quick and doesn’t require any special tools. Plus, it’s satisfying to see a sharp knife slice through paper like butter!
The tomato slicing test
Tomatoes are tricky. Their soft insides and tough skin make them perfect for testing knife sharpness. I place a tomato on the cutting board and try slicing through the skin without applying much pressure. A sharp knife will cut cleanly, while a dull one will squish the tomato or slide off the skin.
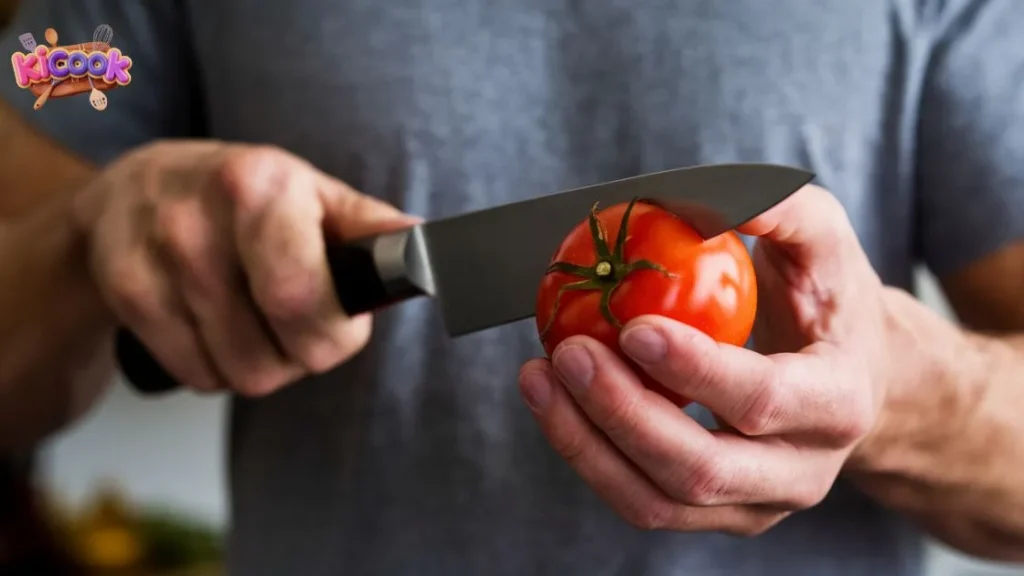
This test works because:
- Less force is needed to slice through the skin with a sharp knife.
- It mimics real kitchen tasks, giving you practical insights into your knife’s performance.
- Studies show that blade sharpness directly affects the force required to cut, especially with materials like 440C steel.
If your knife passes the tomato test, it’s ready for action in the kitchen!
“A well-sharpened knife is the mark of a thoughtful cook.” – Anthony Bourdain
Other quick sharpness tests
Sometimes, I use other methods to check sharpness:
- The thumb pad test: Gently feel the edge with the ball of your thumb. Be careful not to press too hard!
- The fingernail test: Rest the knife edge on your nail. If it catches, the knife is sharp.
- Advanced tools: Professionals use systems like the BESS scale or CATRA testing for precise measurements, but these aren’t necessary for home use.
These tests are easy and reliable. They help me ensure my knives are always in top shape for cooking.
Sharpening knives at home makes cooking safer and easier. Whetstones and electric sharpeners are great for fixing dull blades. Honing often and checking sharpness help with upkeep.
🛠 Tip: Sharpen dull knives occasionally, but hone them regularly. This keeps them sharp and helps them last longer!
Frequently Asked Questions For How To Sharpen Kitchen Knives At Home?
How often should I sharpen my kitchen knives?
I sharpen my knives every 3-6 months, depending on how often I use them. Regular honing keeps them sharp longer, so sharpening isn’t needed as often.
Can I damage my knife by sharpening it incorrectly?
Yes, improper sharpening can ruin the blade. I always keep the angle steady (15°-20°) and avoid over-sharpening to protect my knives.
What’s the best tool for beginners to sharpen knives?
I recommend an electric knife sharpener. It’s easy to use and doesn’t require much skill. Just follow the instructions, and you’re good to go!
How often should I sharpen my kitchen knives?
It depends on usage. Home cooks should sharpen every 2-3 months, while professionals may need monthly touch-ups.
Can I use a ceramic mug to sharpen a knife?
Yes! The rough bottom can act as a makeshift sharpener in a pinch.
What’s the difference between honing and sharpening?
Honing realigns the blade edge, while sharpening removes metal to create a new edge.
Do expensive knives stay sharp longer?
High-quality steel holds an edge better but still requires regular maintenance.
Conclusion
Learning how to sharpen kitchen knives at home is a simple yet valuable skill. Whether you use a whetstone, honing rod, or electric sharpener, keeping your blades sharp ensures safer, more efficient cooking. With regular care, your knives will stay in top condition for years.
Now that you know the basics, grab your tools and give your knives the sharp edge they deserve!