

To grease a baking pan properly, use butter, oil, or baking spray to lightly coat the entire surface, including the corners, then dust with flour for extra non-stick security (unless the recipe says otherwise). This ensures easy release and perfectly shaped baked goods every time!
Picture this: It’s your mom’s birthday. I’ve whipped up her favorite chocolate cake batter, feeling downright smug—until HALF comes out glued to the pan.
That soul-crushing moment taught me: greasing a baking pan isn’t some trivial pre-bake ritual—it’s the unspoken hero of baking! (And I promise, by the end of this post, you’ll never need to chisel brownies out again.)
Grease Galaxy: The Many Ways to Slick Up a Pan
When it comes to baking, learning how to grease a pan is one of those basic skills that can make or break your recipe. I’ve lost count of how many cakes I’ve seen stuck to the bottom of a pan simply because someone skipped this step or chose the wrong method.
Greasing a pan isn’t just about preventing a sticky disaster; it’s about setting yourself up for baking success, whether you’re making brownies, a classic loaf, or your great-aunt’s legendary cookies.
Butter, Oil, Shortening, and Spray: Choosing Your Weapon
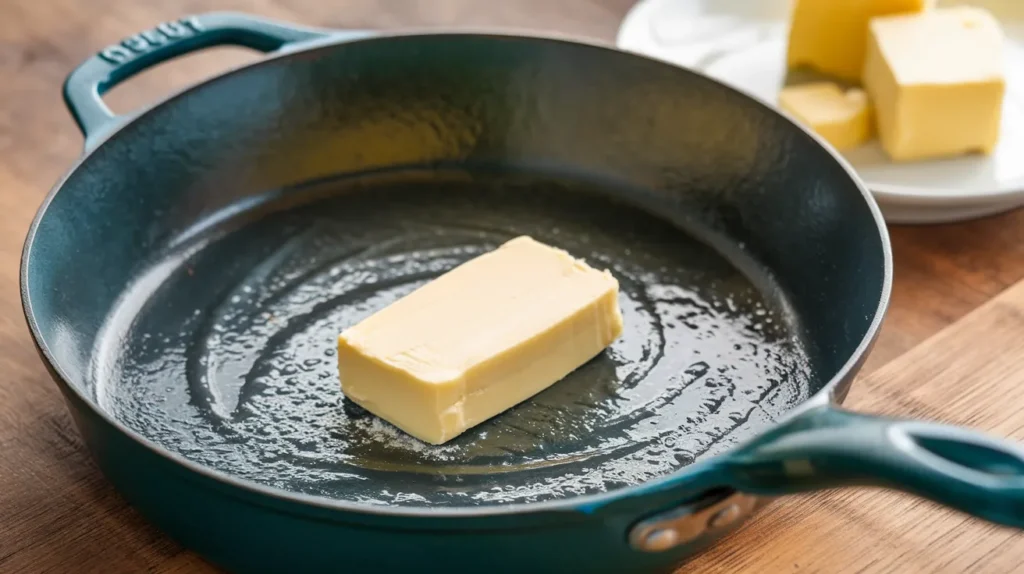
Let’s start with the classics. The most traditional way to grease a pan is with butter or shortening. Both are tried-and-true, and for good reason. Butter adds a rich flavor and a golden crust, while shortening is flavorless but creates a reliable nonstick barrier. If you’re wondering how to grease a baking pan for cakes or cookies, these two are often the first choices that come to mind.
But the options don’t stop there. Oil—whether it’s canola, vegetable, olive, or even coconut—can also be used to grease a pan. Each oil brings its own subtle character. Olive oil, for example, is less common for sweet bakes but works beautifully for savory breads or focaccia. Coconut oil, on the other hand, adds a hint of tropical flavor and is solid at room temperature, making it easy to spread.
Then there’s the convenience of nonstick cooking spray. Baking spray is a lifesaver when you’re short on time or don’t want to fuss with spreading butter or oil. Just a quick spritz and you’re done. Nonstick sprays are especially handy for intricate pans, like bundt or muffin tins, where getting into every nook and cranny matters. Still, research shows it’s wise to check the ingredient label—some sprays contain additives or propellants that can leave a residue or affect flavor.
Wildcards: Bacon Fat, Coconut Oil, and Beyond
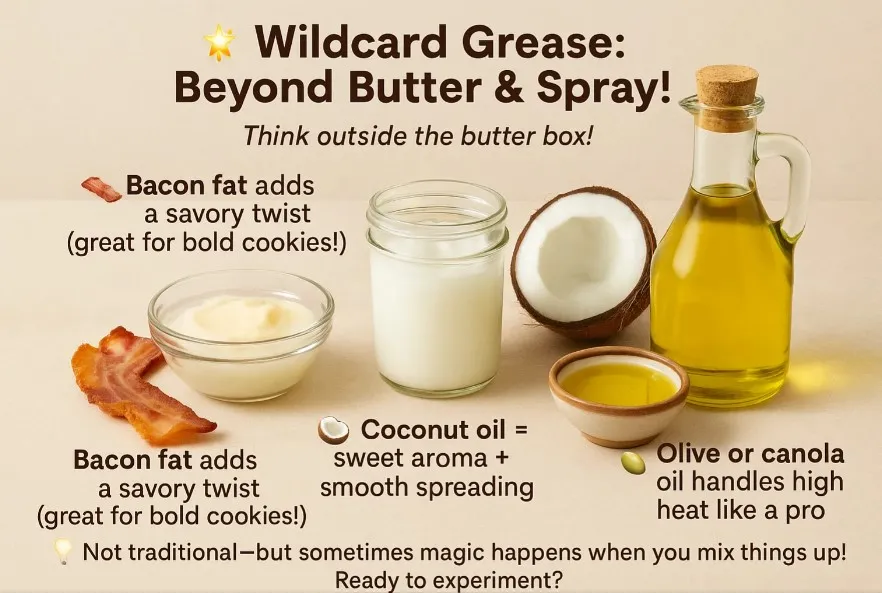
Now, let’s talk about the wildcards. My great-aunt swears by bacon fat for her cookies, claiming it gives them a ‘mystique’ you just can’t get from butter or shortening. While it’s not traditional, greasing a pan with bacon fat can add a subtle savory note to certain recipes. Coconut oil is another wildcard—solid at room temperature, easy to spread, and it imparts a gentle coconut flavor that works wonders in some cakes and bars.
Olive oil and canola oil are less common for greasing sweet baking pans, but they’re perfectly acceptable, especially if you’re after a neutral taste or baking at higher temperatures. In fact, research indicates that oil can handle higher heat than butter, which is useful for recipes that bake hot and fast.
Application Tools: Fingers, Paper Towels, and Pastry Brushes
How you apply your chosen grease matters almost as much as what you use. I’ve used everything from my fingers to a crumpled paper towel to a dedicated pastry brush. Fingers are great for getting into corners and feeling for even coverage, but they can get messy.
Paper towels are quick and disposable—just dab them in your butter or oil and swipe across the pan. Pastry brushes, whether silicone or bristle, offer precision and are especially handy for intricate pans or when greasing with melted butter or oil.
Butter vs. Oil: The Great Debate
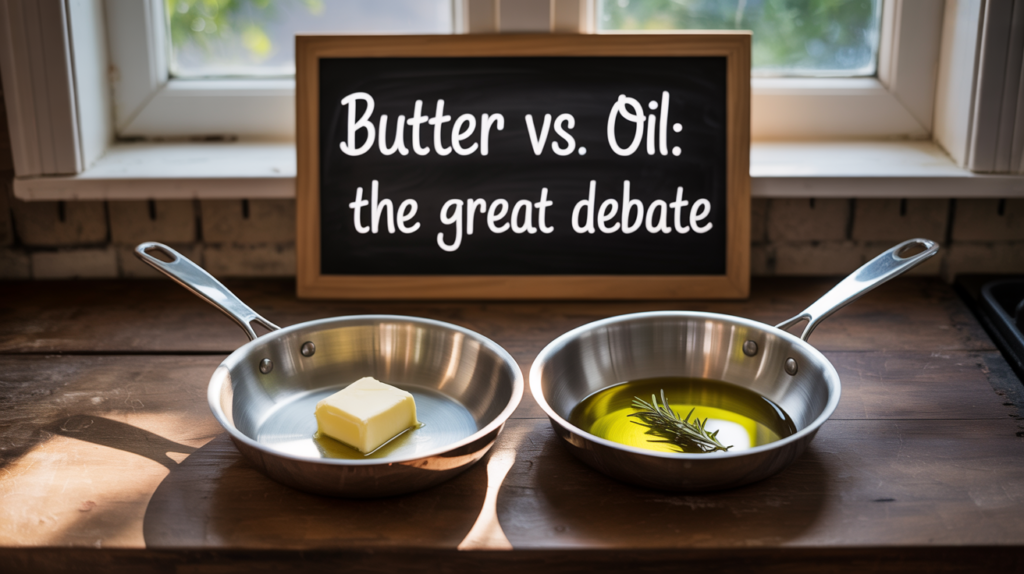
Why do people argue about butter versus oil when greasing a pan? It comes down to flavor and performance. Butter brings a rich, unmistakable taste and helps baked goods brown nicely. Oil is more neutral and less likely to burn at high temperatures. Both can work, and sometimes it’s a matter of what you have on hand or the flavor profile you’re after. For cakes, I often reach for butter. For quick breads or savory bakes, oil is my go-to.
‘A little butter under every cake makes the world taste better.’ – Julia Child
Even with nonstick pans, I’ve found that a thin layer of grease—whether it’s butter, oil, or nonstick spray—makes all the difference. Research shows that greasing the bottom and sides, including corners, is essential for easy release. Some bakers even add a dusting of flour or sugar after greasing, especially for cakes, to create an extra barrier. And if you’re feeling extra cautious, parchment paper on top of your grease is the ultimate insurance policy.
In the end, greasing a pan is a small step that pays off big. Whether you grease with butter, shortening, oil, spray, or something more adventurous like bacon fat or coconut oil, the key is even coverage and a method that matches your recipe. It’s a simple ritual, but one that’s essential for every baker’s toolkit.
Technique Tango: Getting (Evenly) Slick, No Matter the Pan
Let’s get real about greasing a pan—there’s more to it than a quick swipe and a prayer. If you’ve ever tried to release baked goods from a baking pan only to find half your cake stuck to the bottom, you know the pain. The secret? It’s all about coverage. You need to grease evenly, hit every nook and cranny, and yes, pay special attention to those sneaky corners. As I’ve learned (sometimes the hard way), the smallest missed spot can turn a beautiful bake into a patchwork disaster.
Corners Are Traitors—Don’t Leave Them Ungreased!
Here’s something I wish someone had hammered into my head early on: corners are traitors. They’re the spots where batter loves to cling, and if you skip them, you’re basically inviting your cake to stick. When greasing a pan, always start with the bottom, then move up the sides, and finally, work into the corners.
I use a pastry brush or even my fingers with a bit of butter or shortening to get into those tight spaces. Nonstick spray works too, but be careful not to overdo it (more on that in a bit).
For Cakes: Grease, Flour, and Line with Parchment for Triple Insurance
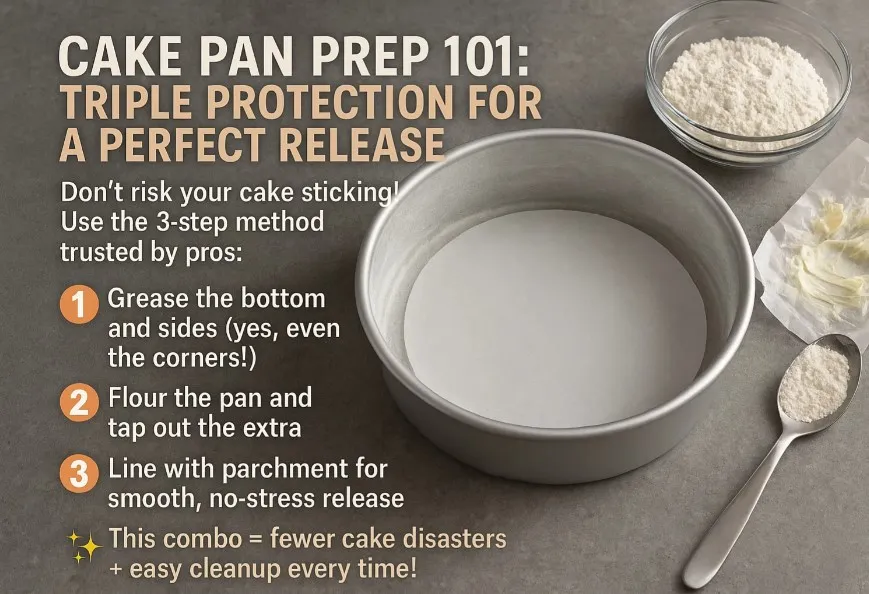
When it comes to a cake pan, I don’t mess around. Research shows that greasing a pan alone might not always be enough, especially for delicate cakes. That’s why I use a three-step process:
- Grease the bottom and sides—don’t forget the corners.
- Flour the pan—add a tablespoon of flour, tilt and tap the pan so it coats all the greased surfaces, then tap out the excess. This step helps release baked goods easily, especially cakes.
- Line with parchment paper—cut a circle or strip to fit the bottom (and sometimes the sides). This is my insurance policy for a perfect release.
It might sound like overkill, but trust me, it’s worth it. There’s nothing worse than spending hours on a cake only to have it break apart because it stuck to the pan.
Silly Mistake: When Too Much Spray Turns Into a Slip ‘n Slide
Confession time: I once got a little too enthusiastic with the nonstick spray. I’m talking a thick, shiny layer that looked bulletproof. The result? My cake didn’t just release—it practically launched itself across the oven rack.
Lesson learned: you want to grease a pan, not drown it. A light, even coating is all you need to prevent sticking. If you’re using spray, hold the can a few inches away and sweep it back and forth for even coverage. For butter or shortening, a paper towel or pastry brush helps spread it thinly and evenly.
“Don’t rush the greasing step—take time to coat every corner.” – Paul Hollywood
How to Tackle Weird Pans: Bundt, Muffin, and More
Not all baking pans are created equal. Bundt pans, muffin tins, and loaf pans each have their quirks. Bundt pans, with their intricate designs, are notorious for sticking.
Here’s what I do:
- Bundt pans: Use a pastry brush to get into every ridge and curve. Grease the sides, bottom, and especially the center tube. Then, flour the pan thoroughly, tapping out the excess. For extra insurance, some bakers swear by a mix of equal parts flour, oil, and shortening (sometimes called “cake goop”).
- Muffin tins: Even if they’re nonstick, I always grease the sides and bottoms of each cup. Paper liners are great, but a little grease ensures nothing sticks where the liner doesn’t reach.
- Cookie sheets: Usually, a light spray or parchment paper does the trick. For sticky cookies, I’ll sometimes use both.
And remember, even nonstick pans benefit from a thin layer of grease. It’s a small step that can make a big difference in how easily you release baked goods.
‘The details aren’t the details; they make the design.’ – Charles Eames
That quote rings true every time I bake. The little things—like making sure you grease the sides, grease the bottom, and don’t skip the corners—are what separate a flawless bake from a frustrating one. Greasing a pan might seem simple, but when you do it right, you set yourself up for baking success every time.
Wild Cards and Grease Myths: Creative Fixes, Surprising Errors

When it comes to baking, I’ve learned that greasing a baking pan isn’t just a routine step—it’s an art form with its own set of wild cards and persistent myths. Over the years, I’ve experimented with every trick in the book, from the classic swipe of butter to the more unconventional methods that sometimes save a cake in a pinch. Let’s unravel some of these creative fixes and surprising errors, and see how the simple act of greasing a pan can make or break your baking adventure.
First, let’s talk about the basics. Most of us reach for butter, oil, or nonstick cooking spray when it’s time to grease a pan. But did you know you can also grease with sugar? I stumbled across this trick while searching for a way to add a little extra crunch to the crust of a pound cake. Instead of dusting the greased pan with flour, try sprinkling it with sugar. The result? A caramelized, slightly crunchy edge that’s especially delightful on certain cakes. Research shows that sugar-greasing isn’t as common as flour, but for recipes where a sweet, crisp crust is welcome, it’s a wild card worth playing.
Of course, the method you use to grease a pan can be just as important as the substance. I’ve found that using a paper towel to spread a thin, even layer of butter or oil gives me the most control, especially in the corners of a baking pan. A pastry brush is another favorite—great for getting into the nooks of a bundt pan or the sides of a loaf tin. And sometimes, when I’m in a rush, I just use my fingers. There’s something satisfying about feeling the texture of the pan and making sure every inch is covered. No matter which tool you choose, the goal is the same: create a barrier that helps release baked goods cleanly and easily.
Now, let’s address a myth that just won’t quit: the idea that nonstick pans don’t need greasing. I’ve heard this so many times, but the truth is, even nonstick pans benefit from a thin layer of grease. Research and experience both confirm it. Nonstick cooking spray, a swipe of butter, or a bit of oil can make the difference between a cake that slides out like a dream and one that clings stubbornly to the sides. Think of it as a little insurance policy for your baked goods. As Sarah Kieffer wisely said,
‘Baking is both science and improvisation. Don’t believe everything on the back of the spray can.’
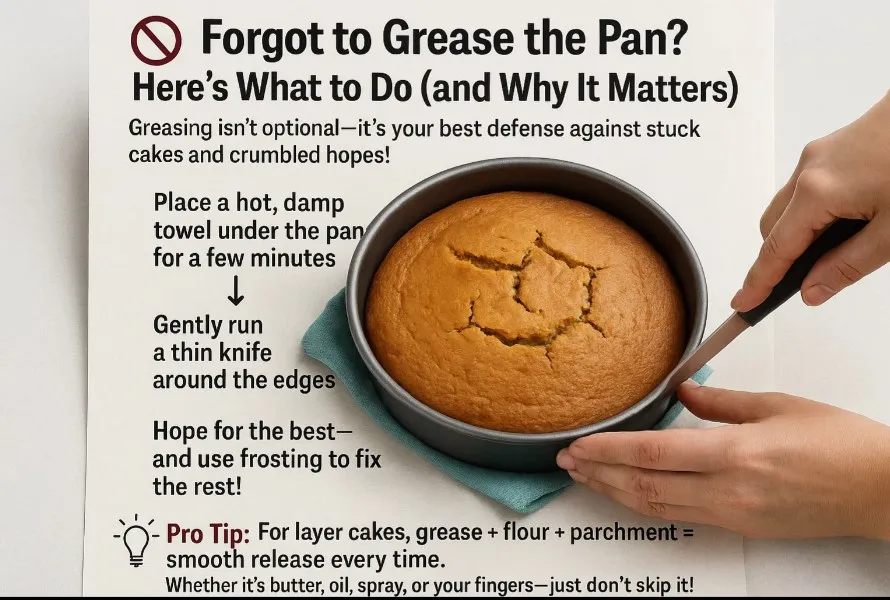
So what happens if you forget to grease a pan? I wish I could say there’s always a perfect fix, but sometimes you just have to get creative. One trick I’ve tried is running a hot, damp towel under the bottom of the pan for a few minutes. The heat and steam can help loosen the edges, making it a bit easier to release baked goods. It’s not a guaranteed solution, but in a pinch, it’s worth a shot. Other times, I’ve carefully run a thin knife around the edge, hoping for the best. Sometimes, the cake comes out with only a few scars; other times, well, that’s what frosting is for.
There’s also the question of whether to use parchment paper in addition to greasing. For layer cakes, I almost always do both: a greased pan, a round of parchment, and a little more grease on top. It may seem like overkill, but it’s a small step that can save a lot of frustration when it’s time to release baked goods.
In the end, the art of greasing a pan is about understanding your options and knowing when to improvise. Whether you grease with sugar for a crunchy crust, use a paper towel, pastry brush, or your fingers, or reach for nonstick cooking spray, the goal is always the same: to release baked goods with ease and confidence. And if you ever forget, remember—baking is as much about adventure as it is about precision. Sometimes, the best stories come from the surprises along the way.
Greasing a baking pan is all about preventing sticking and ensuring your cakes (and sanity) stay intact. Use butter, oil, spray, flour, or parchment—just don’t skip it! Even seasoned bakers have epic fails when they do.
“A well-greased pan is the secret to a flawless cake release.” – Mary Berry
Frequently Asked Questions For How to Grease a Baking Pan Properly
Can I use olive oil to grease a baking pan?
Yes, but it has a low smoke point, so it’s best for low-temperature baking.
Should I grease a non-stick pan?
Most non-stick pans don’t need greasing, but a light coating can help.
How do I grease a Bundt pan properly?
Use melted butter or baking spray, ensuring every crevice is coated. Dust with flour for extra security.
What’s the best way to grease a pan for brownies?
Butter + parchment paper is the best combo for easy lifting.
Can I use shortening instead of butter?
Yes, shortening works well and has a neutral flavor.
“For sticky batters, parchment paper is your best friend.” – Ina Garten
Conclusion
Knowing how to grease a baking pan properly saves time, prevents frustration, and ensures perfect results every time. Whether you use butter, oil, or parchment paper, the key is even coverage and the right technique. Next time you bake, follow these tips for effortless releases and spotless pans!
Happy baking! 🍰