
Revive burnt baking pans by simmering water and baking soda for 10 minutes, then gently scrub—stuck-on food lifts away effortlessly!
I’ll admit it: my oven has seen more pyrotechnics than a Fourth of July parade. Burnt baking pans are my not-so-secret shame, but after far too many charred soufflés and roasted messes, I’ve assembled a toolkit of unorthodox (and surprisingly effective) cleaning techniques. You won’t find judgment here—just real talk about what actually works to rescue pans you thought were lost causes.
The Great Burnt Pan Showdown: Baking Soda, Vinegar & Wildcards
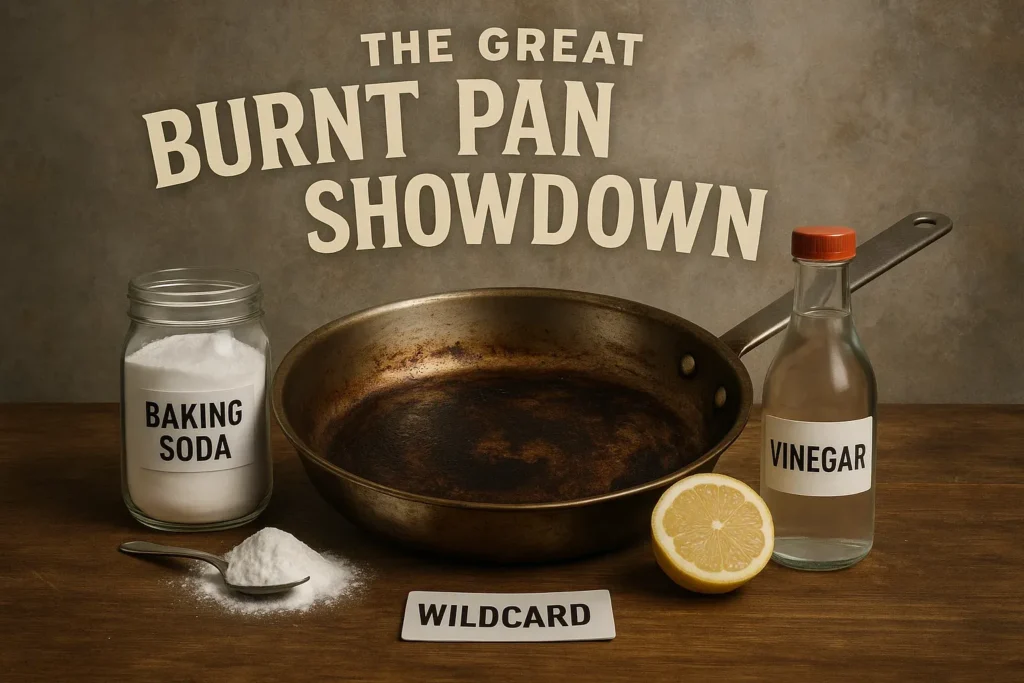
If you’ve ever stared down at a scorched baking pan and wondered if it’s destined for the trash, trust me—you’re not alone. I’ve been there, more times than I care to admit. Over the years, I’ve tested every cleaning hack, from the classic baking soda method to some wildcards I almost regretted. Here’s what really works (and what’s just hype) when it comes to cleaning burnt pans—no judgment, just real-world results.
The Legendary Baking Soda and Vinegar Method: Hype or Hero?
Let’s start with the classic: the baking soda method for cleaning burnt pans. It’s everywhere online, but does it actually work? Here’s how I do it:
- Fill the burnt pan with equal parts water and white vinegar.
- Bring the mixture to a boil. (Be prepared for a bit of a vinegar smell!)
- Remove from heat and add a generous sprinkle of baking soda.
- Let it fizz, then scrub with a scouring pad once it cools.
Research shows this combination is effective at loosening burnt-on food, especially for medium burns. But—and this is important—it almost always requires some elbow grease. The fizzing action helps, but don’t expect miracles without a good scrub. As Rose Russo puts it:
“Honestly, I’ve never met a burnt pan that baking soda couldn’t at least bully into submission.”
Sometimes, I’ll make a baking soda paste by mixing baking soda with a little water and spreading it on stubborn spots after the initial soak. This can help tackle those last bits of burnt residue.
Wacky Experiment: Citric Acid Cleaning (Almost Lemonade!)
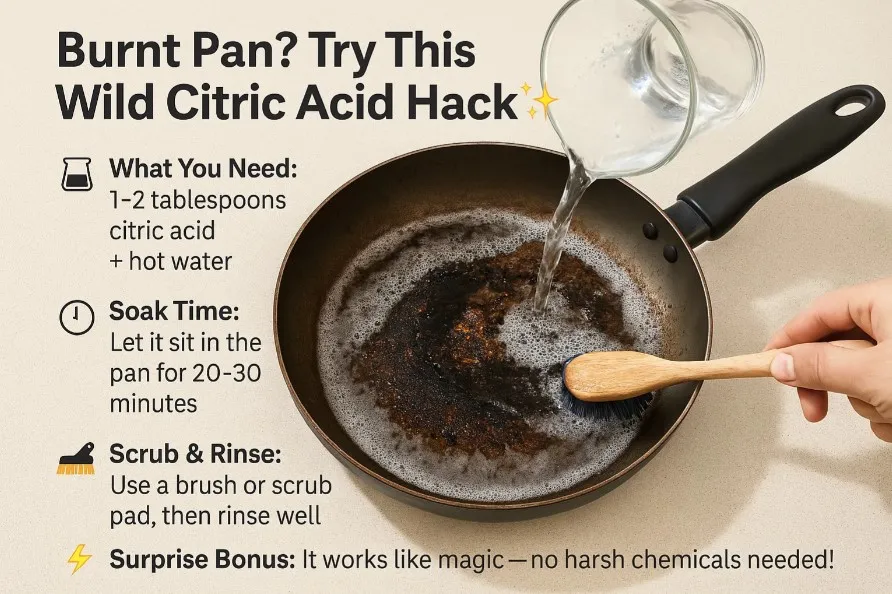
One day, I reached for what I thought was lemonade mix and almost dumped it in my pan—turns out, it was pure citric acid. That happy accident led to my favorite wildcard method for cleaning burnt pans:
- Dissolve 1–2 tablespoons of citric acid in hot water.
- Pour into the burnt pan and let it soak for 20–30 minutes.
- Scrub with a brush or pad; rinse thoroughly.
Studies indicate citric acid cleaning is a potent, natural choice for extreme burnt-on grease. It cuts through baked-on grime that even baking soda sometimes can’t touch. Just don’t mix it up with your drink mix—trust me.
Personal Misfire: The “Soak Overnight” (Or, Oops, Three Days)
We’ve all heard about soaking pans overnight with dish soap. Well, I once forgot about a pan and left it soaking for three days. When I finally remembered, the burnt bits practically slid off with a gentle scrape. Turns out, overnight soaks—even overextended ones—can loosen burnt residue and make cleaning a breeze. Just be sure to wash thoroughly afterward to avoid any lingering soap taste.
Quick Comparison Table
| Method | Best For | Time Required | Effort Level |
|---|---|---|---|
| Baking Soda & Vinegar | Medium burns, general burnt food | Boil + cool + scrub (30–45 min) | Moderate scrubbing needed |
| Citric Acid Soak | Heavy, baked-on grease | 20–30 min soak | Minimal to moderate scrubbing |
| Overnight Dish Soap Soak | Light to moderate burns | 8–72 hours (oops!) | Light scrubbing |
So, whether you’re a fan of the tried-and-true baking soda method, curious about citric acid cleaning, or just hoping a long soak will save the day, there’s hope for every burnt pan. No shame, just clean pans and a few good stories along the way.
DIY vs. Commercial Cleaners: The Unfiltered Breakdown
If you’ve ever stared at a burnt baking pan and wondered whether to reach for a pricey commercial cleaner or just raid your pantry, you’re not alone. As someone who’s tested everything from Bar Keepers Friend to the classic hydrogen peroxide method, I’ve learned that there’s no single “magic bullet” for every mess. Here’s my honest, real-world breakdown of diy cleaning methods versus commercial cleaning products—no judgment, just results.
Testing the Classics: Blue Dawn, Bar Keepers Friend, and Hydrogen Peroxide
Let’s start with the big names. Bar Keepers Friend is a staple in many kitchens, and for good reason. It’s great for general stains and light to medium burns. But when it comes to heavy, baked-on disasters, even this powerhouse can struggle. As Eliot Tan put it:
“Bar Keepers Friend gets you 80% there, but the scrubbing gets you that last 20%.”
Then there’s Blue Dawn dish soap. When paired with hot water and a scouring pad, it’s surprisingly effective—especially if you’re patient enough to let it soak for at least 30 minutes (or overnight for the truly stubborn spots).
The hydrogen peroxide method—sprinkling baking soda, spraying hydrogen peroxide, and letting it sit overnight—has a mysterious allure. It’s a slow burn, but for medium stains, it can work wonders.
DIY Cleaning Methods: Cheap, Cheerful, and Surprisingly Effective

Now, let’s talk about the humble heroes: baking soda, vinegar, and citric acid. These diy cleaning methods are not only cost-effective, but also surprisingly powerful. Research shows that a baking soda and vinegar soak can loosen burnt food, especially if you bring the mixture to a boil before scrubbing. Citric acid, dissolved in hot water, is another natural cleaner that can tackle baked-on grease in just 20 to 30 minutes.
What I love about these methods is their accessibility. You probably already have these ingredients at home, and they’re gentle on both your pans and your wallet. The trade-off? They usually require more soaking time and a bit of elbow grease.
Do Cheap Kitchen DIYs Outpace Pricey Branded Cleaners?
Here’s where things get interesting. In my experience—and research backs this up—diy cleaning methods like baking soda and vinegar soaks can rival commercial cleaners for most stains.
However, when you’re short on time or dealing with moderate burns, commercial cleaning products like Bar Keepers Friend or Blue Dawn can save the day with their speed and convenience.
Side-by-Side Results: Pros, Cons, and Mess Reduction
| Method | Best For | Soak Time | Pros | Cons | Mess Reduction* |
|---|---|---|---|---|---|
| Bar Keepers Friend | Light–Medium Stains | 10–20 min | Fast, easy, effective | May struggle with heavy burns | 80% |
| Blue Dawn Dish Soap | Medium–Heavy Stains | 30 min–Overnight | Gentle, widely available | Needs soaking, scrubbing | 75–85% |
| Hydrogen Peroxide & Baking Soda | Medium Stains | Overnight | Great for stubborn spots | Slow process | 80–90% |
| Baking Soda & Vinegar (DIY) | Light–Medium Stains | 30 min–1 hr | Cheap, natural | May require extra scrubbing | 70–80% |
| Citric Acid (DIY) | Heavy Stains | 20–30 min | Natural, effective on grease | Less common in pantry | 75–85% |
Tiny Victories: Stubborn Stains, Last Resorts, and Kitchen Zen
There’s a moment in every burnt pan rescue mission where I find myself staring down at a stubborn black patch, wondering if this is the end for my favorite baking sheet. I’ve tried soaking, scrubbing, and every “miracle” cleaning hack the internet has to offer. Sometimes, it feels like the pan is taunting me, daring me to give up. But here’s what I’ve learned: burnt stain removal is rarely a one-step process, and the myth of the “ruined pan” is just that—a myth.
When all else fails, I reach for the scouring pad. There’s no denying it: sometimes, elbow grease is the only answer. After a good soak—whether it’s with baking soda and vinegar, a squirt of Blue Dawn dish soap, or even a sprinkle of citric acid—I’ll gently attack the remaining stains.
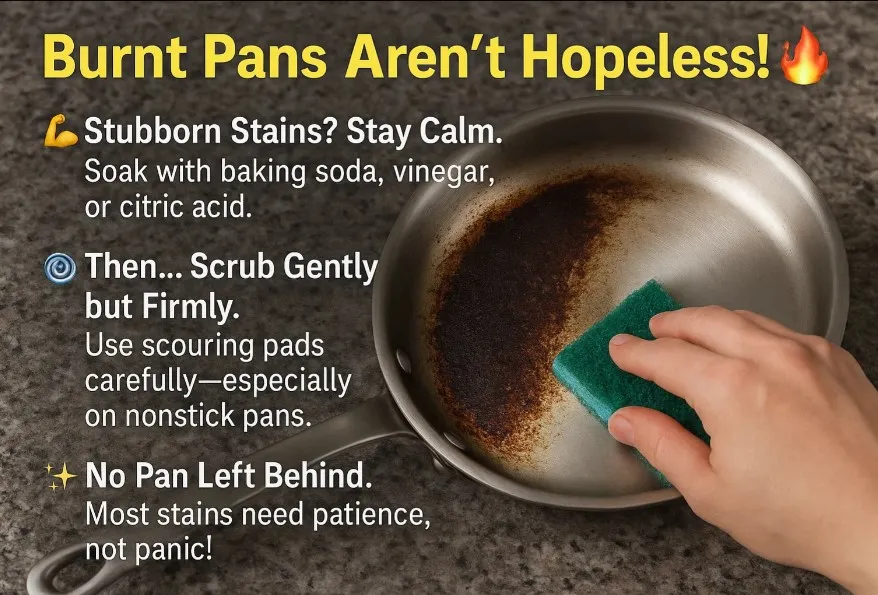
Research shows that heavy-duty scouring is often required for baked-on, stubborn stains, especially on thick steel pans. But I’ve also learned to use tough brushes and scouring pads with care, especially on nonstick or sensitive finishes. One wrong move, and you might trade a burnt patch for a scratched surface.
The most effective cleaning tips I’ve picked up over the years all point to one thing: persistence. Layering methods—soak, scrub, repeat—yields the best results. Sometimes, I’ll apply a baking soda paste, let it sit, and then come back for another round with the scouring pad. Other times, a vinegar soak breaks down the burnt food just enough to make scrubbing possible.
Studies indicate that even the most burnt pans can often be saved with patience and repeated applications. It’s not about making the pan look brand new; it’s about restoring it to a state where it can do its job again.
There’s a certain kitchen zen that comes from accepting imperfections. I used to obsess over every little stain, convinced that a spotless pan was the only sign of a good cook. Now, I see things differently. Sometimes, a faint shadow of a burn mark is just a reminder of a meal well-cooked (or, let’s be honest, slightly overcooked). As Mia Cheng wisely said:
‘Finding peace means accepting some stains. The pan still works, and so do you.’
So, if you’re standing over your sink, scouring pad in hand, wondering if you’ll ever achieve burnt pan restoration, take a deep breath. Remember that knowing when to call it “good enough” is part of the process. Not every pan will gleam like new, and that’s okay. What matters is that you gave it your best shot—and that you’re ready to bake again, stains and all.
In the end, the real victory isn’t a spotless pan. It’s learning to let go of perfection, embrace persistence, and celebrate every little win. After all, the kitchen is for cooking, experimenting, and sometimes making a mess. And with the right approach to burnt stain removal, even the most stubborn stains don’t stand a chance.
Frequently Asked Questions for How to Clean Burnt Baking Pans
Can I use steel wool on non-stick pans?
No! Steel wool can scratch the coating. Use a soft sponge instead.
How do I prevent burns in the future?
Line pans with parchment paper, use enough oil, and avoid overheating.
Will these methods work on stainless steel pans?
Yes! These techniques are safe for most metal pans.
Conclusion
Cleaning burnt baking pans doesn’t have to be a nightmare. With simple ingredients like baking soda, vinegar, or even denture tablets, you can restore your pans without harsh chemicals. The key is patience—let the cleaners do the work before scrubbing.
“A clean pan is the secret to better baking.” – Julia Child
Try these methods next time your pans look hopeless, and enjoy cooking with spotless bakeware again!