
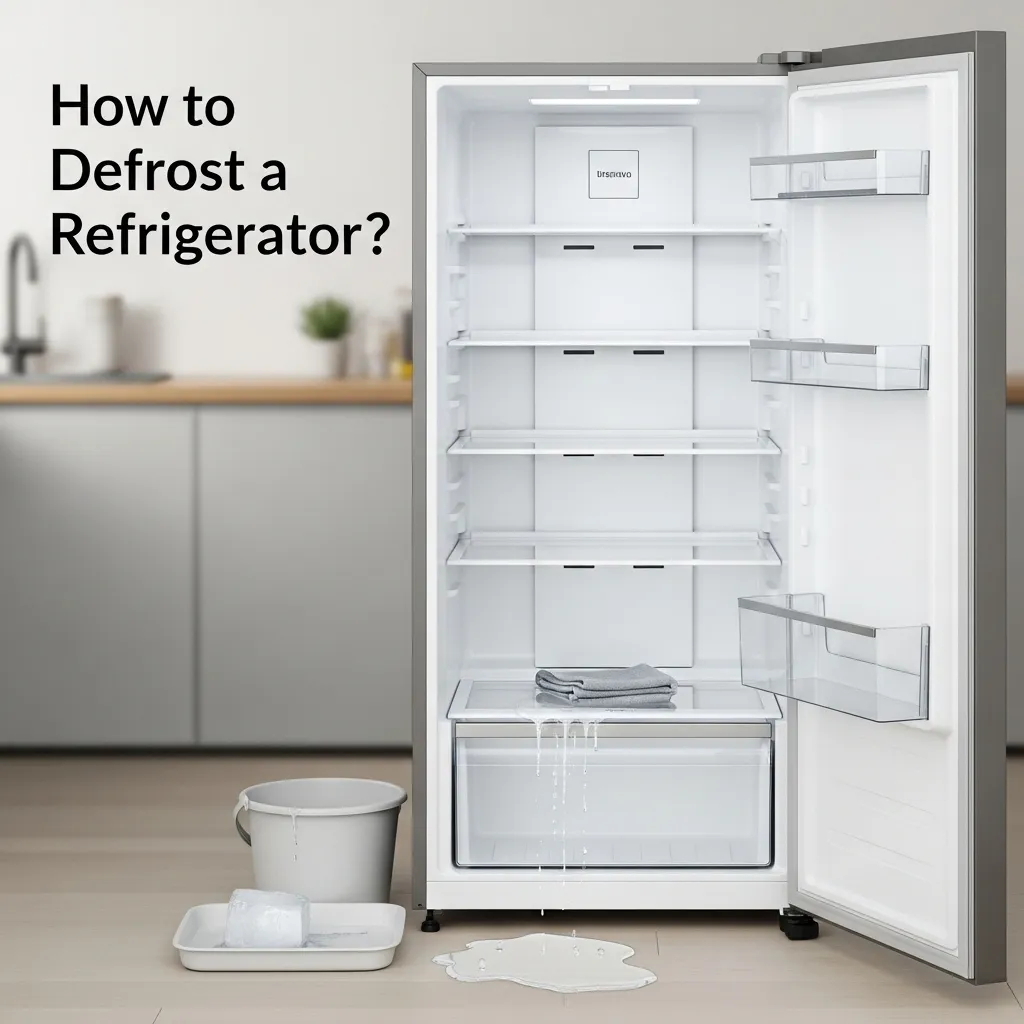
Defrosting a refrigerator is a simple but vital task for maintaining your appliance. I’ll guide you through the entire process, from preparation to the final clean-up, making it stress-free.
I remember the first time I saw a thick wall of ice in my own freezer. The door didn’t seal right, my frozen peas were encased in a glacier, and the fridge wasn’t cooling properly. I felt a wave of panic. Was my appliance broken? How much would a repair cost? After a deep breath and some research, I realized the solution was wonderfully simple: it was time to defrost.
Since then, I’ve defrosted my own fridge freezer countless times and helped friends and family with theirs. It’s a basic piece of home maintenance that everyone should know. It saves you money on your energy bill, protects your food, and extends the life of your appliance. Think of it as a mini spa day for your fridge! This guide will walk you through every single step, sharing all the tips and tricks I’ve learned to make the job quick and easy.

Why You Absolutely Need to Defrost Your Fridge
That frost build-up isn’t just an eyesore; it’s a real problem for your appliance. Your refrigerator works by moving heat from inside the cabinet to the outside. A thick layer of ice acts as an insulator, forcing the compressor to work much harder to maintain the correct temperature. This leads to higher electricity consumption and puts unnecessary strain on the motor, which can cause a breakdown over time.
For older models, especially those without frost-free technology, regular defrosting is a non-negotiable part of ownership. But even newer models can develop ice buildup if a door seal is faulty or if the door is left ajar for too long. Making this a regular chore ensures your fridge runs efficiently and your food stays safely preserved.
Your Step-by-Step Guide to a Frost-Free Fridge
Follow these instructions for a smooth, mess-free defrosting experience.
Step 1: Preparation is Key
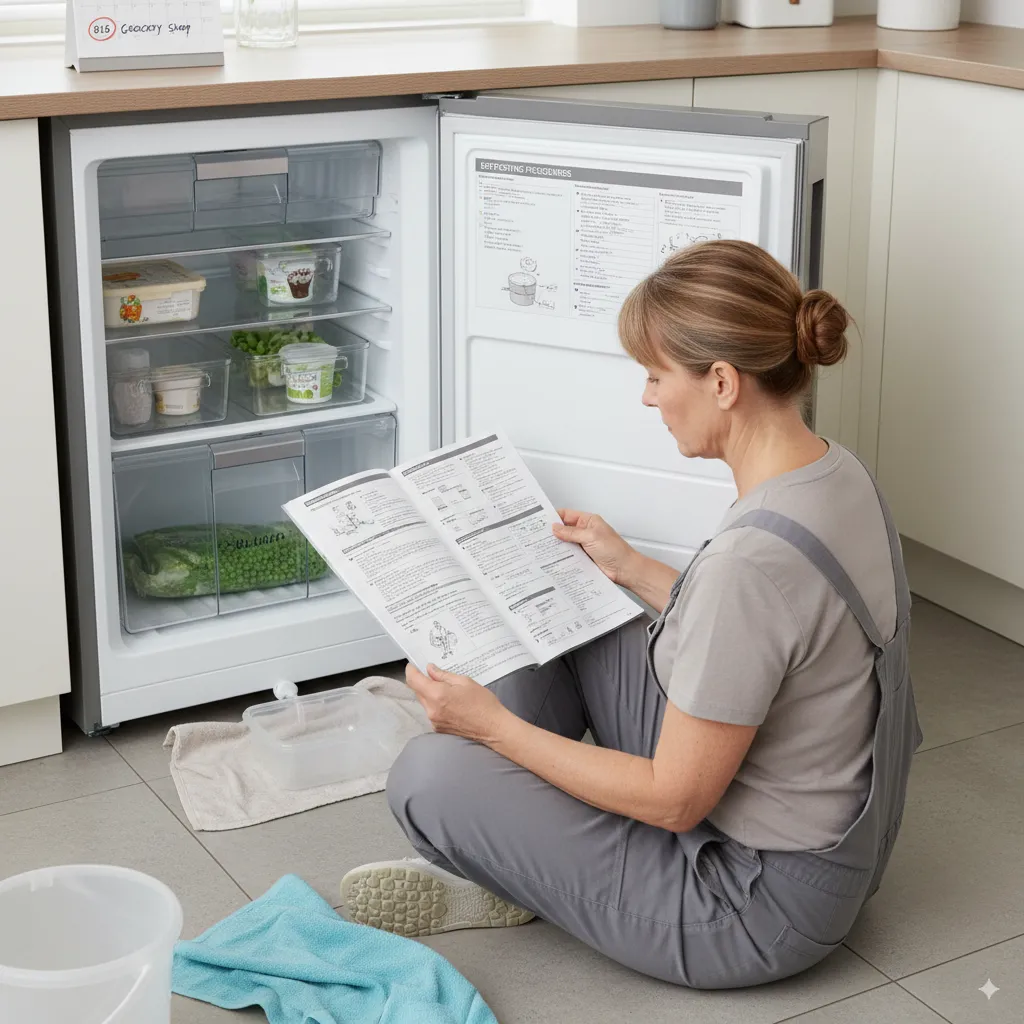
First, check your freezer’s instruction manual. Some modern appliances have a specific defrost mode or drain plug access. Next, plan this task for a time when your freezer inventory is low, perhaps right before your big grocery shop. This minimizes food waste and makes the job easier.
Step 2: Power Down and Empty Out
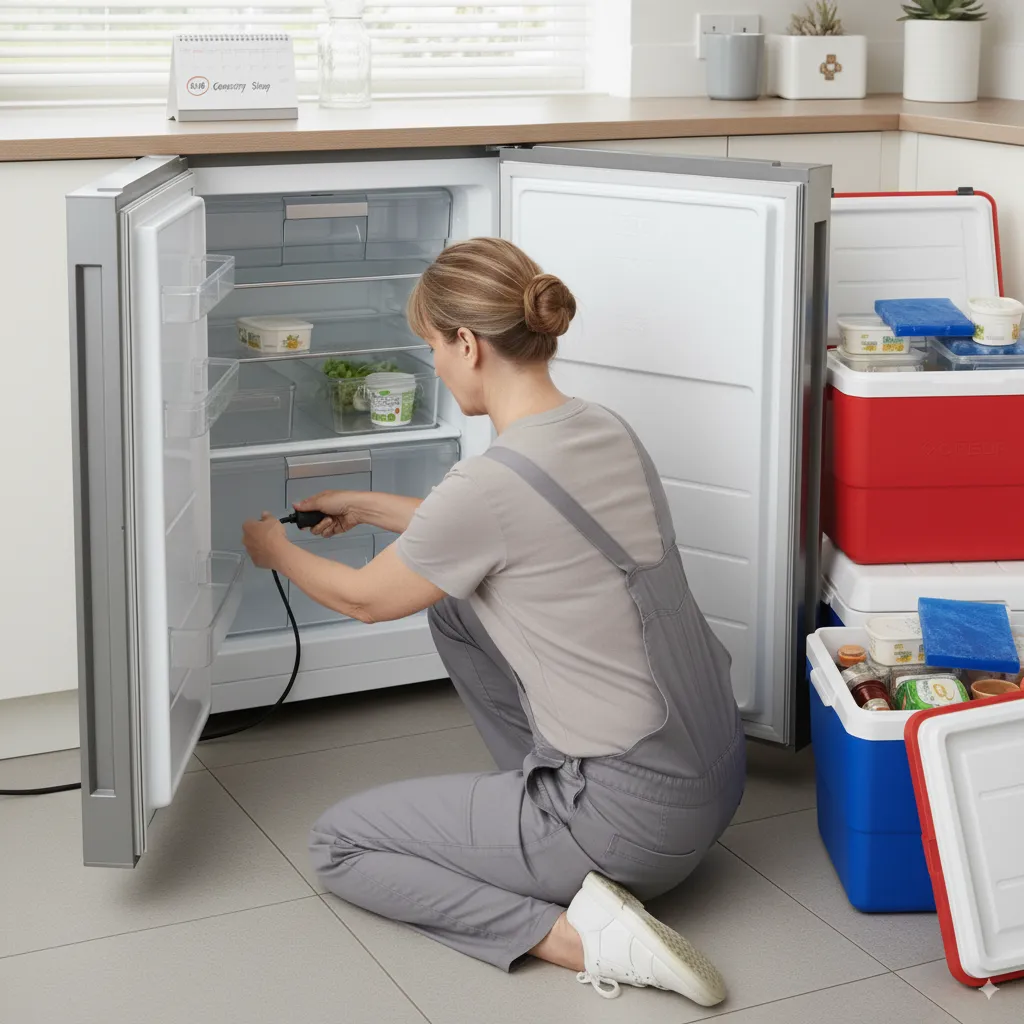
Unplug your refrigerator from the wall outlet. This is the most critical safety step. Never, ever use sharp objects to chip away ice while the unit is still plugged in. Now, remove all the food from both the refrigerator and freezer compartments. Place your perishable items into coolers with ice packs to keep them cold and safe during the process.
Step 3: Containing the Meltwater
As the ice melts, you’ll have a lot of water to deal with. There are a few ways to handle this:
- Bowls and Towels: Place shallow bowls or pans on the bottom shelves of the freezer. Surround the base of the fridge with old towels to soak up any overflow.
- The Tray Method: If your freezer has removable drawers, you can empty them and place them back inside to catch water.
- The Manual Drain: Some fridge freezers have a drain hole at the back of the freezer compartment. You can use a turkey baster to clear it of debris and then place a bowl underneath to catch the water.
Pro Tip: Place a rolled-up towel at the base of the fridge door to prevent water from leaking onto your kitchen floor.
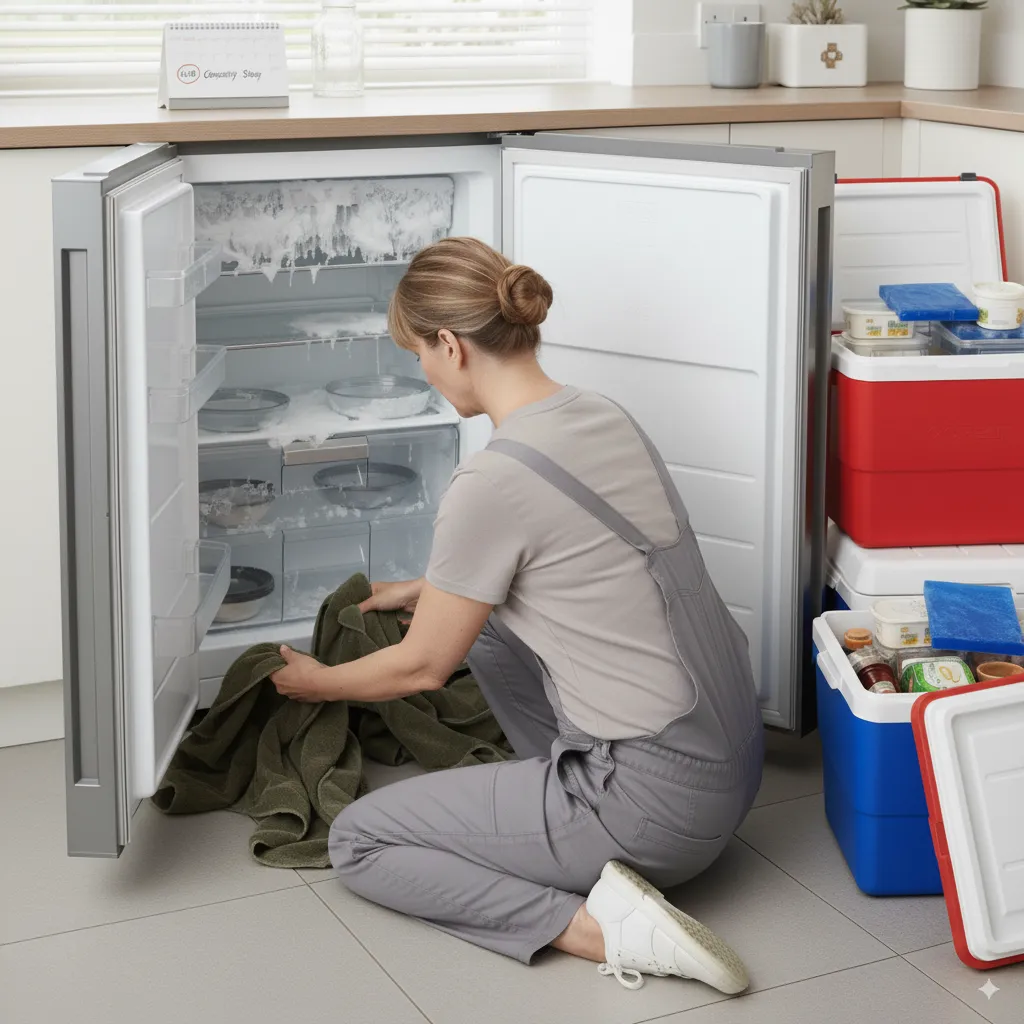
Step 4: Speeding Up the Process (Safely)
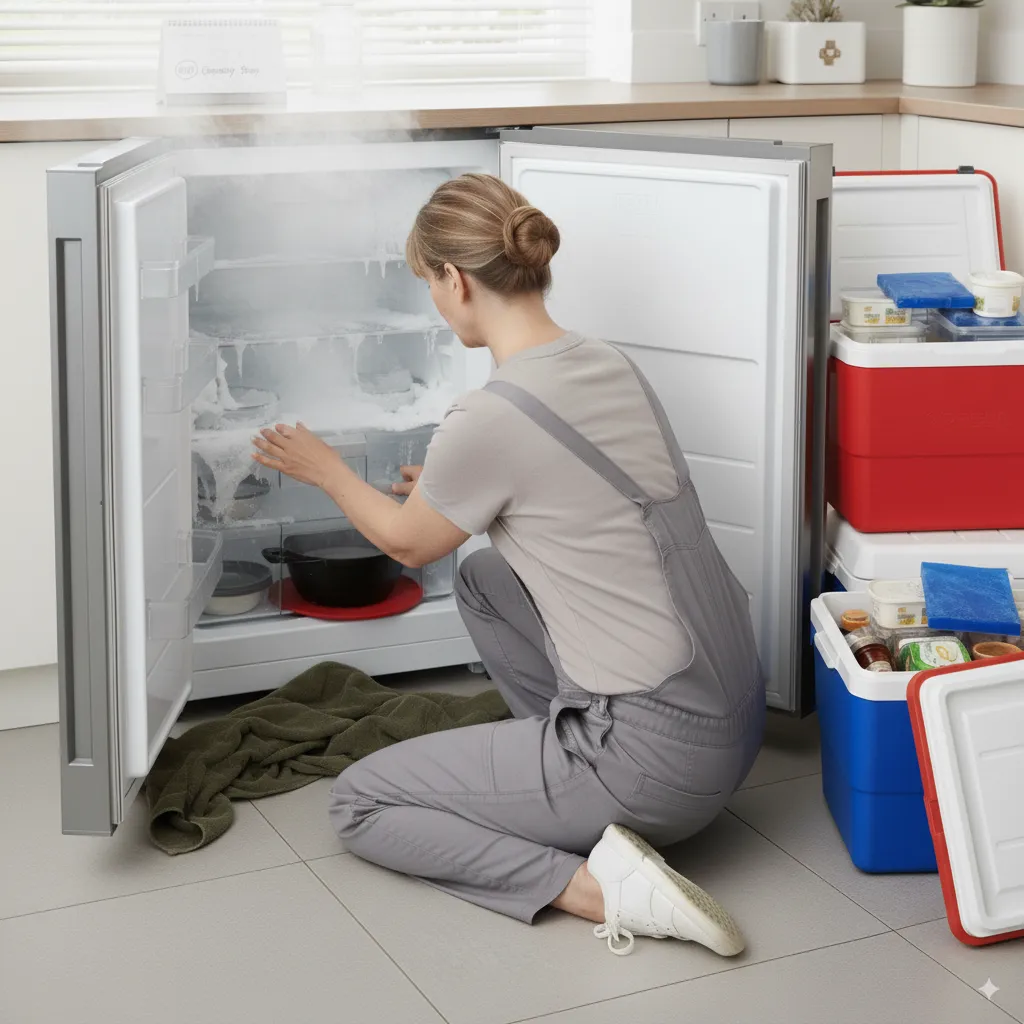
You can simply leave the doors open and let the ice melt naturally. This is the safest method. If you want to speed things up, you have a couple of safe options:
- Boiling Water: Place a pot of hot, steaming water on a trivet or hot pad inside the freezer and shut the door. The steam will help loosen the ice.
- A Fan: Point a fan at the open freezer. The circulating air will accelerate the melting.
What NOT to do: Never use a hairdryer, heat gun, or any other electrical heating device inside the freezer. This is a major fire hazard and can also damage the interior plastic surfaces. Avoid using knives or other sharp tools to pry ice off, as you could easily puncture a coolant line, which is a costly repair.
Step 5: The Big Clean
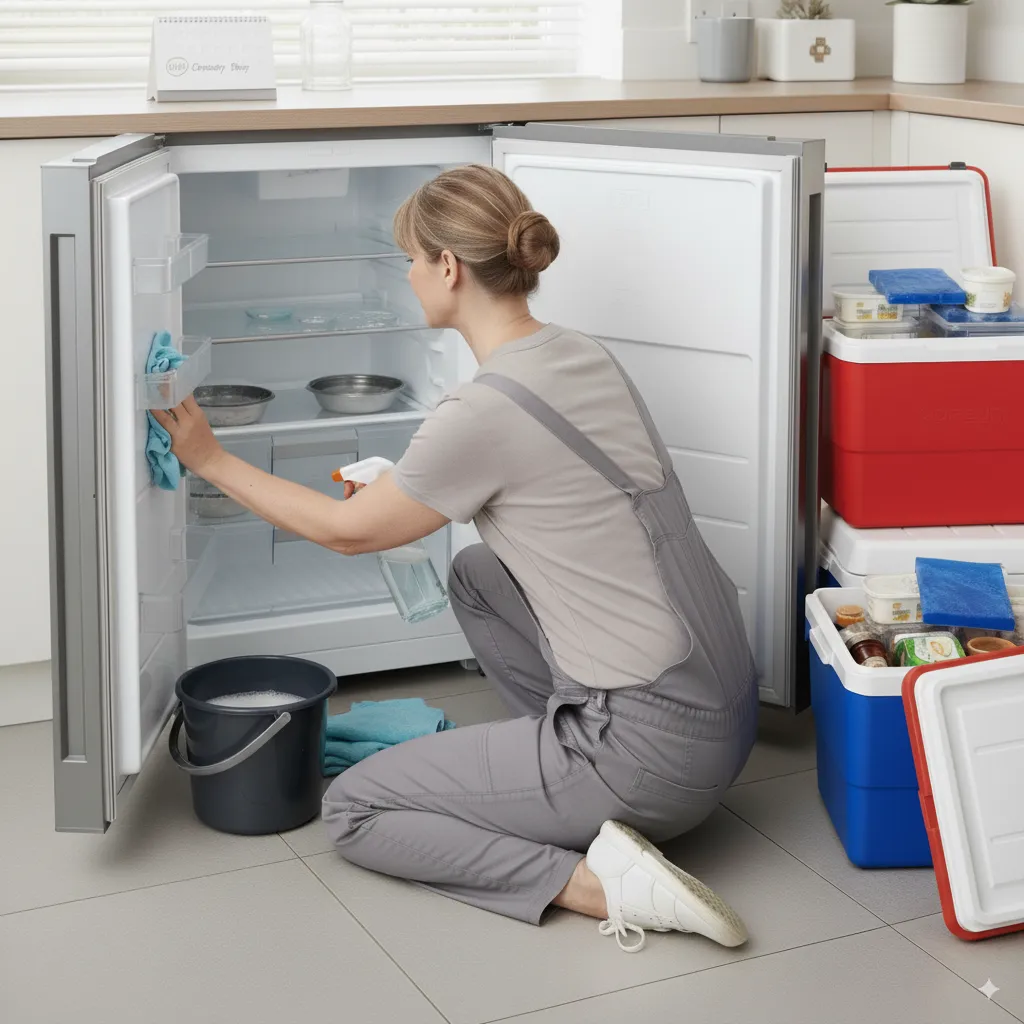
Once all the ice has melted, you’re left with a blank slate. This is the perfect opportunity to give your fridge a deep clean. Use a simple solution of warm water and baking soda or a mild dish soap to wash down every surface—shelves, drawers, walls, and doors. This eliminates any lingering odors and bacteria. Wipe everything down with a clean, damp cloth and dry thoroughly.
Step 6: Powering Up and Restocking
Once the interior is completely dry, you can plug the refrigerator back into the electrical outlet. Close the doors and allow the appliance to cool down to its standard temperature before you put any food back inside. This usually takes about 2-4 hours. Use a thermometer to be sure. Then, neatly restock your fresh and frozen goods.
“The time to repair the roof is when the sun is shining.”
— John F. Kennedy
This quote perfectly applies to fridge maintenance. Don’t wait for a complete breakdown; take care of it during regular upkeep.
Frequently Asked Questions for How to Defrost a Refrigerator?
How often should I defrost my refrigerator?
It depends on the model and usage. For a manual-defrost freezer, you should do it whenever the ice buildup is about a quarter-inch thick. For frost-free models, you may only need to do it once a year or if you notice significant ice accumulation.
My fridge has an auto-defrost function. Do I still need to do this?
Frost-free models with auto-defrost cycles generally handle most of the work. However, they can still develop ice in certain circumstances, like a faulty door gasket. An annual manual check and light defrosting can be helpful for these units as well.
What is the fastest way to defrost a freezer?
The safest fast method is using a bowl of hot water placed inside the closed freezer. The steam works quickly to loosen the ice. A fan pointed into the open unit also helps significantly.
Is it bad to leave ice buildup in the freezer?
Yes. Excessive ice makes your fridge work harder, increasing energy costs and wear on the compressor. It also reduces available storage space and can prevent the door from sealing properly.
Can I refreeze food that has thawed during defrosting?
It depends. If the food still contains ice crystals or has been kept in a cooler below 40°F (4°C), it is generally safe to refreeze. However, if it has reached room temperature, especially for meat and dairy, it is safer to discard it to avoid foodborne illness.
Making Defrosting Easier Next Time
A little prevention goes a long way. To slow down frost buildup, always make sure your food is covered and cooled to room temperature before placing it in the fridge. Ensure the door is always sealed tight and not left open. Regularly check the rubber door gaskets for cracks or tears and replace them if necessary. These small habits will extend the time between your defrosting sessions.
“The goal of cleaning is not just to clean, but to feel happiness living within that environment.”
— Marie Kondo
A clean, frost-free fridge definitely sparks joy for me. It’s a small act of care for your home and your wallet.
Conclusion
Defrosting your refrigerator might seem like a chore you can put off, but it’s a fundamental part of caring for a major appliance. By following this clear guide, you can perform this maintenance task with confidence. You’ll save money on your energy bill, prevent unexpected breakdowns, and ensure your food is stored in a clean, efficient environment. Set a reminder on your phone for a few months from now to check the frost levels. Your future self (and your fridge) will thank you for it.
“You don’t have to see the whole staircase, just take the first step.”
— Martin Luther King Jr.
If you’ve been putting it off, just start. Unplug the fridge. That’s the first step. The rest is easy. Happy defrosting