To clean a food processor, I unplug it first, take it apart, and wash the bowl, lid, and blades with warm soapy water right after use. I always wipe the motor base with a damp cloth and dry every part fully before putting it back together.
I use my food processor almost every week. I chop onions, slice vegetables, grind nuts, make dough, and blend sauces. But I learned one thing the hard way: if I don’t clean it the right way and at the right time, food gets stuck, smells stay, and cleaning becomes stressful.
In this guide, I’ll share how I clean a food processor at home, using simple steps that work for busy kitchens in the USA, UK, Canada, and London homes. I’ll also talk about real pain points people face and how to fix them easily.
This article is written from real use, not theory. I want you to finish reading and feel confident, calm, and ready to clean your food processor without fear.
Why Cleaning a Food Processor Matters More Than You Think
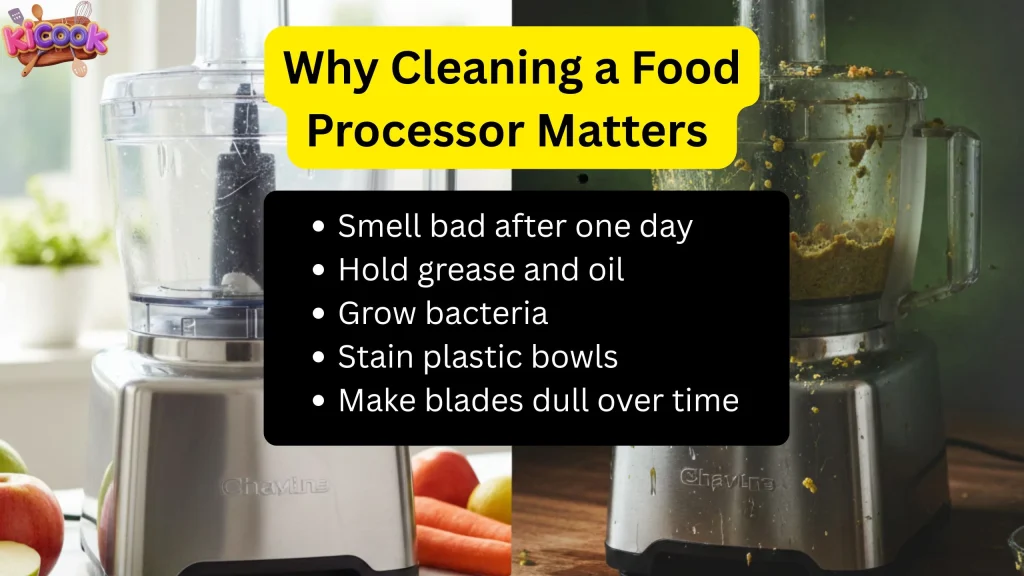
A food processor touches raw vegetables, cooked food, nuts, cheese, and sometimes meat. If it stays dirty, it can:
Smell bad after one day
Hold grease and oil
Grow bacteria
Stain plastic bowls
Make blades dull over time
I’ve been there. I once left hummus residue overnight. The next day, the bowl smelled sour, and cleaning took twice the time.
Cleaning is not about perfection. It’s about safety, hygiene, and ease.
Common Pain Points People Face (And Real Solutions)
1. “Food sticks to the blade and bowl”
This happens when food dries. Fix: Clean right after use or soak for 5 minutes.
2. “I’m scared of cutting my fingers”
Sharp blades are risky. Fix: Hold blades by the center hub, not the edge.
3. “My processor smells like garlic”
Strong smells stay in plastic. Fix: Use baking soda or lemon water.
4. “Can I wash it in the dishwasher?”
Not all parts are safe. Fix: Check your brand manual or wash by hand.
5. “The motor base looks dirty”
Water can damage it. Fix: Wipe only with a damp cloth.
What You’ll Need Before Cleaning
I keep these items near my sink:
Warm water
Mild dish soap
Soft sponge
Old toothbrush (for corners)
Dry towel
Baking soda or lemon (optional)
No special cleaner is needed.
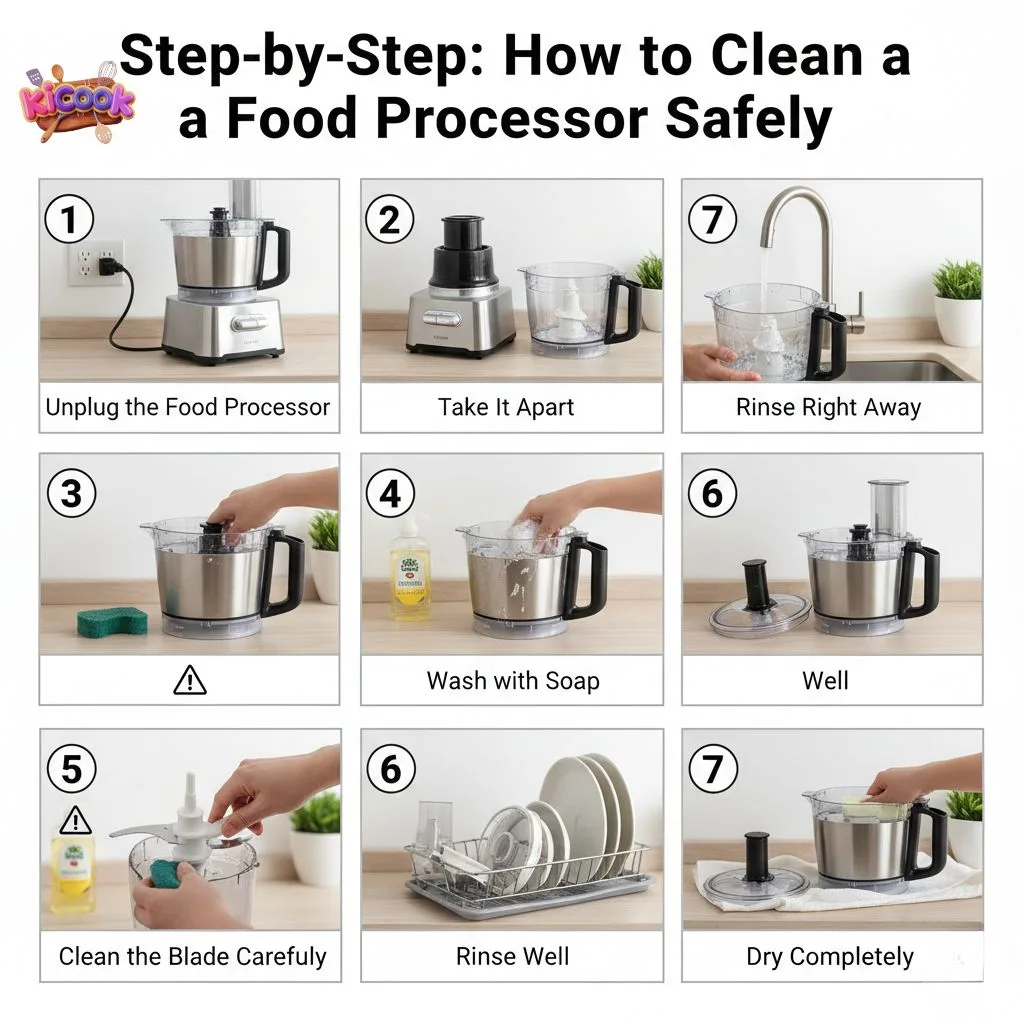
Step-by-Step: How I Clean My Food Processor Safely
Step 1: Unplug the Food Processor
This is always my first step. Safety comes first.
Step 2: Take It Apart
I remove:
Lid
Bowl
Blade or disc
Pusher
I place sharp parts flat in the sink.
Step 3: Rinse Right Away
I rinse off loose food with warm water. This stops drying and sticking.
Step 4: Wash with Soap
I use a soft sponge and mild dish soap. I avoid steel scrubbers because they scratch plastic.
Step 5: Clean the Blade Carefully
I hold the blade by the plastic center. I clean one side at a time.
“The simplest habits are often the safest ones.” — Julia Child
Step 6: Rinse Well
Soap left behind can affect taste next time.
Step 7: Dry Completely
I air-dry or wipe with a clean towel. Moisture can cause smell.
How I Clean the Motor Base (Very Important)
The motor base should never go in water.
Here’s what I do:
Unplug it
Use a damp cloth
Wipe food splashes
Dry with a towel
If food dries on it, I let the damp cloth sit for 1 minute, then wipe again.
Can Food Processor Parts Go in the Dishwasher?
This depends on the brand. In the USA and Canada, many models say “top rack only.” In the UK, some older models suggest hand washing.
My rule:
Blades: hand wash
Bowl and lid: top rack only (if allowed)
Always check the manual or brand website. You can also refer to general kitchen safety guidance from trusted sources like the U.S. Food & Drug Administration (FDA) for food hygiene basics.
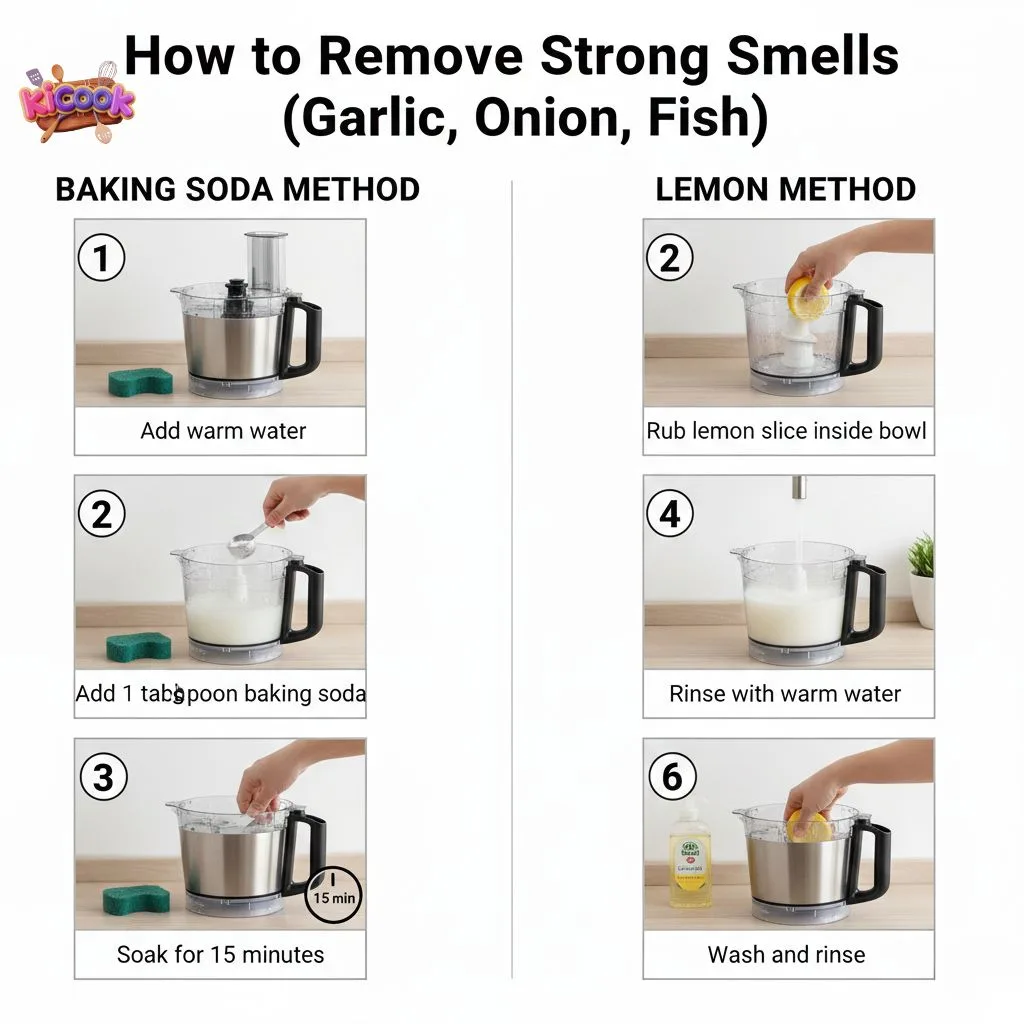
How to Remove Strong Smells (Garlic, Onion, Fish)
I’ve tried many methods. These work best:
Baking Soda Method
Add warm water
Add 1 tablespoon baking soda
Soak for 15 minutes
Wash and rinse
Lemon Method
Rub lemon slice inside bowl
Rinse with warm water
“Clean tools lead to clean flavors.” — Gordon Ramsay
How I Remove Stains from Plastic Bowls
Plastic bowls stain from tomato sauce or curry.
My simple fix:
Make a paste with baking soda and water
Rub gently
Leave for 10 minutes
Rinse clean
Avoid bleach. It weakens plastic over time.
How Often Should You Clean a Food Processor?
From my experience:
After every use – full wash
Weekly – deep clean corners
Monthly – check blade sharpness
If you cook often, cleaning becomes a habit, not a task.
Mistakes I See People Make (Avoid These)
Leaving food overnight
Soaking blades too long
Using rough scrubbers
Washing motor base with water
Storing parts while wet
These shorten the life of your appliance.
Cleaning a Food Processor After Dough or Sticky Food
Yes, but I use it lightly. Vinegar helps with smell, but too much can dull plastic over time.
I mix:
1 cup water
1 tablespoon vinegar
Then rinse well.
Food Processor Cleaning for Busy Families
If you live in a busy home in London, Toronto, New York, or Sydney, time matters.
My quick routine:
Rinse right after use
Wash within 10 minutes
Air dry overnight
It takes less than 5 minutes total.
“Care for your tools, and they will care for you.” — Ina Garten
Frequently Asked Questions for How to Clean a Food Processor
Can I clean a food processor without taking it apart?
No. Food hides under blades and seals. Taking it apart is safer and cleaner.
Is it safe to put blades in the dishwasher?
I don’t recommend it. Heat and movement can dull them.
How do I clean dried food?
Soak in warm water for 10 minutes before washing.
Can I use bleach?
No. It can damage plastic and leave harmful residue.
Why does my food processor smell even after washing?
Trapped oil and food cause this. Use baking soda or lemon.
How long should a food processor last?
With proper cleaning, many last 7–10 years.
Simple Cleaning Checklist (Save This)
Unplug
Take apart
Rinse fast
Wash gently
Dry fully
Store clean
Final Thoughts
Cleaning a food processor does not need stress, special tools, or strong chemicals. I’ve learned that quick cleaning, gentle care, and simple habits keep it safe, fresh, and ready to use.
If you treat your food processor well, it will serve you for years—whether you cook daily in the USA, prep meals in Canada, or make weekend recipes in the UK.
I hope this guide helped you feel confident and supported. A clean kitchen tool makes cooking more enjoyable, and that’s something we all deserve.
If you found this helpful, keep it bookmarked for your next cooking day.
“I believe great cooking starts with the right tools, trusted advice, and a little confidence in the kitchen.”
Hi, I’m Emma Carter. My love for cooking began in my grandmother’s kitchen, where I learned that every great meal starts with simple ingredients and the right cookware. Over the years, I’ve spent countless hours researching, testing, and comparing kitchen appliances, cookware, coffee makers, air fryers, and other everyday kitchen essentials.
Here at KiCook, my goal is to make your buying decisions easier with honest product reviews, practical buying guides, and easy-to-follow cooking tips. Whether you’re upgrading your kitchen or searching for the best appliance for your home, I focus on providing clear, reliable, and research-backed information you can trust.
When I’m not testing new kitchen gadgets or writing in-depth guides, you’ll usually find me trying new recipes, visiting local farmers’ markets, or enjoying a quiet cup of coffee while planning my next kitchen project.