
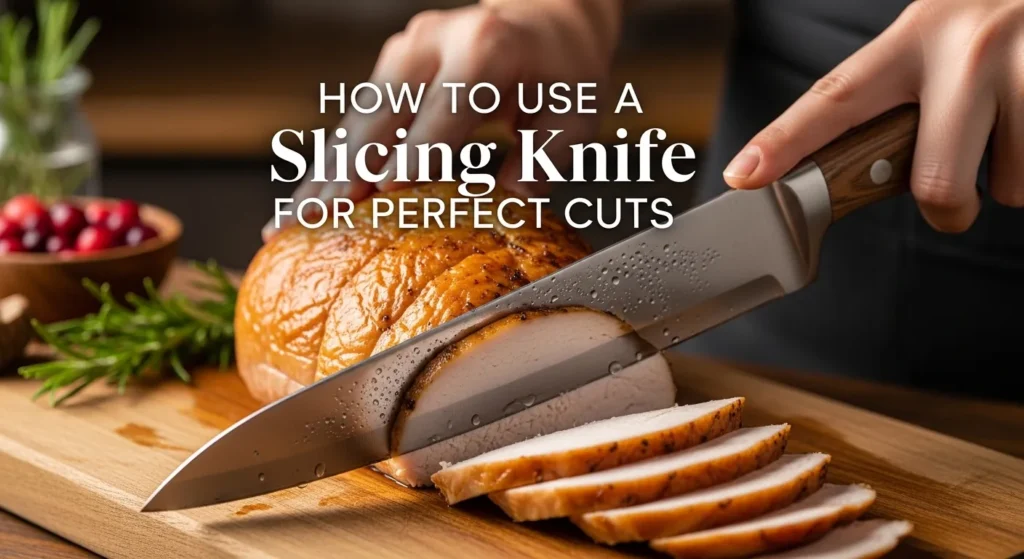
A great meal is often defined by its flavors, but let’s be honest, presentation counts too. And nothing ruins a beautiful roast or a gorgeous smoked brisket faster than ragged, torn, and uneven slices. That’s where your slicing knife comes in. This long, slender blade isn’t just for show; it’s a precision instrument designed for one job: creating clean, beautiful, and consistent slices.
Using it correctly protects the integrity of your food, makes your meal more enjoyable, and honestly, makes you look like a pro. Whether you’re carving a holiday turkey, slicing a juicy prime rib, or preparing delicate smoked salmon, knowing how to use a slicing knife is a fundamental kitchen skill. Let’s break it down into simple, easy-to-follow steps.
Getting to Know Your Slicing Knife
First, it helps to understand your tool. A slicing knife is characterized by its long, thin, narrow blade. This design is intentional. The length allows you to cut through large pieces of meat in a single, smooth, back-and-forth motion without sawing. Sawing is the enemy of good slicing—it tears the meat’s fibers and lets all those precious juices run out.
There are two main types of slicing knives you’ll encounter:
- Carving Knife: Often used interchangeably with “slicing knife,” a carving knife typically has a pointed tip and is your go-to for firm meats like roast beef, ham, turkey, and lamb.
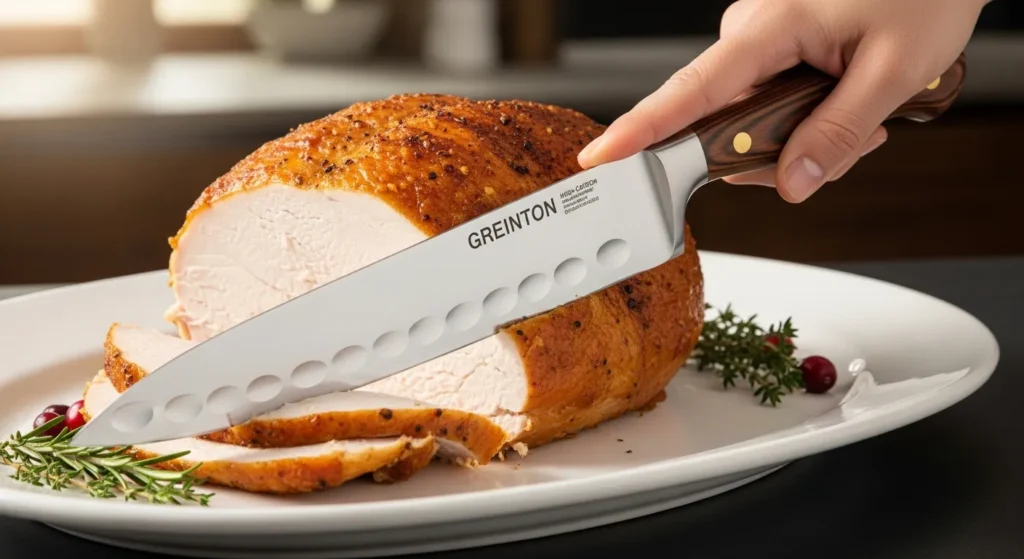
- Salmon Slicer (or Granton Knife): This knife has a distinct long, flexible blade with shallow scallops, known as Granton edges, carved into the sides. These pockets create air pockets that prevent thin, delicate slices of food—like smoked salmon, prosciutto, or even ripe tomatoes—from sticking to the blade.
As renowned chef Julia Child once said, “The only real stumbling block is fear of failure. In cooking you’ve got to have a what-the-hell attitude.” Don’t be intimidated by that long blade. Embrace it.
Before You Slice: Preparation is Key
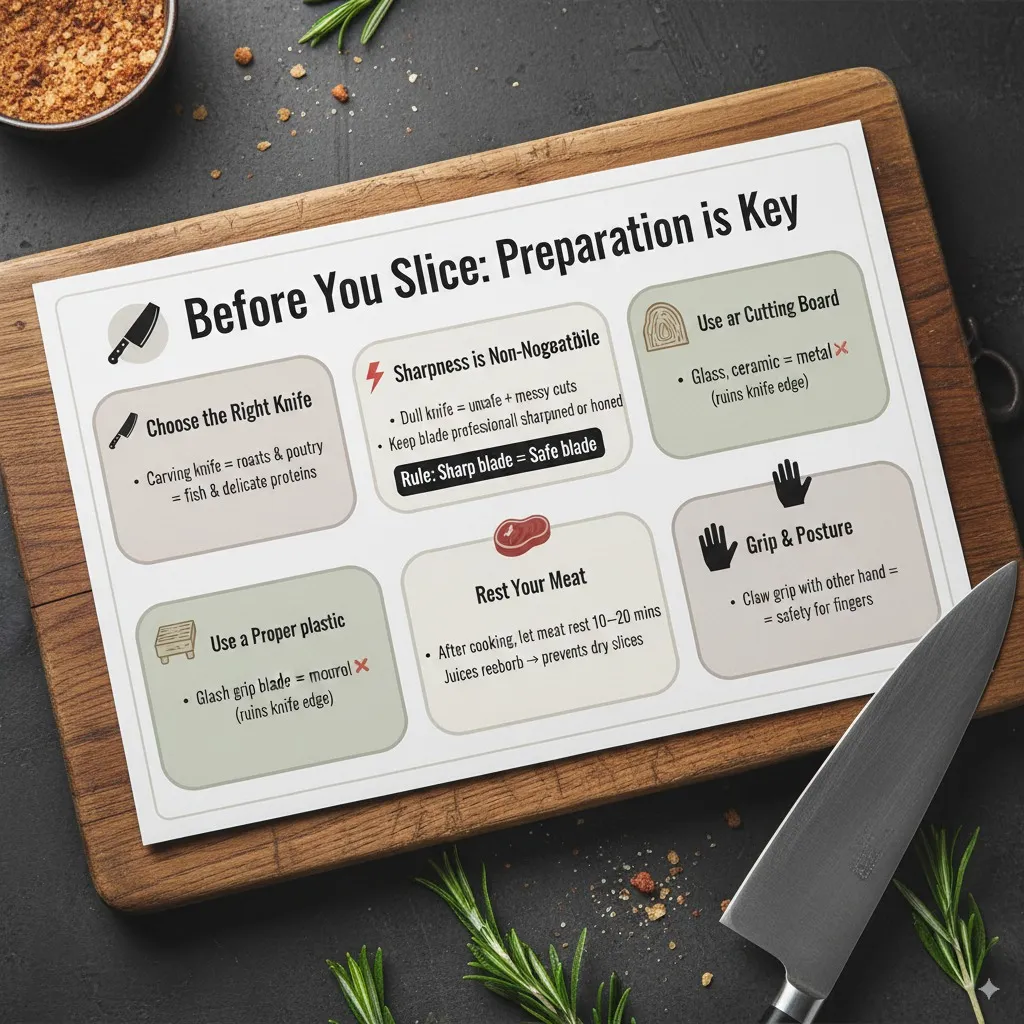
- Choose the Right Knife: Match your knife to the task. Use a stiff carving knife for roasts and a flexible salmon slicer for delicate proteins.
- Sharpness is Non-Negotiable: A dull knife is a dangerous knife. It requires more force to use, increasing the risk of slips and accidents. More importantly, it will crush and tear your food instead of slicing it cleanly. Ensure your slicing knife is professionally sharpened or honed to a razor-sharp edge before you begin. A sharp blade is a safe blade.
- Rest Your Meat: This is perhaps the most crucial step for juicy results. After cooking, whether it’s a roast, a bird, or a large fish, you must let it rest. Transfer it to a cutting board and let it sit for 10-20 minutes (or longer for very large cuts). This allows the muscle fibers to relax and reabsorb the juices. If you slice it immediately, all those juices will end up on the cutting board, leaving you with dry meat.
- Use a Proper Cutting Board: Always use a stable, secure cutting board. Wooden or plastic boards are ideal. Never cut on glass, ceramic, or metal plates, as they will destroy your knife’s edge instantly.
- Grip and Posture: Hold the knife comfortably but firmly with your dominant hand using a pinch grip (gripping the blade between your thumb and forefinger just above the handle). This gives you maximum control. With your other hand, use a claw grip to hold the meat steady, with your fingertips tucked safely away from the blade path.
The Step-by-Step Slicing Technique
Now for the main event. Follow these steps for perfect slices every time.
- Position the Meat: Place the rested meat on your board. For a roast or bird, identify the direction of the grain. The grain is the direction the muscle fibers run. You always want to slice across the grain (perpendicular to the fibers), not parallel to it. This severs the long fibers, making each piece incredibly tender and easy to chew.
- The Cutting Motion: Unlike a chef’s knife where you use a rocking motion, a slicing knife uses a long, smooth drawing or pulling motion. Imagine you’re using the entire length of the blade in one fluid action.
- Position the tip of the knife at the far end of the meat.
- Gently pull the knife backwards and towards you in a single stroke, letting the sharp edge do the work. There is no need to apply downward pressure.
- Avoid a sawing motion. Let the knife glide through the meat.
- Apply Even Pressure: Guide the knife through with consistent, gentle pressure. For tougher cuts with a pronounced grain, like brisket, slicing against the grain is absolutely vital for tenderness.
- Wipe the Blade (If Needed): For particularly juicy or sticky foods, you may find residue building up on the blade. Keep a damp cloth nearby to wipe the blade clean between slices. This ensures every slice is pristine and doesn’t tear.
- Adjust for Delicate Items: When using a flexible salmon slicer for delicate fish or prosciutto, use an even lighter touch. The flexibility of the blade allows you to glide over the contours of the food with minimal pressure.
Caring for Your Slicing Knife
A good slicing knife is an investment. Proper care will keep it performing beautifully for a lifetime.
- Hand Wash Only: Never, ever put a quality slicing knife in the dishwasher. The harsh detergent and jostling will damage the edge and the handle. Wash by hand with warm soapy water, dry immediately, and store it safely.
- Safe Storage: Store your knife in a knife block, on a magnetic strip, or in a protective sheath. Throwing it loose in a drawer will damage the edge and is a safety hazard.
- Honing and Sharpening: Regularly hone the blade with a honing steel to realign the edge between uses. However, honing does not replace sharpening. When the knife starts to feel dull even after honing, it’s time for a professional sharpening or to use a whetstone if you have the skill.
As food writer Michael Ruhlman noted, “The chef’s knife is the most important tool in the kitchen, and the most personal.” While he speaks of the chef’s knife, the sentiment applies. Your tools are an extension of your hands.
Frequently Asked Questions
What’s the difference between a slicing knife and a carving knife?
The terms are often used interchangeably. Generally, a carving knife is a type of slicing knife, typically with a pointed tip, best for poultry and roasts. A “slicing knife” can sometimes refer to a broader category that includes longer, more flexible blades for fish and other delicate foods.
Can I use a chef’s knife instead of a slicing knife?
You can, but you won’t get the same results. A chef’s knife is shorter and taller, designed for rocking, not for the long, single-stroke slices needed for large cuts of meat. It will work in a pinch, but for optimal results, the right tool makes a huge difference.
How often should I sharpen my slicing knife?
It depends on how often you use it. For home cooks, a professional sharpening once or twice a year is usually sufficient. You should hone the blade with a steel every 2-3 uses to maintain the edge.
What should I look for when buying a slicing knife?
Focus on comfort, balance, and blade quality. The handle should feel secure in your hand. The knife should feel balanced between the blade and the handle. Look for high-carbon stainless steel for a good blend of edge retention and corrosion resistance. A full tang (where the metal of the blade extends through the handle) often indicates better durability and balance.
Is a serrated slicing knife better for bread?
Serrated knives are absolutely best for bread. Their scalloped edge grips the tough crust and saws through it without crushing the soft interior. A smooth slicing knife is for proteins.
Knife maker Bob Kramer famously said, “A knife is one of the most intimate objects. It is an extension of the hand, and thus, the heart.” Using a well-crafted knife properly is a joy that connects you to the food you prepare.
Conclusion
Learning how to use a slicing knife isn’t about fancy technique; it’s about understanding a simple principle: the right tool, used the right way, produces the best results. It’s about respecting your ingredients enough to present them at their very best.
From a stunning holiday centerpiece to a simple weeknight roast, mastering this one tool will upgrade your cooking and your confidence at the cutting board. So grab that knife, let it rest, find the grain, and make those beautiful, juice-packed slices. You’ve got this.