
You pour a fresh cup of coffee, but instead of flowing neatly into your mug, coffee runs down the side of the carafe and leaves a mess on the counter. It is a small problem, but it can quickly become annoying, especially during a busy morning.
If your coffee carafe spills or drips when pouring, the cause could be coffee residue around the spout, a poorly shaped pouring lip, an incorrect pouring angle, or a lid that is not in the right position. A damaged carafe can also cause leaks.
The good news is that you may not need to buy a new coffee pot or jug. In many cases, a careful cleaning or a simple adjustment can help.
In this guide, you will learn why coffee carafes drip, how to identify the cause, and which fixes are worth trying before replacing your carafe.
Quick Answer: Why Does Your Coffee Carafe Drip When Pouring?
A coffee carafe may drip when pouring because coffee residue has collected around the spout, the pouring angle is wrong, or the lid is not correctly positioned. Start by cleaning the spout, checking the lid, and pouring with a smooth, controlled motion. If coffee still runs down the outside, inspect the spout for damage and check whether its design causes the liquid to cling to the surface.
For a thermal carafe, always check the manufacturer’s instructions because some lids need to be placed in a specific position before pouring.
1. Why Does Your Coffee Carafe Spill or Drip When Pouring?
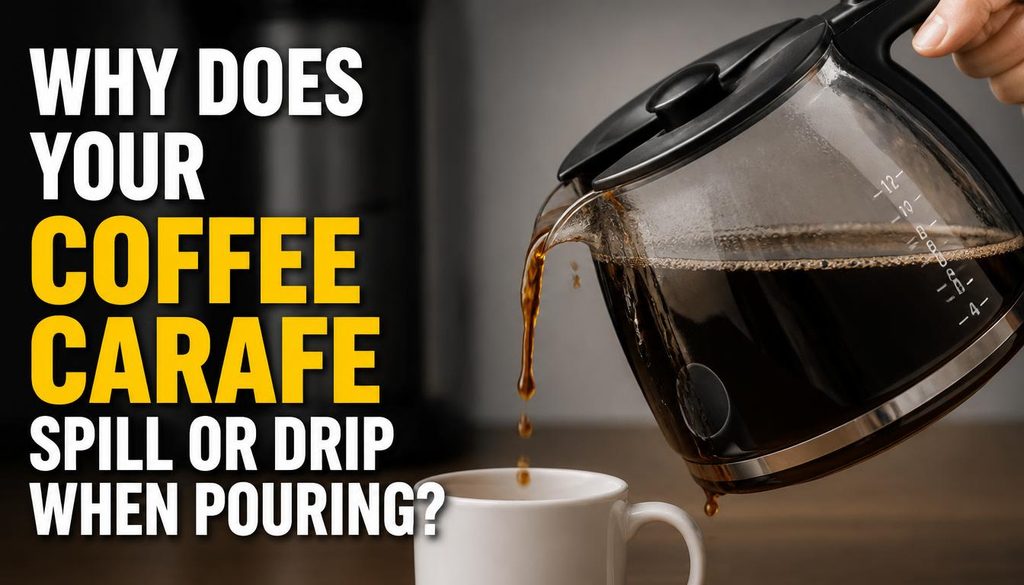
Before trying a fix, notice exactly where the coffee escapes. This can help you identify the cause without wasting time on unnecessary repairs.
Coffee Residue Has Built Up Around the Spout
Coffee contains oils and fine particles that can collect around the carafe’s pouring lip. Over time, this residue may become sticky or dry.
When you pour fresh coffee, the liquid can catch on the residue instead of flowing cleanly into the cup. You may see a thin stream running down the outside of the carafe.
This problem is more likely when you leave coffee in the pot for long periods or do not clean the lid and spout regularly.
What to do: Wash the carafe and its removable lid with warm water and mild dish soap, if the manufacturer allows it. Use a soft brush to clean around the pouring lip.
The Spout Design Is Causing the Dripping
Sometimes, your coffee carafe is clean, but coffee still runs down the outside.
This can happen because of a fluid-flow problem known as the teapot effect. Instead of separating cleanly from the spout, the liquid follows the underside or outer edge of the pouring lip.
The shape of the spout, the surface properties of the material, and the way the liquid flows can all affect this behavior. A 2026 study published in the journal Fluids examined how spout geometry influences dripping in coffee pots and other kitchenware.
You can read the research on the teapot effect and kitchenware spout design for a deeper explanation.
What to do: Clean and dry the spout first. Then try a steady, controlled pour. If the same problem continues with a clean carafe, the spout design itself may be responsible.
You Are Pouring at the Wrong Angle
The way you tilt the carafe can affect how the coffee leaves the spout.
If you tilt it too little, the coffee may trickle slowly and follow the outside of the pouring lip. If you tip it too quickly, the flow may become difficult to control and splash into the cup.
A good pouring motion should feel smooth rather than sudden.
What to do: Hold the carafe firmly, position the mug close to the spout, and tilt the carafe in one controlled movement. Adjust the angle until the coffee forms a steady stream.
Do not assume that pouring more slowly will always prevent dripping. The best technique depends partly on the carafe’s design.
The Thermal Carafe Lid Is Not in the Correct Position
If you use a thermal coffee carafe, check the lid before trying anything else.
Some thermal carafes have special lids that control how coffee enters or leaves the container. If the lid is not in the correct pouring position, coffee may escape around the rim instead of flowing through the spout.
For example, Capresso’s thermal carafe pouring instructions explain that a particular lid must be turned to the correct position to prevent coffee from escaping around its edge.
That adjustment applies to the specified Capresso design, not every thermal carafe.
What to do: Check your model’s manual and confirm that the lid is securely fitted and in the correct pouring position. Never force a lid that does not turn or fit as expected.
The Carafe Is Too Full
A carafe filled too close to the top may spill more easily when tilted.
When you lift and tip it, the coffee has less room to move. A sudden change in angle can push liquid toward the lid, rim, or pouring opening.
This is especially important with thermal carafes that use a narrow pouring opening.
What to do: Avoid filling beyond the maximum level recommended by the manufacturer. Leave enough space for controlled pouring, and do not overfill a carafe just to serve one more cup.
The Pouring Lip Is Damaged
A chipped glass edge, bent metal lip, or damaged plastic spout can interrupt the normal flow of coffee.
Even a small change in the pouring edge may cause coffee to cling to one side. You may notice that the carafe drips from the same spot every time you pour.
What to do: Let the carafe cool, empty it, and inspect the pouring lip under good lighting.
If the glass is chipped or cracked, stop using the carafe. Do not try to repair a damaged glass pouring edge. Replace it with a suitable, compatible carafe.
The Lid Seal or Valve Is Worn
Some thermal and insulated coffee carafes have a seal, valve, or button-operated pouring mechanism.
If a seal is damaged, missing, or incorrectly fitted, coffee may escape around the lid or through a part of the pouring mechanism that should remain closed.
This is different from coffee running down the outside of an ordinary glass spout.
What to do: Check the lid assembly for visible damage. Clean removable components according to the manual, and replace worn parts only with compatible replacements. If the lid is not designed to come apart, do not force it open.
2. How to Fix a Coffee Carafe That Spills When Pouring
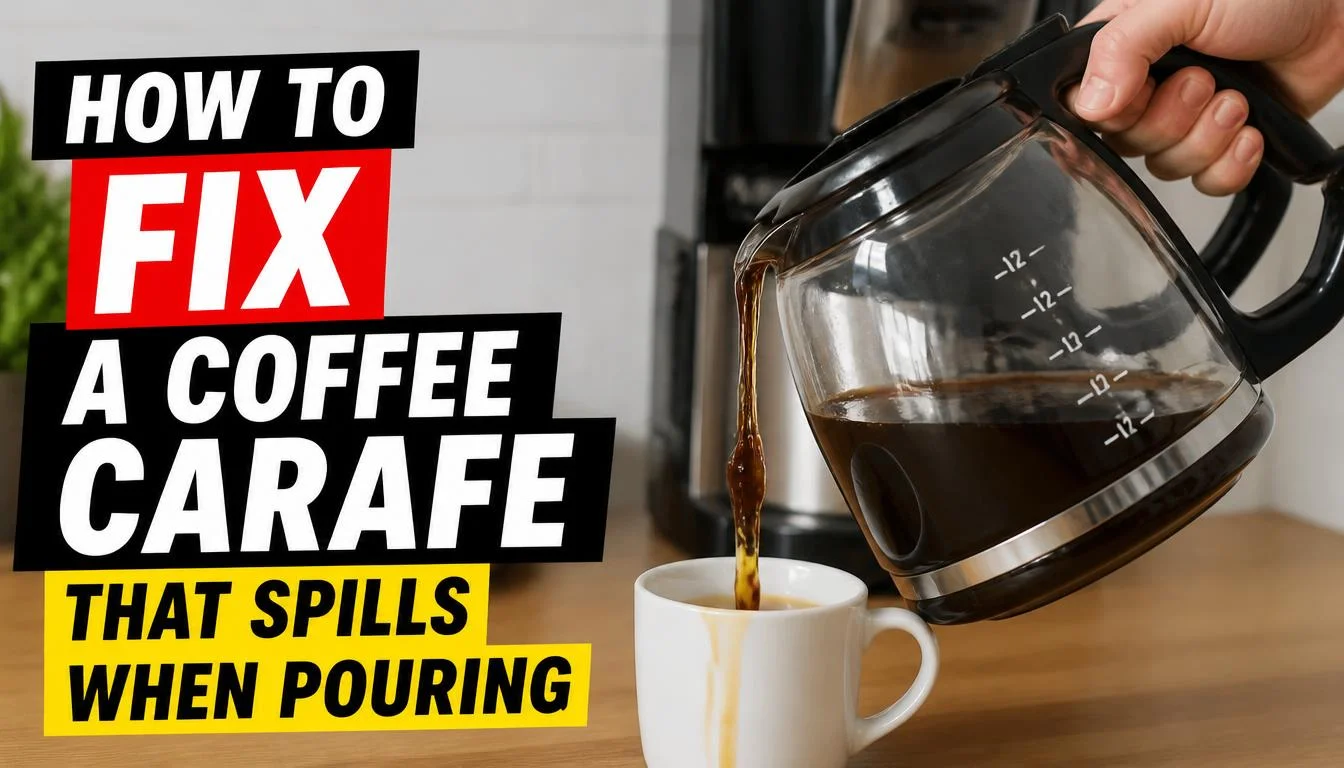
Once you have identified the likely cause, follow these seven practical fixes.
Fix 1: Clean the Spout Thoroughly
Start here if the carafe is otherwise in good condition.
- Empty any remaining coffee.
- Allow the carafe to cool enough to handle safely.
- Wash the inside and outside with warm water and mild dish soap, if permitted.
- Use a soft brush to remove residue around the spout and pouring lip.
- Clean the removable lid and accessible grooves.
- Rinse everything thoroughly to remove soap.
- Allow the parts to dry before reassembling them.
Avoid metal brushes, abrasive pads, and harsh cleaners that could damage the carafe or its finish.
For a simple maintenance routine, see the Kicook guide on how often you should clean your coffee maker.
Fix 2: Check and Reposition the Lid
If coffee leaks around the rim, check the lid before replacing the entire carafe.
Remove and refit the lid according to the manufacturer’s instructions. Make sure it sits evenly and locks into place if the design requires locking.
For a thermal carafe, look for any markings that show the correct pouring position.
Do not twist the lid harder than recommended. If the lid will not fit correctly or its locking mechanism is broken, the part may need replacement.
Fix 3: Adjust Your Pouring Technique
Try a controlled pour over an empty sink before serving coffee.
Hold the handle firmly and bring the carafe close to the mug. Tilt it smoothly until the coffee flows in a steady stream.
Avoid sudden movements that cause splashing. Also, do not keep the carafe at an extremely shallow angle if coffee starts clinging to the underside of the spout.
Watch where the stream begins to separate from the pouring lip. If it follows the outside even when you use a steady motion, you may be dealing with a spout-design problem rather than poor technique.
Fix 4: Remove Dried Coffee Residue
If normal washing does not remove stubborn residue, give the carafe a more careful cleaning.
Fill it with warm water and a small amount of mild dish soap, if the manufacturer permits. Let the residue soften before gently cleaning the affected area with a suitable soft brush.
Pay attention to the underside of the spout and the areas where the lid meets the carafe.
Rinse well before making coffee again.
Do not pour boiling water into a cold carafe unless its instructions allow it. Sudden temperature changes can damage some glassware.
Fix 5: Inspect the Lid Seal and Pouring Mechanism
This step is especially useful for thermal carafes.
Check whether the lid has a removable silicone seal, pouring button, or valve. Look for visible cracks, dirt, missing parts, or an unusual gap.
Clean only the components that the manufacturer allows you to remove. Refit them according to the manual.
If the lid leaks after cleaning and correct assembly, replace the damaged component if a compatible spare is available. Otherwise, consider replacing the lid or carafe.
Fix 6: Check for Cracks and Spout Damage
Empty the carafe and inspect it carefully.
Look at the pouring edge, the sides, and any joints around the base. A damaged pouring lip may cause dripping, while a crack in the body can lead to a more serious leak.
Do not keep using a cracked glass carafe, even if the crack appears small. Hot coffee can make handling a damaged vessel unsafe.
If the carafe is part of a coffee maker, check the replacement part number before ordering another one.
Fix 7: Replace a Carafe That Cannot Be Fixed
If the carafe is clean, the lid fits correctly, and your pouring technique is controlled, continued dripping may be caused by the spout design or damage.
In that case, replacing the carafe may be the most practical option.
Before buying one, confirm the brand, model number, capacity, dimensions, and lid compatibility. A carafe that looks similar may not fit your coffee maker or activate its brewing mechanism correctly.
You usually do not need to replace the entire coffee maker if only the carafe is damaged.
3. How to Find Where Your Coffee Carafe Is Leaking
The location of the spill can help you choose the right fix.
| What you notice | Possible cause | What to check |
|---|---|---|
| Coffee runs down the outside of the spout | Spout residue or the teapot effect | Clean the pouring lip and test the pouring motion |
| Coffee escapes around the lid | Incorrect lid position or damaged seal | Lid alignment, gasket, and valve |
| Coffee splashes over the top | Carafe is too full or tilted too quickly | Fill level and pouring technique |
| Coffee leaks from a chipped edge | Damaged pouring lip | Replace the carafe |
| Coffee leaks from a crack in the body | Damaged glass or container | Stop using the carafe |
| Coffee collects on the warming plate | Carafe may be misaligned, or coffee may be overflowing from the brewing system | Check the carafe position and brew basket |
One important distinction: if coffee spills while you are pouring from the carafe, the problem may be with the carafe itself. If liquid leaks from the coffee maker onto the warming plate while brewing, the cause may be different.
For the second problem, see our guide to coffee maker leaks after descaling.
4. Glass vs. Thermal Coffee Carafes: Which Problems Are Different?

Not every coffee carafe needs the same troubleshooting steps.
Glass Coffee Carafes
Glass carafes are often easier to inspect because you can see the coffee level and check for visible residue.
Common issues include:
- Coffee running down the outside of the spout.
- Dried coffee residue around the pouring lip.
- A chipped or damaged edge.
- Spills caused by tilting the carafe too quickly.
Clean the spout and inspect the glass before changing your pouring technique. Replace the carafe if the glass is chipped or cracked.
Thermal Coffee Carafes
Thermal carafes are designed to keep coffee warm, often with a lid that controls the flow.
Common issues include:
- Coffee escaping around the lid.
- A lid that is not in the correct pouring position.
- A worn seal or damaged valve.
- A lid mechanism that does not open or close correctly.
Follow the instructions for your exact model. A pouring adjustment that works for one thermal carafe may not work for another.
5. How to Prevent Coffee Carafe Spills in the Future
A few simple habits can reduce spills and help your carafe last longer.
Clean the carafe after use. Rinse away leftover coffee and wash the carafe and lid as directed. Dried residue is harder to remove and can build up around the spout.
Check the lid before pouring. Make sure it is correctly fitted. If your thermal carafe has a special pouring position, check it every time.
Avoid overfilling. Follow the carafe’s recommended fill level and leave enough room for the coffee to move when you tilt it.
Use a steady pouring motion. Position the cup close to the spout and avoid sudden movements.
Inspect the pouring lip regularly. Check for chips, cracks, or damage that could interrupt the flow.
Replace worn parts promptly. A damaged lid seal or broken valve may be replaceable without buying an entirely new coffee maker.
Follow the manufacturer’s cleaning instructions. Not every lid, seal, or carafe is dishwasher-safe. Check before using a dishwasher or a stronger cleaning product.
6. When Should You Replace Your Coffee Carafe?
Cleaning and correct assembly can solve many pouring problems, but some carafes cannot be repaired safely.
Consider replacing yours if:
- The glass is chipped or cracked.
- The body has a visible crack or persistent leak.
- The spout is damaged.
- The lid cannot lock or seal properly.
- A required valve or seal is broken and cannot be replaced.
- Coffee continues to spill despite proper cleaning and correct assembly.
Before buying a replacement, look for the original model number and check whether the manufacturer sells a compatible carafe or lid.
If only a removable part is damaged, replacing that part may be cheaper than buying a complete coffee maker.
Frequently Asked Questions
Why does my coffee carafe drip even when I pour slowly?
A slow pour does not always prevent dripping. Coffee may cling to the underside of the spout because of its shape and the way the liquid flows. Clean the spout first, then try a smooth, controlled pour. If the problem continues, the spout design may be responsible.
Why does coffee run down the side of my coffee pot?
Coffee may run down the side because of dried residue, a poorly shaped pouring lip, or a pouring angle that does not allow the liquid to separate cleanly from the spout. Clean the pouring edge, check for damage, and adjust your pouring motion.
Why does my thermal coffee carafe leak around the lid?
The lid may be in the wrong pouring position, a seal may be damaged, or a valve may not be closing properly. Follow the manufacturer’s instructions to check and clean the lid. Replace damaged parts if necessary.
Can a dirty coffee carafe spout cause spills?
Yes. Dried coffee oils and residue can interfere with the flow of coffee around the pouring lip. Cleaning the spout with warm water, mild dish soap, and a soft brush may help. Rinse it thoroughly before use.
How do I pour coffee without spilling it?
Hold the carafe firmly, position your mug close to the spout, and tilt the carafe in a smooth, controlled movement. Avoid sudden tipping and do not overfill the carafe. If coffee still runs down the outside, inspect the spout for residue or damage.
Should I replace a coffee carafe that keeps dripping?
Not necessarily. Try cleaning the spout, checking the lid, and correcting the pouring technique first. If the carafe is cracked, has a damaged pouring lip, or continues leaking because of a faulty lid mechanism, replacement may be the safer and more practical choice.
Final Thoughts
A coffee carafe that spills or drips when pouring can make a simple morning routine frustrating, but the problem does not always mean the carafe is damaged.
Start with the basics: clean the spout, check the lid, avoid overfilling, and use a steady pouring motion. If coffee still runs down the outside, the spout design may be causing the problem. A damaged carafe or faulty lid may need replacement.
The most useful step is to identify where the coffee escapes before buying new parts. With the right fix, you may be able to stop the mess and enjoy your coffee without cleaning up after every cup.

“I believe great cooking starts with the right tools, trusted advice, and a little confidence in the kitchen.”
Hi, I’m Emma Carter. My love for cooking began in my grandmother’s kitchen, where I learned that every great meal starts with simple ingredients and the right cookware. Over the years, I’ve spent countless hours researching, testing, and comparing kitchen appliances, cookware, coffee makers, air fryers, and other everyday kitchen essentials.
Here at KiCook, my goal is to make your buying decisions easier with honest product reviews, practical buying guides, and easy-to-follow cooking tips. Whether you’re upgrading your kitchen or searching for the best appliance for your home, I focus on providing clear, reliable, and research-backed information you can trust.
When I’m not testing new kitchen gadgets or writing in-depth guides, you’ll usually find me trying new recipes, visiting local farmers’ markets, or enjoying a quiet cup of coffee while planning my next kitchen project.