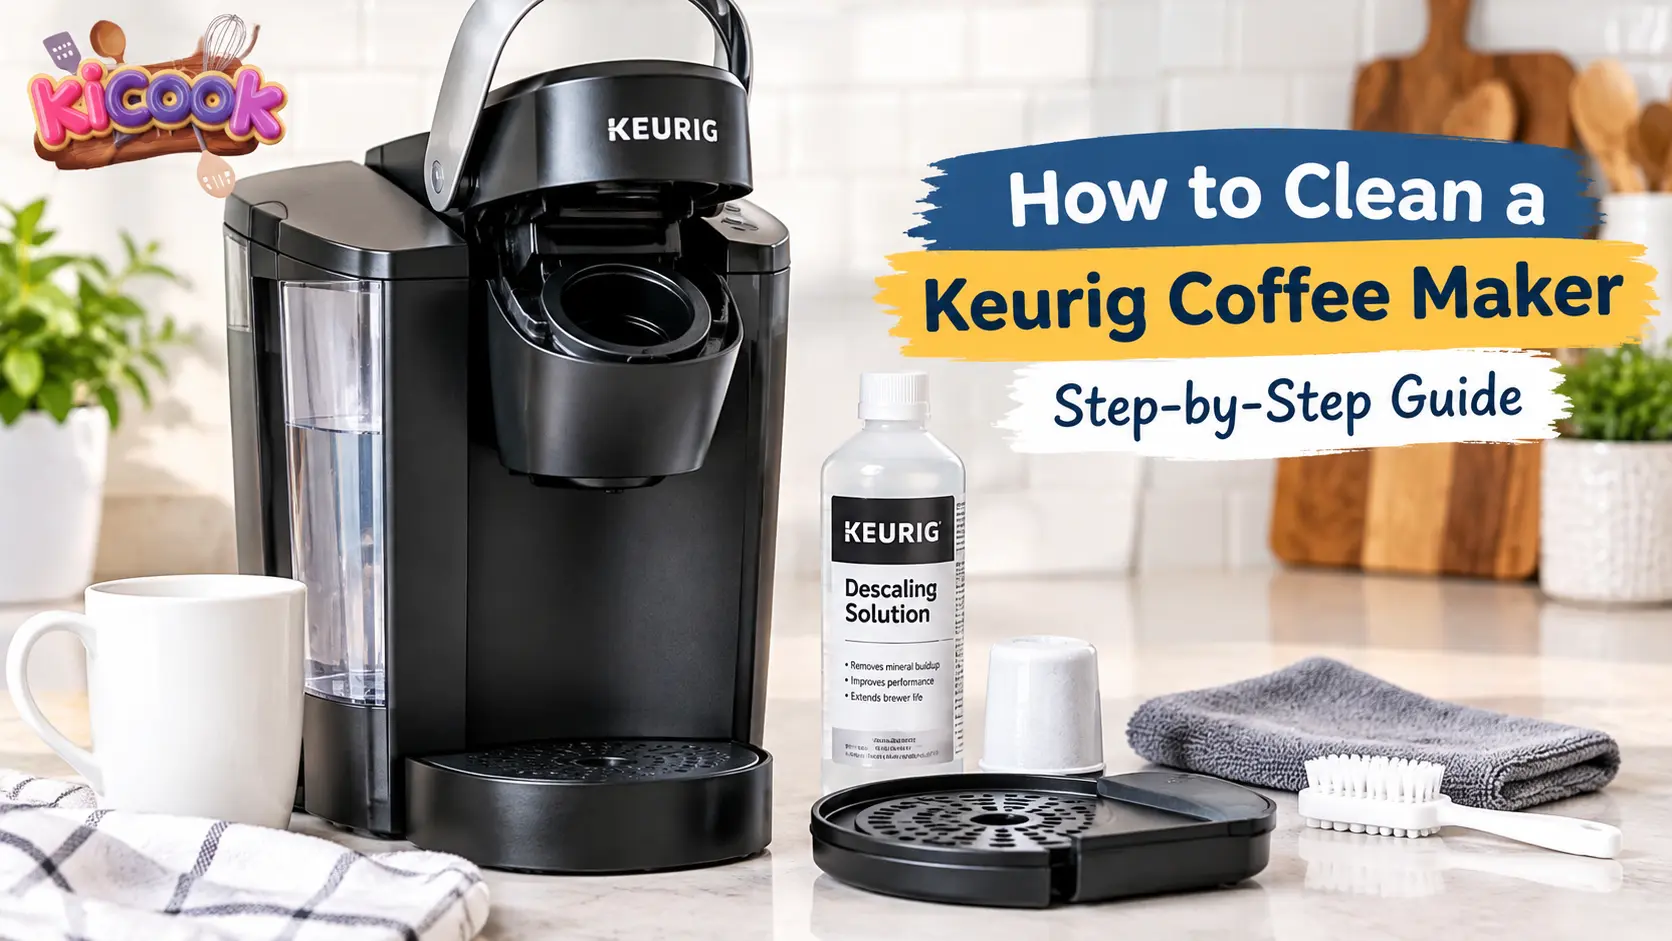
How to clean a keurig coffee maker depends on what your machine needs right now. A quick wipe-down takes ten minutes and handles surface grime. A full descaling session takes thirty to forty-five minutes and clears mineral buildup from inside your brewer.
Both matter. Skipping either one leads to slow brewing, off-tasting coffee, and eventually machine failure.
Manufacturer specifications confirm that regular maintenance extends Keurig lifespan from two years to five or more. Aggregate user reviews consistently link poor taste and frequent breakdowns to skipped descaling cycles. Your water type and daily cup count determine how often you need each level of cleaning.
Let us walk through exactly what to do and when.
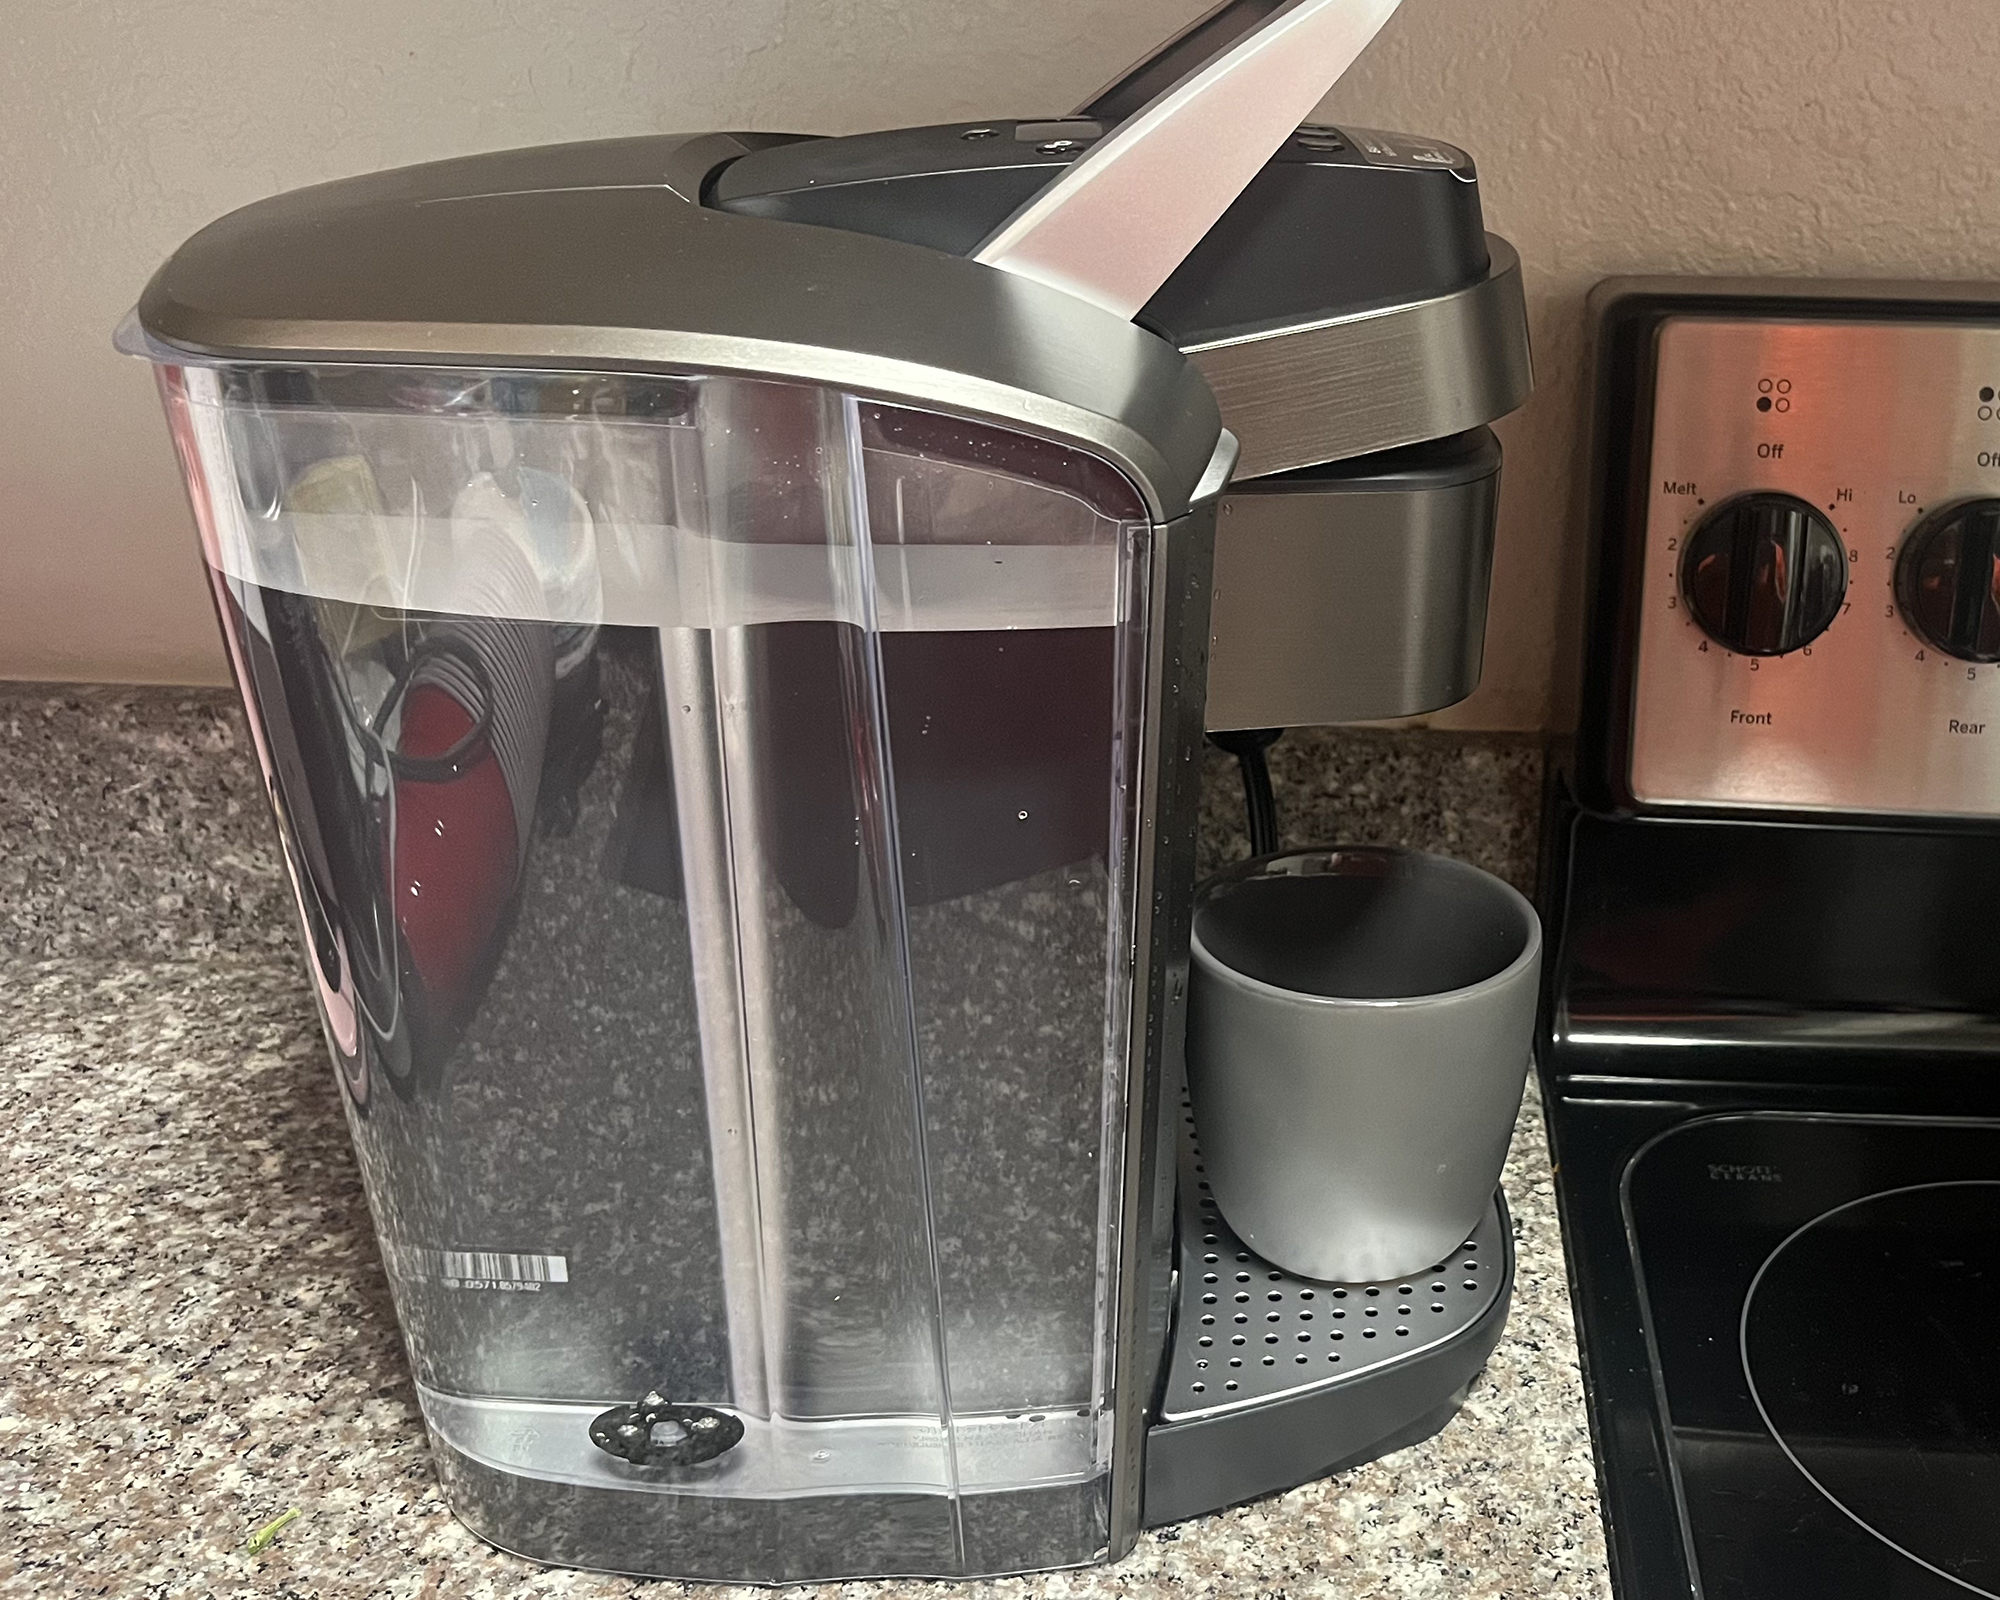
Image source: Bing (Web (fair-use with source credit))
Quick Answer
How to clean a keurig coffee maker involves three tiers of maintenance. Weekly wipe-downs take ten minutes and cover external surfaces. Monthly needle cleaning takes fifteen minutes and prevents spray problems.
Full descaling takes forty-five minutes and removes internal mineral scale every three to six months. Always rinse thoroughly after descaling. Run at least three full reservoir cycles of plain water.
Why Your Keurig Needs Regular Cleaning (And What Happens When You Skip It)
Skipping Keurig maintenance seems harmless until your morning coffee tastes metallic or the machine starts gurgling. Every cup leaves behind tiny amounts of mineral residue and coffee oils inside the brewer. Over time these accumulate into problems that worsen steadily.
Your Keurig heats water internally and pumps it through narrow tubing and needle openings. Mineral deposits from hard water stick to heating elements and pipe walls. These deposits act like insulation.
They force the heating element to work harder and longer to reach brewing temperature. The result is slower brew times, inconsistent temperatures, and pump strain that can kill the machine entirely.
Coffee oils tell a different story. Each K-Cup pod releases tiny amounts of oil during brewing. These oils coat internal surfaces and the brew chamber.
Without regular cleaning, the oils combine with mineral scale to form a thick barrier. This barrier restricts water flow and imparts stale flavors into every cup.
How to Decide What Your Keurig Actually Needs Right Now
Start by answering three quick questions about your machine’s current behavior. The answers point directly to the maintenance path you should follow.
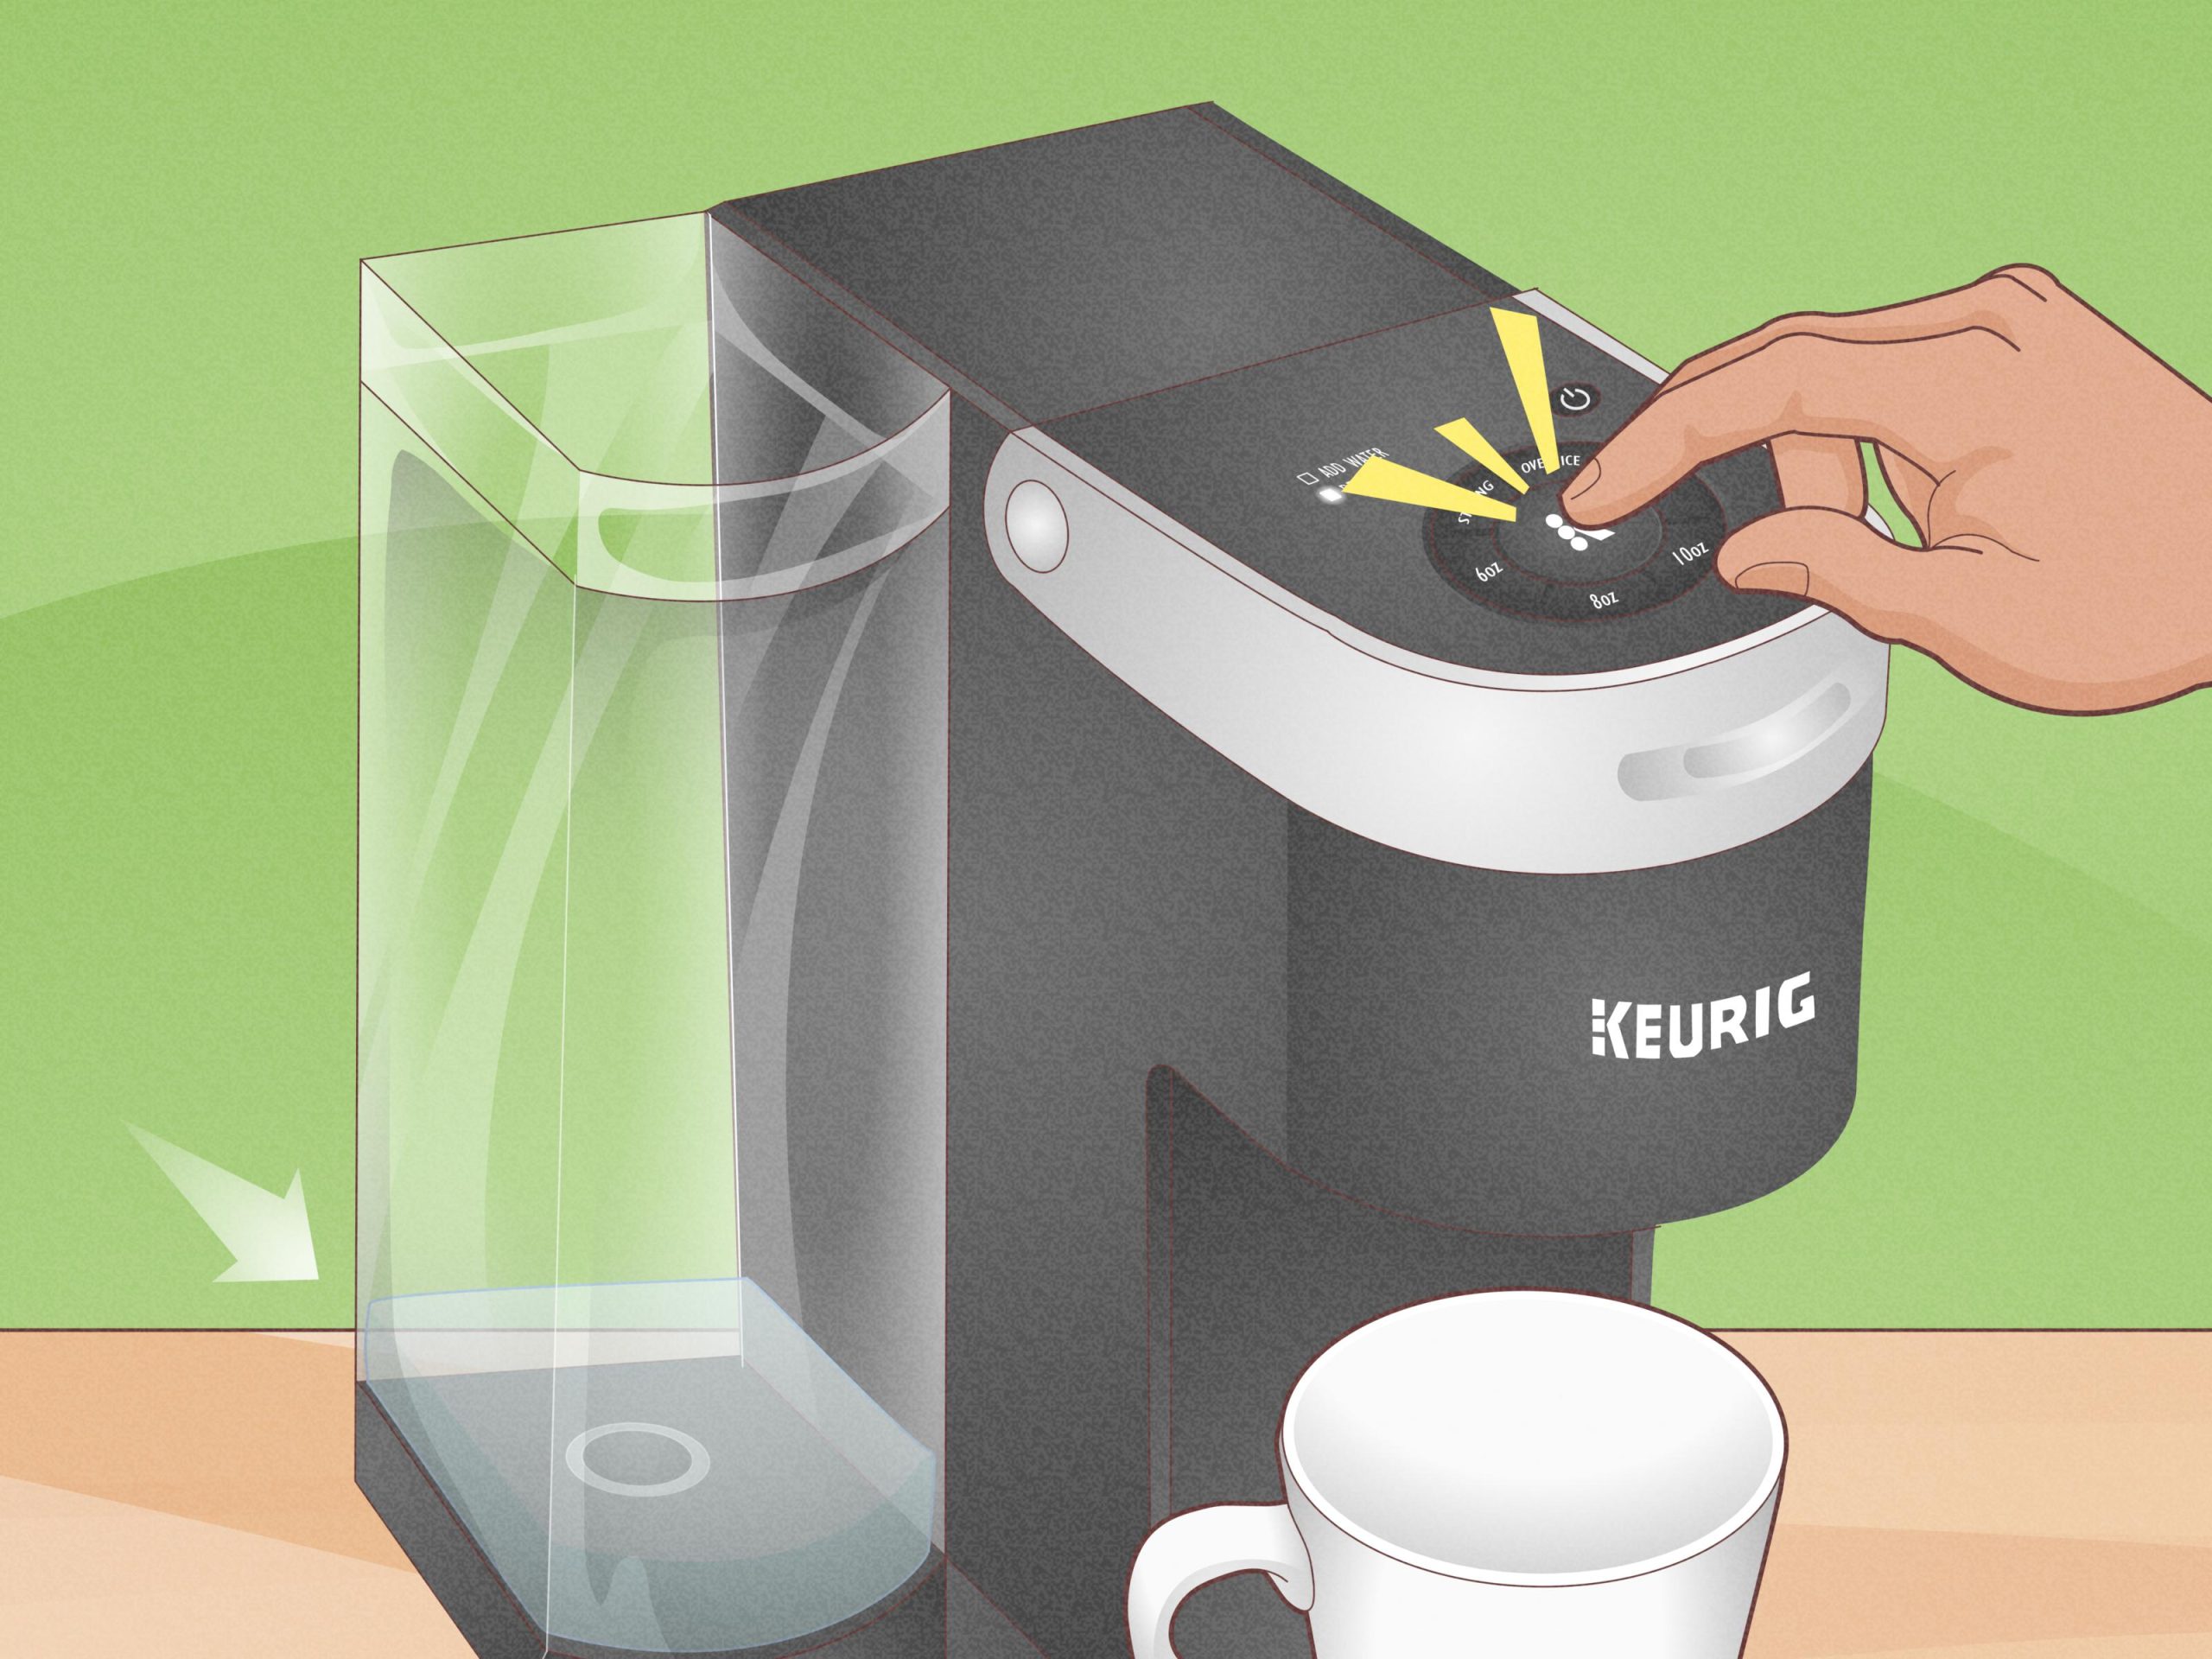
Image source: Bing (Web (fair-use with source credit))
Is the descale light currently active?
If yes, your machine has detected mineral buildup and needs a full descaling session now. Do not skip this step hoping it will resolve on its own. The sensor triggers when the machine detects resistance to normal water flow.
Scale is already restricting internal passages.
Does your coffee flow slowly or sputter out unevenly?
Slow or spotty flow usually means a clogged brew needle or internal scale buildup. Start by cleaning both needles first. If flow improves, the issue was surface-level debris.
If flow remains poor after needle cleaning, internal descaling is necessary.
Is there any unusual smell coming from the water or coffee?
A clean machine produces odorless hot water and freshly brewed coffee. Musty or earthy smells indicate mold or biofilm requiring reservoir sanitization. Chemical or vinegar-like taste means incomplete rinsing after a previous descaling session.
| Symptom | Likely Cause | Recommended Action |
|---|---|---|
| Descale light flashing | Internal mineral scale | Full descaling procedure |
| Coffee sprays sideways | Clogged exit needle | Clean both brew needles |
| Brewing takes longer | Scale restricting flow | Descale plus needle cleaning |
| Musty odor from reservoir | Mold or biofilm growth | Deep reservoir sanitization |
| Metallic or chemical taste | Incomplete post-clean rinse | Run five additional water cycles |
| Error code displayed | Sensor or pump issue | Power cycle, then consult manual |
If multiple symptoms appear simultaneously, address them in this order: needle cleaning first, then descaling, then reservoir sanitization. This sequence prevents cross-contamination and ensures each problem receives proper attention.
Features & Components Inside Your Keurig Worth Knowing
Understanding what sits inside your machine helps you clean more effectively and troubleshoot faster.
The Water Reservoir
The removable reservoir holds your supply water. Most models range from 48 to 78 ounces depending on the series. Interior surfaces contact water constantly, making them prime targets for mineral deposit accumulation and microbial growth if not cleaned regularly.
The lid matters too. An open reservoir collects airborne contaminants while a closed lid keeps things cleaner significantly longer.
The Brew Chamber and Needle Assembly
This is where pods get punctured and water gets forced through grounds under pressure. The entry needle pierces the top of the K-Cup. The exit needle sits below and directs brewed coffee into your cup.
Both needles feature openings roughly the width of a pencil lead. Coffee fines and mineral particles clog these openings over time.
The Heating Element and Internal Tubing
Water travels from the reservoir through narrow tubing to the heating chamber. It reaches brewing temperature in seconds. Mineral scale builds up on heating element surfaces and inside tubing walls.
This buildup insulates the heater, reduces water flow, and forces the pump to work harder. Regular descaling removes this scale before it becomes irreversible.
The Drip Tray and Removable Parts
The drip tray catches spills and overflow during brewing. It sits at the base of the machine and collects drips, spilled coffee, and occasional ground fragments that fall through the exit needle area. Most Keurig models let you slide the drip tray and drip plate out for easy washing.
Keeping these components clean prevents odor buildup and unwanted pest attraction.
The Water Filter System
Some Keurig models include a filter tower that accepts replaceable charcoal filters. These filters reduce chlorine taste, certain heavy metals, and some mineral content from tap water. A functioning filter produces smoother-tasting coffee and slows internal scale formation.
Filters require replacement every two months or after approximately sixty tank refills per Keurig manufacturer specifications. A saturated filter stops protecting your machine and may become a bacterial breeding ground itself.
The Step-by-Step Routine Clean (Takes Under 10 Minutes)
A quick weekly routine clean prevents most problems before they start. This process targets external surfaces and removable parts only. Think of it as a daily shower for your machine rather than a deep bath.
What You Will Need Before You Start
Gather these simple supplies beforehand so you are not searching mid-process.
| Supply | Purpose | Replacement Frequency |
|---|---|---|
| Microfiber cloth | Wiping exterior surfaces | N/A |
| Mild dish soap | Cleaning reservoir and drip tray | N/A |
| Warm water | General cleaning solution | N/A |
| Paperclip or Keurig cleaning tool | Needle maintenance | Keep on hand permanently |
| Soft-bristle brush | Reaching crevices in reservoir | Replace monthly |
Keep these items stored near your coffee station. Having everything within arm reach keeps the process under ten minutes.
Cleaning the Reservoir, Lid, and Drip Tray
Remove the water reservoir from the machine completely. Empty any remaining water down the sink. Fill the reservoir halfway with warm water and two drops of mild dish soap.
Swirl the solution around to coat all interior surfaces.
Use a bottle brush or soft sponge to scrub the reservoir walls, bottom, and lid. Pay special attention to the spout area where water exits into the machine. This spot collects mineral deposits and dried coffee splashes more often than other areas.
Rinse thoroughly four times with clean water until no soap residue remains.
The drip tray and drip plate should also be removed and washed separately. These components catch every spill and overflow during normal brewing. Food-safe dish soap and warm water handle most residue.
Let air dry completely before reinstalling.
Wiping Down the Exterior and Pod Area
Dampen a microfiber cloth with plain water or a tiny amount of soapy water. Wipe all exterior surfaces including the top panel, side panels, and front face. Coffee oils and splashes accumulate on these surfaces faster than you might expect, especially around the cup warming area and control panel.
Check the pod holder area carefully. Remove any loose grounds or torn K-Cup fragments. A slightly damp cloth works well here because the area has grooves and ridges where debris hides.
Do not spray cleaner directly onto the machine. Always apply solution to the cloth first.
Wipe the drip tray area and surrounding base. This is where spilled coffee drips down and dries into sticky residue. A damp cloth removes fresh spills immediately.
For dried residue, use soapy water and gentle scrubbing.
When to Replace the Water Filter
If your Keurig model includes a water filter tower, check the filter status now. Most filters last approximately two months or sixty tank refills. Mark your calendar when you install each new filter so replacement never slips your mind.
A saturated filter loses its ability to reduce chlorine taste and mineral content. Some models display a filter replacement indicator light. Others require you to track usage manually.
Either way, replacing filters on schedule maintains both coffee quality and internal machine protection.
Insert the new filter according to package instructions. Some filters require soaking in water for five minutes before first use. Others simply slide into place.
Never skip this preparation step or the filter will not function correctly.
The Full Descaling Process (Every 3–6 Months)
Descaling addresses the problem no amount of surface cleaning can fix. Mineral buildup inside your machine’s water pathways and heating element requires chemical intervention. Hard water contains dissolved calcium and magnesium that deposit on internal surfaces over time.
These deposits restrict flow and insulate heating elements.
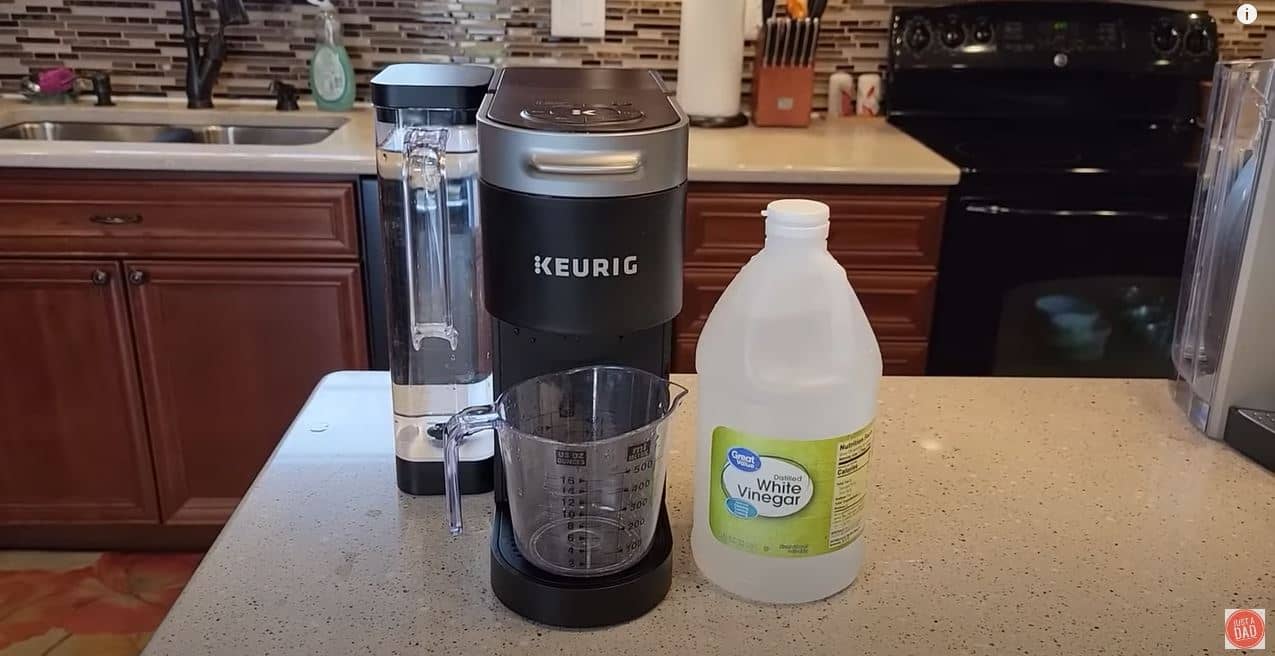
Image source: Bing (Web (fair-use with source credit))
Entering Descaling Mode on Your Specific Model
Your Keurig model determines how you initiate descaling mode. Newer machines have dedicated button sequences programmed into their systems. Older models may require manual timer management instead.
Check your owner’s manual for exact instructions specific to your model number.
Common button combinations include holding the 8 oz and 10 oz buttons simultaneously until a descale indicator flashes. Some models require pressing the power button five times quickly. Others use a combination of size selection buttons held for three seconds.
The machine typically confirms successful entry with a flashing light or displayed message.
Once in descaling mode, your Keurig will guide you through each phase with on-screen prompts. Follow these prompts exactly. Skipping steps or rushing through cycles compromises the effectiveness of the entire process.
Mixing and Pouring the Solution
Prepare your descaling solution according to product instructions. Keurig’s official descaling solution requires mixing one bottle with six cups of water in the reservoir. If using white vinegar instead, mix equal parts vinegar and water.
Note that Keurig does not recommend vinegar and it may void your warranty.
Pour the mixed solution into the empty water reservoir. Replace the reservoir and ensure it locks securely into place. Remove any water filter from the filter tower before starting.
Filters absorb descaling solution and reduce its contact with internal components where scale builds up.
Place a large mug or container on the drip tray if your model requires one during the cycle. Close the brewer handle firmly. The entry needle must align properly with the pod chamber for the solution to flow through correctly.
Running the Cycle and Soaking
Begin the descaling cycle by selecting the largest cup size available. Your machine will start dispensing the solution through the system. Halfway through the reservoir emptying, pause the cycle if your model allows it.
Let the solution sit inside for thirty to forty-five minutes.
This soaking period is critical. It gives the descaling solution time to dissolve hardened mineral deposits clinging to heating elements and narrow tubing. Do not skip this pause even if your machine does not prompt you to do so.
Resume the cycle and allow the remaining solution to drain completely. The liquid exiting your machine may appear cloudy or discolored. This indicates scale is being removed successfully.
Do not be alarmed by the appearance.
The Critical Rinse Phase Most People Skip
Rinsing removes every trace of descaling solution from your machine’s internal passages. Skipping thorough rinsing means drinking residual chemicals with your coffee. Budget at least thirty minutes for complete rinsing after your descaling session.
Fill the reservoir completely with fresh water. Run three full brew cycles using the largest cup size. Discard each brewed cup of water completely.
Taste the output water from the third cycle. If it retains any acidic or chemical flavor, run additional water-only cycles until the taste is neutral.
Some machines require four or five full reservoir rinses before the descale indicator resets completely. Watch for the indicator light to stop flashing or change to a solid green state. Only when this visual confirmation appears is rinsing truly complete.
Resetting Your Machine and Confirming It Is Ready
After successful descaling and rinsing, turn your Keurig off and let it rest for five minutes. This allows any remaining solution traces to clear from narrow passages. Then power the machine back on and allow it to heat normally.
Run one final water-only cycle without any pod inserted. This confirms everything flows cleanly and no descaling residue remains. Your coffee should taste neutral and clean from this point forward.
Replace your water filter if you removed one before starting. Install the filter according to manufacturer instructions. Your Keurig is now ready for regular brewing with restored performance and improved taste quality.
Unclogging the Brew Needle (When Your Coffee Spills or Underflows)
Clogged brew needles create some of the most frustrating Keurig problems you will encounter. Your coffee sprays sideways instead of flowing downward into your cup. Or the machine completes a full cycle but produces barely half the expected volume.
Both scenarios point to blocked needle openings that restrict water flow.
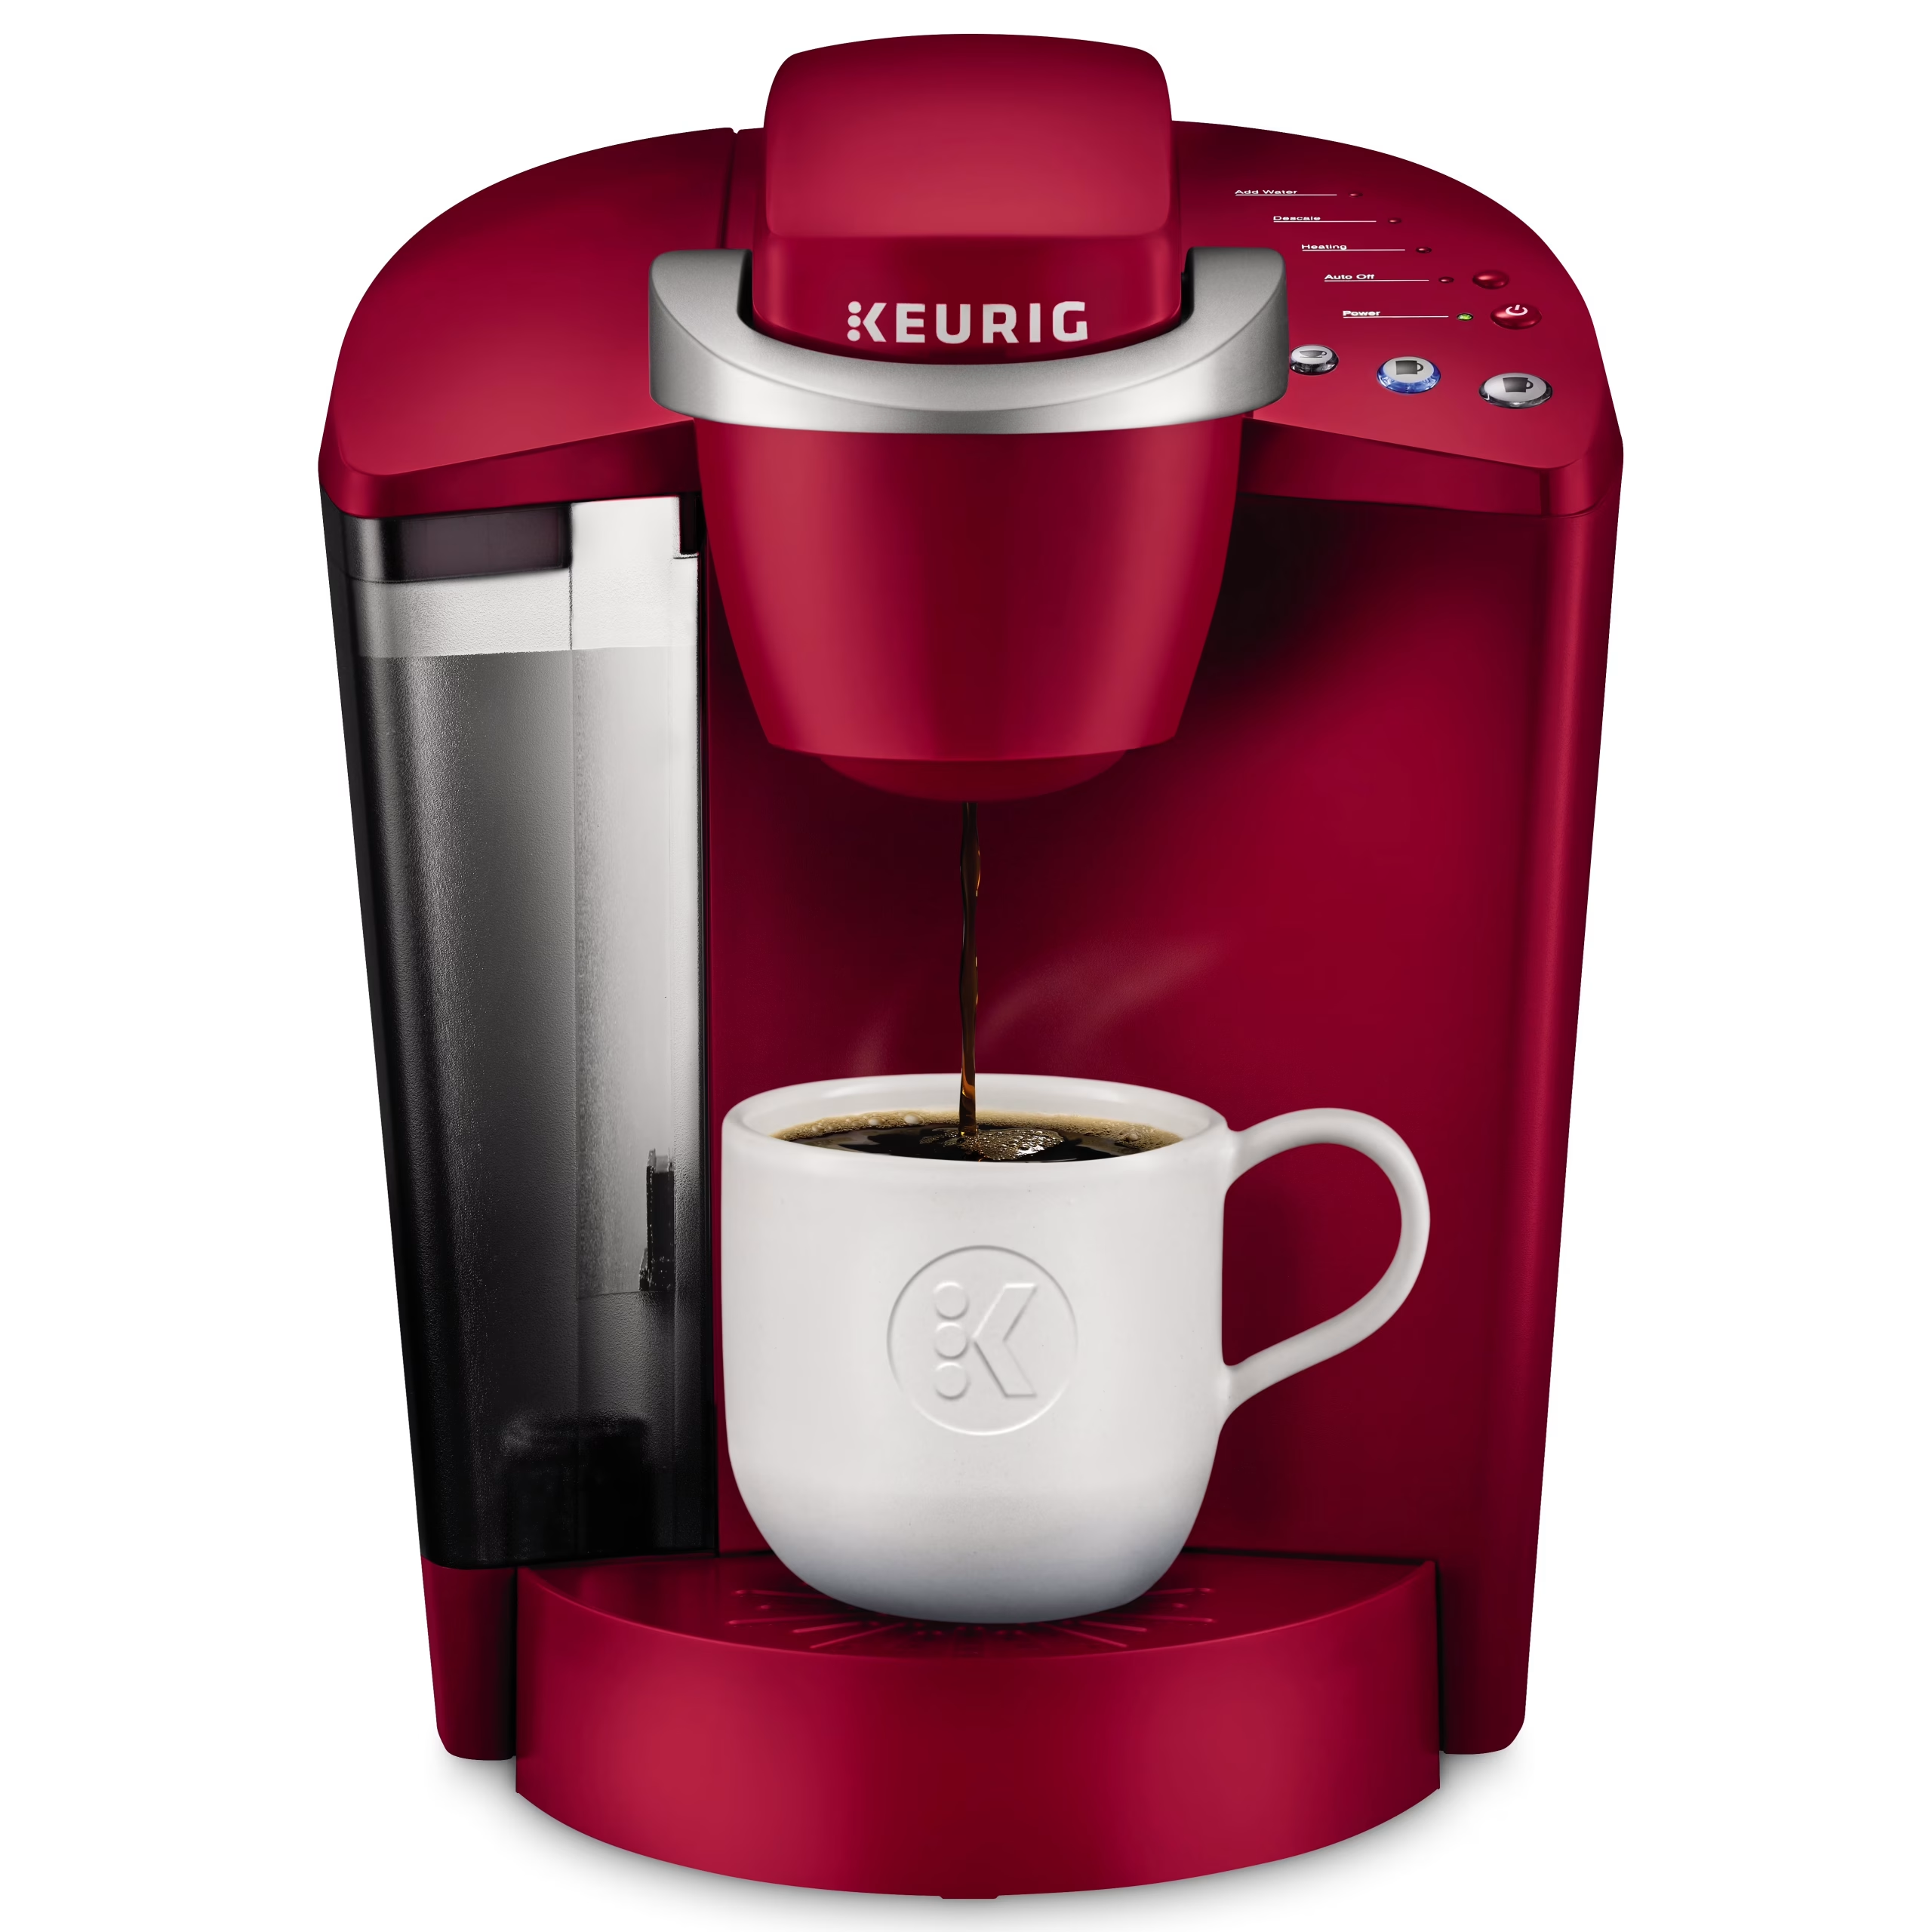
Image source: Web (Bing) / walmart.com (Web image (fair-use with source credit))
Locating the Entry and Exit Needles
Your Keurig contains two needles critical to the brewing process. The entry needle sits inside the pod holder assembly above. Lift the handle to expose it clearly.
You will see a small metal pin protruding from the center of the upper chamber. This pin punctures your K-Cup pod and channels hot water into the coffee grounds.
The exit needle sits below the pod chamber and directs brewed coffee into your cup. Look upward from beneath the brewing area to locate it. This second pin controls how finished coffee exits the machine.
Both openings are roughly the width of a toothpick and equally susceptible to clogging from coffee fines and mineral deposits.
Pay attention to which needle causes your specific problem. Entry needle blockage typically reduces flow volume. Exit needle blockage usually causes spraying or overflow patterns.
Identifying the correct needle saves time and prevents unnecessary disassembly.
Safe Cleaning With a Paperclip or Official Tool
Gentleness matters enormously when cleaning these delicate components. Never force objects into needle openings with significant pressure. Bent or broken needles misalign the pod chamber completely and cause leaking during every subsequent brew cycle.
Start with a straightened paperclip or Keurig’s official cleaning tool if available. Gently insert the tip into the center of the entry needle opening. Twist the tool lightly to dislodge packed coffee grounds.
Do not push forcefully inward. Let the thin metal tool scrape debris loose naturally.
Remove the pod holder assembly if your model design permits easy detachment. Many Keurig systems allow you to lift the entire cradle out for better access and visibility. This provides clearer access to both needle locations simultaneously.
Rinse the removed part under warm running water to wash away loosened particles completely.
For the exit needle, repeat the gentle paperclip method from below the pod chamber. Work the tool in and out carefully to clear compacted residue from the passage. Wipe surrounding areas with a damp cloth to capture any dislodged material.
Always inspect both needles visually after cleaning to confirm neither appears bent, damaged, or partially blocked.
Testing the Flow After Cleaning
Run a simple water-only test brew to confirm needle cleaning resolved your issue successfully. Fill the reservoir with fresh water. Place an empty mug on the drip tray.
Activate a brew cycle without inserting any K-Cup pod.
Watch the water emerging from the exit needle carefully. A steady centered stream indicates successful clearing. Uneven spraying or visible mist patterns suggest the exit needle still requires attention.
Slow dripping with weak pressure indicates the entry needle remains partially obstructed.
If testing reveals continued flow problems, repeat the needle cleaning procedure once more. Severe buildup sometimes requires multiple careful passes to fully restore open passages. However, persistent issues after thorough cleaning may signal deeper internal blockage requiring professional service intervention or component replacement.
Tackling Mold, Mildew, and Stale Smells in the Reservoir
Musty odors rising from your water reservoir signal biological growth that demands immediate action. Ignoring these smells risks both health concerns and compromised coffee flavor. Addressing contamination promptly prevents spread throughout internal water pathways.
Identifying the Culprit (Buildup vs. Biological Growth)
Mineral scale and microbial growth present distinctly different warning signs. Calcium deposits appear as white or chalky crusts on reservoir walls and bottoms. They feel rough and gritty when touched.
These deposits produce no foul odors but severely restrict water flow and insulate heating elements over time.
Biological contamination tells a dramatically different story. You will notice slimy slick film coating reservoir surfaces even when the unit appears dry. Dark spots or floating particulate matter may appear suspended in standing water.
The smell registers distinctly musty, earthy, or spoiled rather than merely stale or flat.
Correct identification determines the appropriate treatment approach. Acid-based descaling solutions dissolve mineral deposits effectively but cannot kill living organisms. Proper mold remediation requires sanitizing agents that eliminate microbial colonies at their source before they spread deeper into machine components.
Deep-Cleaning the Reservoir Safely
Complete reservoir removal makes deep cleaning far more effective than attempting maintenance with the part still attached to the machine. Empty all standing water first into the sink. Fill the reservoir halfway with warm water mixed with a small amount of mild dish soap.
Allow the solution to soak for approximately fifteen minutes to loosen stubborn biofilm layers.
Use a bottle brush or non-abrasive sponge to scrub all interior surfaces thoroughly. Focus extra attention on corners, crevices, threaded connections, and the underside of the lid where moisture pools and evaporates slowly. These hidden areas frequently harbor early colony formation that spreads rapidly once environmental conditions favor microbial growth.
For confirmed mold presence or persistent mildew odors, prepare a sanitizing solution using one tablespoon of unscented household bleach per gallon of cool water. Fill the reservoir completely with this mixture and let it contact all interior surfaces for exactly ten minutes. Do not exceed this contact time under any circumstances.
Prolonged bleach exposure damages plastic components and leaves harmful chemical residues that contaminate subsequent brews dangerously.
Empty the sanitizing solution completely down the drain. Rinse the reservoir thoroughly four to five times with clean tap water to remove all bleach traces. Then run two full reservoir cycles of plain water through your Keurig to flush any residual bleach from internal water pathways.
Your reservoir should emit only a neutral clean smell once this complete sanitization process finishes successfully.
Preventing Future Mold with Better Habits
Prevention matters enormously when dealing with reservoir mold and biofilm. Empty and refill your water reservoir daily whenever possible. Standing water older than forty-eight hours becomes increasingly susceptible to microbial colonization, especially in warm kitchen environments where temperatures accelerate bacterial reproduction rates significantly.
Keep the reservoir lid closed consistently between refills. Open water surfaces collect airborne dust, spores, and organic contaminants with every exposure to room air. A covered reservoir stays noticeably cleaner between weekly maintenance sessions and reduces reinfection risk substantially.
If you reside in humid climates with high relative humidity, switching to filtered or bottled water reduces available nutrients for microbial growth considerably. Filtered water contains fewer dissolved minerals and organic compounds that feed bacteria and mold colonies naturally. Regular emptying and fresh refilling remains essential regardless of water type chosen.
Filtered water extends the safe standing period somewhat compared to untreated tap water sources.
Incorporate monthly soap-and-water reservoir cleanings into your routine even when no visible growth or odor appears yet. Removing thin biofilm layers before they mature into established colonies prevents problematic growth entirely. This preventive habit takes two minutes compared to the twenty minutes required for active mold remediation later when infestations become established.
Common Mistakes That Can Damage Your Keurig
Every avoidable cleaning mistake costs you money and time you could have preserved with basic knowledge. Learning what not to do protects your investment better than any advanced maintenance technique ever could.
Using Vinegar Without Proper Rinsing
White vinegar served as the popular home descaling method long before manufacturers released branded alternatives specifically formulated for these machines. Numerous online tutorials still recommend this approach today despite manufacturer warnings. The core problem involves acetic acid residue that clings stubbornly to internal plastic and rubber components.
That lingering residue destroys coffee flavor with every subsequent brew for days or weeks afterward. Nearly every user who skips thorough rinsing reports undrinkable bitter taste that persists until the machine undergoes extensive flushing procedures. Vinegar also gradually degrades rubber seals and gaskets inside your machine over repeated exposure cycles.
Keurig’s warranty documentation explicitly warns against vinegar use in maintenance procedures. Continued vinegar descaling can void coverage on newer models manufactured after 2020 when the company updated its care guidelines formally. If you decide vinegar remains your preferred option despite these warnings, budget significantly more time for the rinsing phase specifically.
Plan at least four complete water reservoir cycles of plain water after vinegar descaling completes. Taste-test each cycle’s output individually before considering the process finished. Continue rinsing until water passes both visual clarity and completely neutral aroma tests consistently across multiple successive rounds.
Skipping the Post-Descale Water Flushes
Skipping thorough rinsing after descaling represents one of the most frequent and costly errors homeowners make repeatedly. Descaling solution tastes extraordinarily unpleasant and can cause nausea if consumed in appreciable quantities. Drinking even a single cup of improperly rinsed coffee creates one of the most universally reviled drinking experiences reported across consumer feedback channels.
The rinse phase is absolutely not optional maintenance. It forms the critical safety step ensuring no chemical residue contacts your beverage during normal operation. Budget at least thirty dedicated minutes for complete rinsing following any descaling session regardless of solution type used.
Three full reservoir flushes represent the absolute minimum required for safe operation. Four flushes provide safer margins in hard-water regions where solution penetrates deeper into narrow internal passages more extensively.
Poking Needles Too Hard or at the Wrong Angle
Excessive force applied directly to brew needles causes irreversible damage almost immediately upon contact. These precision-machined components bend easily and break permanently if subjected to angular pressure beyond their engineered tolerance limits. A misaligned needle compromises the pod seal completely during brewing cycles.
Water then leaks into areas never designed to contact liquid during normal machine operation. Repair costs for needle replacement parts combined with labor time often exceed the residual value of older Keurig models entirely. Prevention through gentle technique eliminates this risk category completely from your maintenance routine.
Always approach needle openings at shallow angles applying minimal downward pressure exclusively. The objective remains dislodging accumulated debris safely, not probing deeply into sensitive internal mechanisms where damage occurs readily. When you encounter resistance during cleaning, stop immediately and reassess your technique before proceeding further.
Continuing to force past obstruction guarantees component failure requiring professional repair authorization or complete machine replacement instead.
Ignoring the Descaling Light Until Performance Drops
Treating the descale indicator as optional advice rather than operational warning creates unnecessary repair burdens over time. Many owners ignore the flashing light for weeks while continuing normal daily brewing routines. By the time they finally address the notification seriously, flow rates have deteriorated severely and scale accumulation reaches levels requiring aggressive multi-session intervention approaches.
Early descaling intervention takes roughly thirty minutes total from start to finish when performed correctly. Delaying action transforms a quick fifteen-minute maintenance task into a multi-session ordeal spanning hours of repeated attempts. Heavy scale buildup sometimes demands repeating the entire descaling procedure twice just to restore acceptable brewing performance levels reliably.
Address the indicator light on first illumination every time without exception. This simple habit saves significant time annually and preserves machine longevity considerably compared to reactive maintenance approaches taken only after failures occur.
Mixing Tap Water in Hard-Water Areas Without Proper Filtration
Using untreated municipal tap water in regions scoring above seven grains per gallon hardness accelerates internal scaling dramatically compared to filtered alternatives. Minerals dissolved heavily in your supply water deposit continuously inside heating elements and narrow tubing with each individual brew cycle performed. Over six months of daily use by average households, this accumulation reaches problematic thickness requiring immediate intensive descaling intervention procedures urgently.
Installing an official Keurig water filter tower substantially reduces mineral content reaching sensitive internal components throughout the machine. But filter replacement schedules matter enormously for continued protection effectiveness. A saturated exhausted filter provides zero protective benefit against scale formation.
Instead it becomes a breeding ground for bacterial growth within the filter media itself potentially contaminating filtered water negatively.
Treat water filters as consumable items requiring regular scheduled replacement every two months rather than permanent installations expecting indefinite continuous service life indefinitely into the future without attention.
How Often You Should Really Clean Your Keurig (Based on Your Water and Use)
Your ideal cleaning schedule depends primarily on three variables: local water hardness, daily brewing frequency, and machine age. These factors interact compoundingly rather than linearly, meaning small changes in any category can significantly extend or shorten your maintenance intervals.
Weekly wipe-down routines should consume less than ten minutes consistently. Empty and rinse the water reservoir completely. Wipe exterior surfaces with a damp cloth to remove coffee oils and dust accumulation.
Remove and wash the drip tray with warm soapy water. That complete routine takes eight to ten minutes if performed methodically.
Schedule this maintenance on a consistent day each week. Sunday mornings pair naturally with weekend coffee preparation habits. Wednesday evenings work well for those preferring midweek resets.
Consistency matters substantially more than selecting the perfect calendar day. Choose whichever schedule fits your lifestyle sustainably.
Weekly Maintenance Checklist
- Empty and rinse the water reservoir
- Wipe exterior surfaces clean
- Remove and wash the drip tray
- Inspect brew needle area for visible debris
- Check water filter status if equipped
- Wipe pod holder area with damp cloth
Monthly tasks require slightly more time but remain straightforward. Run a water-only brew cycle to flush loose particles from internal lines. Inspect the entry and exit needle openings visually for accumulation.
Replace the water filter cartridge if your model uses one and it is approaching the two-month replacement interval.
Quarterly deep cleaning involves complete descaling following manufacturer procedures outlined earlier. This session demands thirty to forty-five minutes including rinsing time. Schedule it deliberately rather than attempting multitasking while distracted.
Proper descaling requires focused attention to timing and rinsing completion confirmation.
Annual maintenance includes inspecting external hoses and connections for wear. Check the water reservoir for cracks, cloudiness, or discoloration indicating plastic degradation. Replace damaged components immediately rather than continuing use with compromised parts.
Worn reservoirs harbor bacteria in microscopic fissures impossible to sanitize effectively.
Keeping Your Keurig Running Like New Long-Term
Long-term Keurig reliability stems directly from consistent maintenance habits rather than occasional intensive interventions. Machines receiving regular weekly attention typically outlast neglected counterparts by three to five additional years of reliable service.
Simple daily habits prevent ninety percent of common breakdown scenarios. Always empty stale water from the reservoir each morning before refilling with fresh water. Never leave empty reservoirs sitting unused for extended periods, as dried mineral films accumulate rapidly on exposed plastic surfaces.
Close the lid promptly after refilling to minimize airborne contaminant settlement.
Keep essential supplies readily accessible near your coffee station. Maintain a supply of Keurig-approved descaling solution, replacement water filters, and a dedicated cleaning brush. Having materials organized prevents procrastination when maintenance becomes necessary.
Delay typically correlates with worsening condition requiring progressively more involved correction procedures.
Consider your local water quality when establishing maintenance schedules. Hard water areas demand more frequent descaling regardless of usage volume. Test your water hardness annually if uncertain.
Affordable test strips available at hardware stores provide accurate readings indicating whether monthly or quarterly descaling suits your specific situation best.
Building sustainable habits proves more valuable than perfection. Missing one weekly cleaning session rarely causes catastrophic failure. Consistently ignoring maintenance for months reliably produces expensive repairs or premature replacement needs.
Start small with achievable goals and gradually expand your maintenance routine as habits solidify naturally over successive weeks. For ongoing reference on maintaining optimal brewing performance, exploring resources on the best Keurig single serve options can help you understand which features demand the most attention during cleaning.
Your Final Decision Guide: What to Do Based on Your Exact Situation
You now have enough information to match your machine’s condition to the correct maintenance action. Here is how to decide what needs attention right now.
Your Machine Is Brewing Normally With No Issues
Continue your weekly wipe-down routine. Schedule a full descaling session within the next three months. Replace your water filter every two months if you use one.
This baseline maintenance keeps internal components clear and coffee tasting clean for years.
The Descale Light Just Started Flashing
Schedule a descaling session within the next week. Do not delay because the light indicates early-scale formation detected by internal sensors. Acting immediately prevents heavy mineral buildup that causes actual performance problems.
Use the official descaling procedure with manufacturer-approved solution. Follow the complete rinse cycle thoroughly. Check Keurig’s support page if you need model-specific button sequences for entering descaling mode.
Coffee Is Spraying Sideways Instead of Flowing Cleanly
Clean both brew needles before attempting descaling. Needle clogs cause spray patterns that descaling solutions cannot fix. Use a straightened paperclip or official cleaning tool to gently clear entry and exit openings.
Run a water-only test cycle after cleaning. If spraying continues, repeat needle cleaning once more. Persistent spray after thorough cleaning may indicate deeper internal blockage requiring professional service.
Your Coffee Tastes Metallic or Unusually Flat
Perform a complete descaling cycle. Mineral deposits inside the heating element affect water temperature and extraction quality. Proper descaling restores both parameters simultaneously.
If metallic taste persists after successful descaling, replace your water filter immediately. Saturated filters release trapped minerals back into brewed water. Also consider testing your tap water hardness and adjusting filter replacement frequency accordingly.
You Notice a Musty Smell From Cold Water
Perform the reservoir sanitizing procedure described earlier. Remove visible biofilm with soap and water first. Then apply diluted bleach solution for disinfection.
Do not brew coffee until the reservoir passes a clean-smell test with fresh water. Run multiple water-only cycles if any odor remains. Musty smells indicate active microbial growth requiring complete elimination before safe coffee brewing resumes.
Your Machine Shows an Error Code You Cannot Identify
Power cycle the unit by unplugging for thirty seconds. Some error codes clear after temporary power loss resets internal sensors.
If the code persists after restart, consult your owner’s manual for specific code meanings. Some codes indicate hardware failures beyond user-serviceable maintenance. Contact Keurig support directly for troubleshooting guidance specific to your model number.
The Machine Makes Gurgling Sounds During Brewing
Gurgling typically indicates air trapped in internal lines or partial needle blockage. Run several water-only cycles to purge air pockets. If gurgling persists, clean both brew needles as described in the needle maintenance section.
Severe gurgling combined with very slow flow suggests heavy internal scale. Complete a full descaling procedure immediately. Ignoring these symptoms leads to complete pump failure requiring expensive repair or replacement.
Frequently Asked Questions
How long does a complete Keurig cleaning take?
A basic weekly wipe-down takes ten minutes. Full descaling with rinsing requires thirty to forty-five minutes. Deep mold remediation adds another fifteen to twenty minutes.
Factor additional time if repeating descaling due to heavy buildup.
Can I use tap water in my Keurig?
Yes, but hard tap water accelerates scale buildup significantly. Use filtered or distilled water if your municipal supply scores above seven grains per gallon hardness. Tap water users should descale monthly instead of quarterly.
Why does my Keurig beep during cleaning cycles?
Beeping confirms successful button sequences for entering descaling mode. Some models beep to signal active processing. Abnormal rapid beeping with error codes indicates sensor issues requiring manual reset or professional service.
How do I know when my water filter needs replacing?
Replace filters every two months or after sixty tank refills, whichever comes first. Some models display filter change indicators. Reduced brew speed or off-taste coffee suggests saturated filters releasing trapped contaminants back into your cup.
What should I do if descaling does not fix my problems?
Try cleaning brew needles thoroughly first. Then repeat descaling with proper rinsing. If issues persist after both procedures, internal component failure likely requires Keurig authorized service or machine replacement.
Is it safe to drink coffee immediately after cleaning my Keurig?
No. Always complete the full rinse cycle before brewing coffee again. Residual descaling solution or cleaning agents can cause nausea and severe taste issues.
Run at least three full reservoirs of plain water through the machine with no pod inserted. The output water should taste completely neutral before you place a K-Cup in the brew chamber.
Can I clean my Keurig while it is still hot?
Never attempt to disassemble or deeply clean a hot Keurig. Internal components reach temperatures high enough to cause serious burns. Allow the machine to cool completely for at least thirty minutes after your last brew cycle.
This is especially important when cleaning the water reservoir, drip tray, or needle area where steam escapes from residual heat trapped in the system.
How do I fix a Keurig that sprays coffee everywhere?
A clogged exit needle is the most common cause. Gently clear it with a paperclip or the official cleaning tool. Also check the entry needle for blockage.
Run a water-only test cycle after cleaning to verify normal flow patterns return. If spraying continues after thorough needle cleaning, inspect for internal damage requiring professional service.
My Keurig will not enter descaling mode. What should I do?
Check your model’s manual for the correct button sequence. Different models use different combinations. Try a power cycle first by unplugging the machine for thirty seconds.
If the issue persists, reset the machine by holding the power button for five seconds before attempting descaling mode again.
If your specific model has a known issue or requires a factory reset procedure, consult Keurig’s official support documentation for model-specific troubleshooting steps. Some newer models also allow you to clear error codes by performing a hard reset through the settings menu.
The Bottom Line on Keurig Maintenance
Cleaning your Keurig is not complicated when you understand what each step accomplishes. Weekly wiping keeps surfaces clean. Monthly needle checks prevent spray disasters.
Quarterly descaling preserves brewing performance. These habits take minimal time but deliver maximum protection for your investment.
Match your maintenance frequency to your water hardness and daily usage. Hard water users need more frequent descaling. Light users can stretch intervals slightly.
Filtered water reduces scale formation but does not eliminate maintenance entirely.
The biggest mistake owners make is ignoring early warning signs until problems become severe. Address the descale light promptly. Clean needles at the first sign of spraying.
Sanitize reservoirs at the first musty smell. Early intervention keeps repair costs low and extends machine lifespan significantly.
Your coffee will taste better. Your mornings will run smoother. And you will avoid the frustrating breakdowns that come from neglecting basic upkeep.
Start with whichever maintenance task your machine needs most today, then build consistent habits from there.
Start with whichever maintenance task your machine needs most today, then build consistent habits from there.

“I believe great cooking starts with the right tools, trusted advice, and a little confidence in the kitchen.”
Hi, I’m Emma Carter. My love for cooking began in my grandmother’s kitchen, where I learned that every great meal starts with simple ingredients and the right cookware. Over the years, I’ve spent countless hours researching, testing, and comparing kitchen appliances, cookware, coffee makers, air fryers, and other everyday kitchen essentials.
Here at KiCook, my goal is to make your buying decisions easier with honest product reviews, practical buying guides, and easy-to-follow cooking tips. Whether you’re upgrading your kitchen or searching for the best appliance for your home, I focus on providing clear, reliable, and research-backed information you can trust.
When I’m not testing new kitchen gadgets or writing in-depth guides, you’ll usually find me trying new recipes, visiting local farmers’ markets, or enjoying a quiet cup of coffee while planning my next kitchen project.